小程序组件封装
本篇主要带大家从0到有,封装一个自己的w-swiper组件。
具体
详细小程序组件封装,请看https://www.jianshu.com/p/594f0d37feac?from=groupmessage.
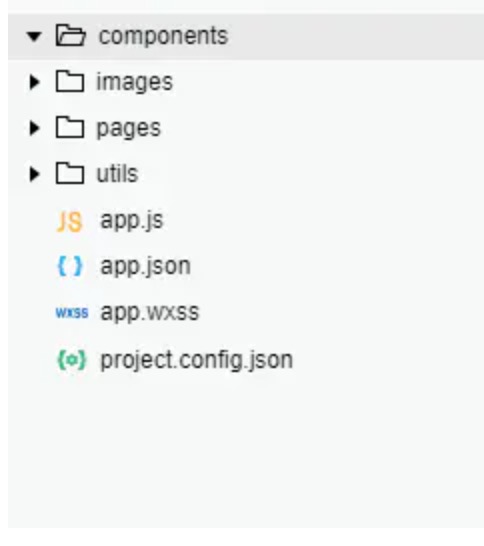
创建components目录
- 在根目录下创建一个components目录,用来存放所有组件。
- 例如我们创建一个w-swiper组件,在components目录下创建w-swiper目录。
自定义组件类似于页面,一个自定义组件由 json wxml wxss js 4个文件组成。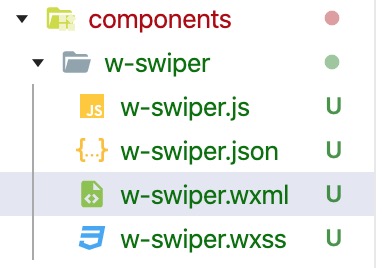
w-swiper.wxml
<swiper indicator-dots='true' indicator-active-color='#ff5777' autoplay='true' circular='true' interval='3000' class='swiper'><block wx:for="{ {images}}" wx:key="index"><swiper-item><image class="swiper-image" src="{ {item.image}}"/></swiper-item></block></swiper>
w-swiper.wxss
.swiper {height: 360rpx;}.swiper-image {width: 100%;/* height: 100%; */}
w-swiper.js
// components/w-swiper/w-swiper.jsComponent({/** * 组件的属性列表 */properties: {images:{type:Array,value:[]}},/** * 组件的初始数据 */data: {},/** * 组件的方法列表 */methods: {}})
w-swiper.json
{"component": true,"usingComponents": { }}
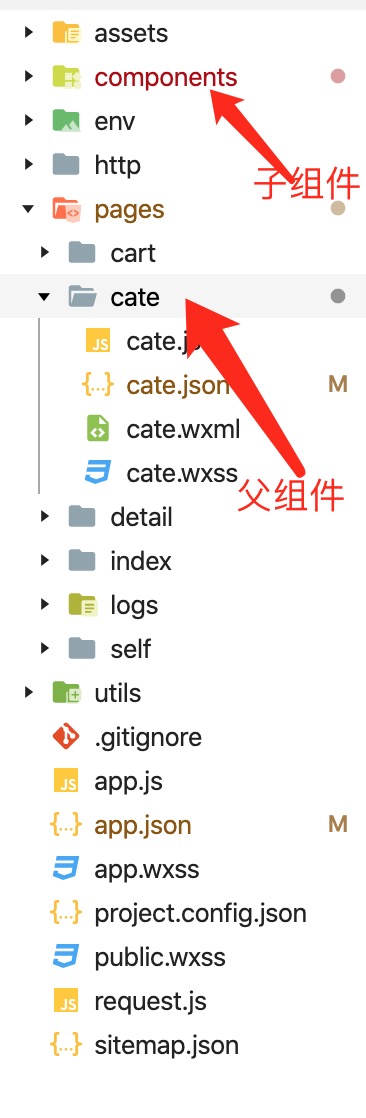
父组件
cate.js
// pages/cate/cate.jsPage({/** * 页面的初始数据 */data: {topImages: [],},/** * 生命周期函数--监听页面加载 */onLoad: function (options) {let that=this;wx.request({url: 'http://test.com/api/list', //仅为示例,并非真实的接口地址data: {},method:'get',header: {'content-type': 'application/json' // 默认值},success (res) {console.log(res.data.data.banner.list)that.setData({ topImages:res.data.data.banner.list})}})},
cate.json
{"usingComponents": {"w-swiper":"/components/w-swiper/w-swiper"},"navigationBarTitleText": "轮播"}
cate.wxml
<w-swiper images='{ {topImages}}'></w-swiper>
最终效果:


还没有评论,来说两句吧...