Linux下安装tensorflow
环境准备
下载anaconda, https://repo.anaconda.com/archive/Anaconda3-2019.10-Linux-x86_64.sh
安装
[root@localhost ~]# wget https://repo.anaconda.com/archive/Anaconda3-2019.10-Linux-x86_64.sh[root@localhost ~]# bash Anaconda3-2019.10-Linux-x86_64.sh
以上信息提示,都进行按ENTER,输入yes操作。
配置jupyter环境
[root@localhost ~]# source /root/.bashrc
查看conda版本
[root@localhost ~]# conda --version
配置jupyter notebook
[root@localhost ~]# cd /root/anaconda3/etc/jupyter(base) [root@localhost jupyter]# jupyter notebook --generate-config
设置置jupyter notebook的登录密码
(base) [root@localhost data]# pythonPython 3.7.4 (default, Aug 13 2019, 20:35:49)[GCC 7.3.0] :: Anaconda, Inc. on linuxType "help", "copyright", "credits" or "license" for more information.>>> from notebook.auth import passwd>>> passwd()Enter password:Verify password:'sha1:fc48ba43d994:264211bcd15748509d8711bfede4ae330d208641'>>> exit()'sha1:fc48ba43d994:264211bcd15748509d8711bfede4ae330d208641'密码后续需要。
修改jupyter notebook的文件设置
(base) [root@localhost data]# cd /root/.jupyter/(base) [root@localhost .jupyter]# ls(base) [root@localhost .jupyter]# vim jupyter_notebook_config.py
修改登录配置
c.NotebookApp.ip = 'ip' # 允许访问此服务器的 IP,星号表示任意 IPc.NotebookApp.password = u'sha1:fc48ba43d994:264211bcd15748509d8711bfede4ae330d208641' # 之前生成的密码字串c.NotebookApp.open_browser = False # 运行时不打开本机浏览器c.NotebookApp.port = 8888 # 使用的端口c.NotebookApp.enable_mathjax = True # 启用 MathJaxc.NotebookApp.notebook_dir = '/root/jupyter' # 存放文件的目录c.NotebookApp.allow_remote_access = True # 允许远程访问
启动 jupyter notebook
jupyter notebook --allow-root
开启linux防火墙,运行远程访问
查看防火墙状态
(base) [root@localhost ~]#systemctl status firewalld.service #查看防火墙状态(base) [root@localhost ~]#systemctl stop firewalld.service #关闭运行的防火墙(base) [root@localhost ~]#systemctl status firewalld.service #查看防火墙状态可以看到
使用ip和设置的密码进行登录
jupyter安装tensorflow
登录jupyter后pip安装
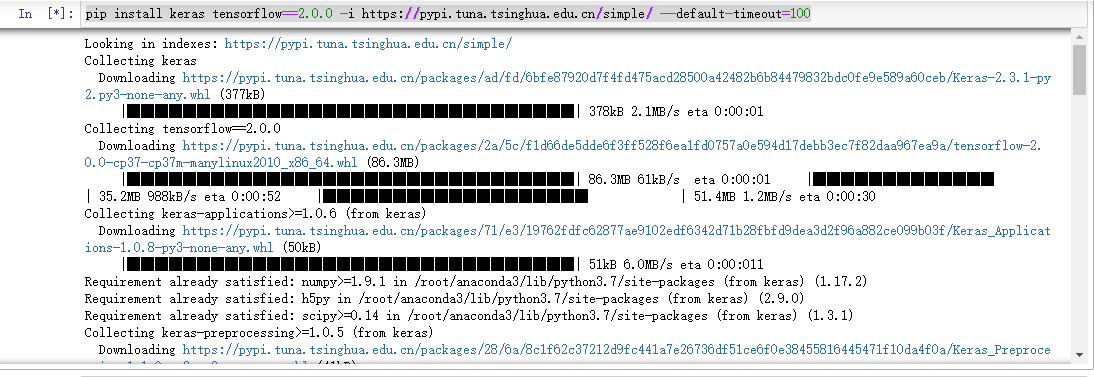
pip install keras tensorflow==2.0.0 -i https://pypi.tuna.tsinghua.edu.cn/simple/ --default-timeout=100


还没有评论,来说两句吧...