原生js模拟实现京东轮播图
原生js模拟实现京东轮播图
- 一、实现原理
- 官网发现
- opacity和z-index
- 3.定位
- 二、文档目录
- 三、HTML结构
- 四、css样式
- 五、js行为_实现自动轮播与点击效果
- 六、效果展示
- 总结
一、实现原理
1. 官网发现
我们到京东官网去查看首页的轮播图时,可以发现,它其实是通过改变图片的opacity(透明度)和z-index(层级),再加上过渡效果来实现闪烁效果的。
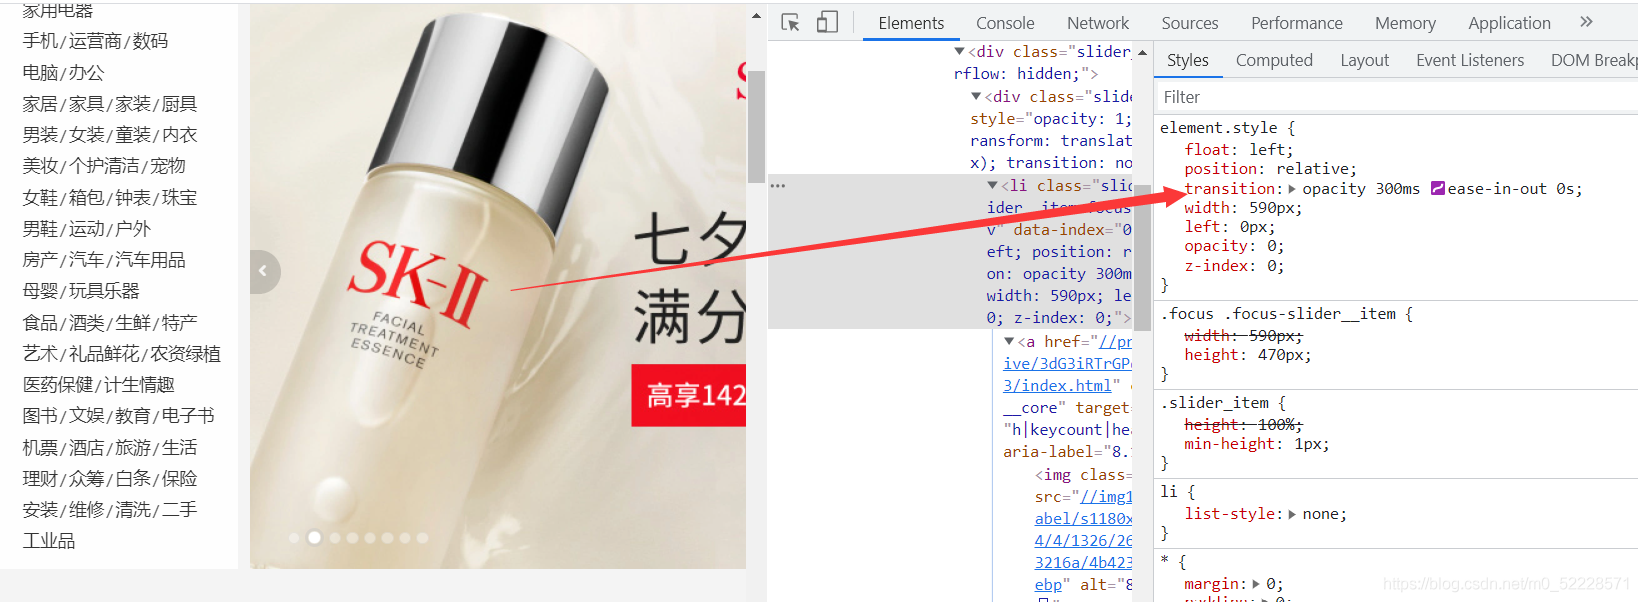
2. opacity和z-index
当我们点击左箭头或者右箭头的时候,就去改变当前图片的opacity和z-index为0,上一张或者下一张图片的opacity和z-index为1,并且给以过度效果,就可以实现闪烁轮播的效果。
3.定位
对于装有img的父元素,我们应该给其设置相对定位-position: relative;,子元素设置绝对定位-position: absolute;这样就可以让所有的子元素叠加到一块。
二、文档目录
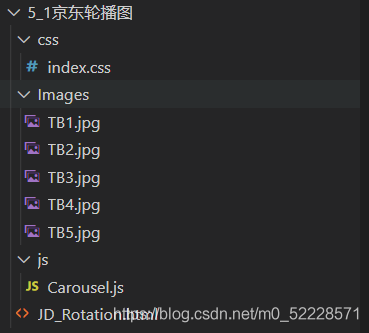
三、HTML结构
<!DOCTYPE html><html lang="en"><head><meta charset="UTF-8"><meta http-equiv="X-UA-Compatible" content="IE=edge"><meta name="viewport" content="width=device-width, initial-scale=1.0"><title>京东轮播图</title><link rel="stylesheet" href="css/index.css"></head><body><div id="contbox"><ul id="img_list" class="ani"><li style="opacity: 1;z-index:1"><a href="#"><img src="Images/TB1.jpg"></a></li><li><a href="#"><img src="Images/TB2.jpg"></a></li><li><a href="#"><img src="Images/TB3.jpg"></a></li><li><a href="#"><img src="Images/TB4.jpg"></a></li><li><a href="#"><img src="Images/TB5.jpg"></a></li></ul><div id="two_rrow"><a class="arrow left_arrow" href="#"><span></span></a><a class="arrow right_arrow" href="#"><span></span></a></div><div id="dot_list"><a href="#"><span class="dot cur"></span></a><a href="#"><span class="dot"></span></a><a href="#"><span class="dot"></span></a><a href="#"><span class="dot"></span></a><a href="#"><span class="dot"></span></a></div></div><script src="js/Carousel.js"></script></body></html>
四、css样式
* {margin: 0;padding: 0;}a {text-decoration: none;cursor: pointer;}li {list-style: none;}#contbox {width: 520px;height: 280px;margin: 10% auto;position: relative;top: 20%;border-radius: 15px;overflow: hidden;}/* 图片容器 */#img_list {position: absolute;left: 0;top: 0;width: 100%;height: 280px;}#img_list>li {transition: opacity 200ms ease-in-out 0s;opacity: 0;width: 520px;height: 280px;position: absolute;left: 0;top: 0;}#img_list>li>a {position: absolute;width: 100%;height: 100%;}#img_list>li>a>img {width: 100%;height: 100%;}/* 指示点 */#dot_list {position: absolute;z-index: 1;left: 50%;transform: translateX(-50%);bottom: 10px;border-radius: 12px;height: 18px;line-height: 18px;background: rgba(255, 255, 255, 0.4);}.dot {display: inline-block;width: 10px;height: 10px;border-radius: 50%;background: white;margin: 0 2.5px;}.cur {background: #ff5000;cursor: default;}/* 左右箭头 */.arrow {position: absolute;width: 30px;height: 30px;line-height: 30px;top: 50%;background-color: rgba(0, 0, 0, 0.3);transform: translateY(-15px);text-align: center;z-index: 1;}.arrow:hover {background-color: rgba(0, 0, 0, 0.5);}.arrow>span {display: inline-block;width: 10px;height: 10px;position: absolute;top: 50%;border-top: 2px solid white;}.left_arrow>span {border-left: 2px solid white;transform: rotate(-45deg) translateY(-9px);left: 65%;}.right_arrow>span {border-right: 2px solid white;transform: rotate(45deg) translateY(-9px);right: 65%;}.left_arrow {border-top-left-radius: 30%;border-bottom-left-radius: 30%;border-top-right-radius: 50%;border-bottom-right-radius: 50%;left: -8px;}.right_arrow {border-top-left-radius: 50%;border-bottom-left-radius: 50%;border-top-right-radius: 30%;border-bottom-right-radius: 30%;right: -8px;}
五、js行为_实现自动轮播与点击效果
var contbox = document.querySelector('#contbox');//imgvar img_ul = document.querySelector('#img_list');var img_li = document.querySelectorAll('#img_list>li');var img_listlen = img_li.length;//切换按钮var left_arrow = document.querySelector('.left_arrow');var right_arrow = document.querySelector('.right_arrow');//指示点var dot_list = document.querySelector('#dot_list');var dot_a = document.querySelectorAll('.dot');//othervar curidx = 0;var timer = null;// 隐藏函数----实现关键function hide_Myself() {img_li[curidx].style.opacity = 0;img_li[curidx].style.zIndex = 0;}// 显示函数----实现关键function show_Myself() {img_li[curidx].style.opacity = 1;img_li[curidx].style.zIndex = 1;}// 左滑按钮left_arrow.onclick = function () {hide_Myself()curidx == 0 ? curidx = 4 : curidx--;//边界判断show_Myself()changdot()};// 右滑按钮right_arrow.onclick = function () {hide_Myself()curidx == 4 ? curidx = 0 : curidx++;//边界判断show_Myself()changdot()};//自动轮播function running() {timer = setInterval(function () { //timer用于清除定时器right_arrow.onclick()changdot()//同时改变指示点}, 2500)//每2.5秒自动轮播一次}running();//细节处理contbox.onmouseenter = function () {clearInterval(timer)//鼠标移动到容器上时,停止自动轮播}contbox.onmouseleave = function () {running()//鼠标移开容器之外,开始自动轮播}//指示点function changdot() {for (let i = 0; i < dot_a.length; i++) {if (dot_a[i].classList.contains('cur')) {dot_a[i].classList.remove('cur')break;//如果找到cur类了,就删除cur类,并且立即退出循环}}dot_a[curidx].classList.add('cur');//所有的指示点都没有cur类了,那么给当前指示点添加cur}// 为dot自定义属性:data_order(自命名)for (let i = 0; i < dot_a.length; i++) {dot_a[i].data_order = i;dot_a[i].onclick = function () {curidx = this.data_order;changdot()Jump()// console.log(this.data_order + ":" + curidx);}}// 底部原点跳转方法:function Jump() {//当前curidx的li(既img_li[curidx]),设置到最顶层,其余的被覆盖show_Myself()for (let j = 0; j < img_li.length; j++) {if (curidx == j) {continue;}img_li[j].style.opacity = 0;img_li[j].style.zIndex = 0;// console.log(curidx);// hide_Myself();此处不能直接写函数,因为需要引用j的值作为curidx,循环结束会改变curidx的值}}
六、效果展示

总结
以上就是今天要讲的内容,在这里并没有用京东的图片,所以图片尺寸不一样。但是实现原理是一样的。本文仅仅介绍了京东轮播图的简单实现,而真正的实际开发中,我们的需要关注的细节会更多,这样才会让用户的体验更好。好啦,这就是今天的分享咯。886~


")


还没有评论,来说两句吧...