Android 图像视图ImageView
ImageView是用来显示图像的控件,它和图形显示有关的属性主要有下面两个:
1.scaleType :图形的拉伸类型,默认是fitCenter。
2.色彩:图形来源,src图形按照scaleType拉伸,注意背景图不安scaleType指定的方式进行拉伸,而且背景默认的是fitXY的方式进行拉伸显示。
至于拉伸的类型和效果,我们直接通过示例来看,这比我在这里列出来要直观的多。
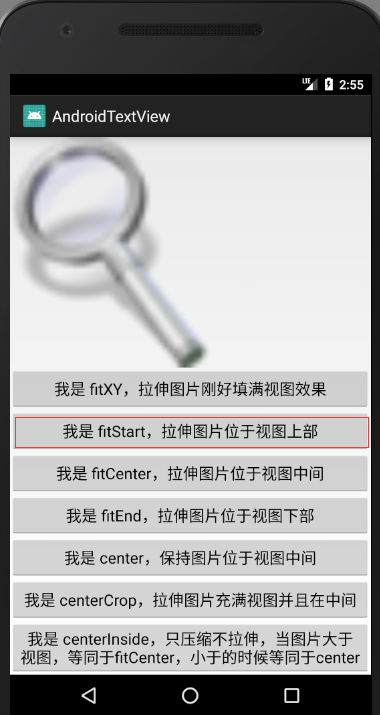
首先,我们看先布局页面,很简单,一个ImageView,其余是7个Button,分别对应不同的拉伸效果,点击后显示不同的效果。
<?xml version="1.0" encoding="utf-8"?><LinearLayout xmlns:android="http://schemas.android.com/apk/res/android"android:orientation="vertical" android:layout_width="match_parent"android:layout_height="match_parent"><ImageViewandroid:id="@+id/iv_img"android:layout_width="match_parent"android:layout_height="wrap_content"android:src="@drawable/search"android:scaleType="center"android:layout_weight="1"/><LinearLayoutandroid:layout_width="match_parent"android:layout_height="wrap_content"android:orientation="vertical"><Buttonandroid:id="@+id/fitXY"android:layout_width="match_parent"android:layout_height="wrap_content"android:text="我是 fitXY,拉伸图片刚好填满视图效果"/><Buttonandroid:id="@+id/fitStart"android:layout_width="match_parent"android:layout_height="wrap_content"android:text="我是 fitStart,拉伸图片位于视图上部"/><Buttonandroid:id="@+id/fitCenter"android:layout_width="match_parent"android:layout_height="wrap_content"android:text="我是 fitCenter,拉伸图片位于视图中间"/><Buttonandroid:id="@+id/fitEnd"android:layout_width="match_parent"android:layout_height="wrap_content"android:text="我是 fitEnd,拉伸图片位于视图下部"/><Buttonandroid:id="@+id/center"android:layout_width="match_parent"android:layout_height="wrap_content"android:text="我是 center,保持图片位于视图中间"/><Buttonandroid:id="@+id/centerCrop"android:layout_width="match_parent"android:layout_height="wrap_content"android:text="我是 centerCrop,拉伸图片充满视图并且在中间" /><Buttonandroid:id="@+id/centerInside"android:layout_width="match_parent"android:layout_height="wrap_content"android:text="我是 centerInside,只压缩不拉伸,当图片大于视图,等同于fitCenter,小于的时候等同于center"/></LinearLayout></LinearLayout>
然后我们为每个按钮添加点击事件的监听,代码如下:
package com.easygoing.androidtextview;import android.app.Activity;import android.os.Bundle;import android.view.View;import android.widget.ImageView;import android.widget.TextView;public class MainActivity extends Activity implements View.OnClickListener {private ImageView iv_img;@Overrideprotected void onCreate(Bundle savedInstanceState) {super.onCreate(savedInstanceState);setContentView(R.layout.activity_imagw_view);iv_img = findViewById(R.id.iv_img);findViewById(R.id.fitCenter).setOnClickListener(this);findViewById(R.id.fitEnd).setOnClickListener(this);findViewById(R.id.fitStart).setOnClickListener(this);findViewById(R.id.fitXY).setOnClickListener(this);findViewById(R.id.center).setOnClickListener(this);findViewById(R.id.centerCrop).setOnClickListener(this);findViewById(R.id.centerInside).setOnClickListener(this);}@Overridepublic void onClick(View v) {switch (v.getId()){case R.id.fitCenter:iv_img.setScaleType(ImageView.ScaleType.FIT_CENTER);break;case R.id.fitEnd:iv_img.setScaleType(ImageView.ScaleType.FIT_END);break;case R.id.fitStart:iv_img.setScaleType(ImageView.ScaleType.FIT_START);break;case R.id.fitXY:iv_img.setScaleType(ImageView.ScaleType.FIT_XY);break;case R.id.center:iv_img.setScaleType(ImageView.ScaleType.CENTER);break;case R.id.centerCrop:iv_img.setScaleType(ImageView.ScaleType.CENTER_CROP);break;case R.id.centerInside:iv_img.setScaleType(ImageView.ScaleType.CENTER_INSIDE);break;}}}
并且在点击按钮后,根据类型设置不同的图片拉伸效果。我在下面列出几种类型的显示效果,其余的大家可以自己试试。


 --
--
另外,android中ImageView可以用来显示图片,android的所有视图都可以使用自带的屏幕截图的功能,不过要想使用这个功能,我们只能通过代码来完成。
在使用过程中可能用到的方法如下:
*setDrawingCacheEnabled :设置绘图缓存状态,true:打开 false:关闭-
*isDrawingCacheEnabled:判断绘图缓存是否可用
*setDrawingCacheQuality:设置图片缓存的质量
*getDrawingCache:获取该控件绘图缓存结果,其返回值为Bitmap
*setDrawingCacheBackgroundColor:设置绘图缓存的背景色。控件的绘图缓存默认的背景色是黑色的,大家可以想想,这样截图出来,估计只能看见一片漆黑了吧。
所以我们一般将其背景色设置为白色。
那么,该怎么实现屏幕截图呢?
1.在我们开始截图前,必须设置绘图缓存的状态是可用的,注意这个方法必须一开始就调用,这是因为先开启绘图缓存,后面更新的界面才会被记录在缓存中去。
2.获取绘图缓存数据
3.完成截图,延迟调用关闭绘图缓存的方法。如果下次还要进行截图操作,那么就必须再次开启绘图缓存。
下面我们看下代码的简单实现,这里通过对TextView进行截图,然后显示在ImageView中
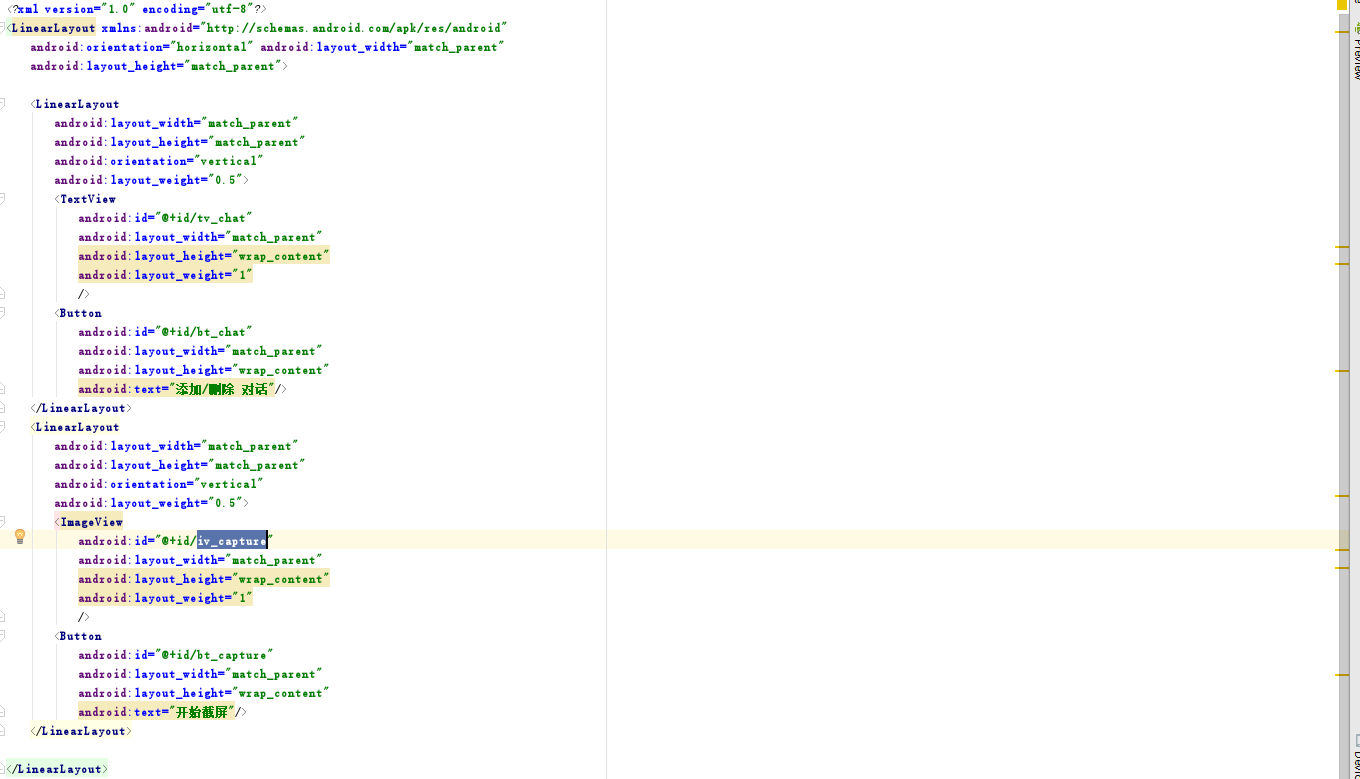
布局文件很简单,两个线性布局对半均分屏幕,一个显示文本内容,一个显示截图结果。
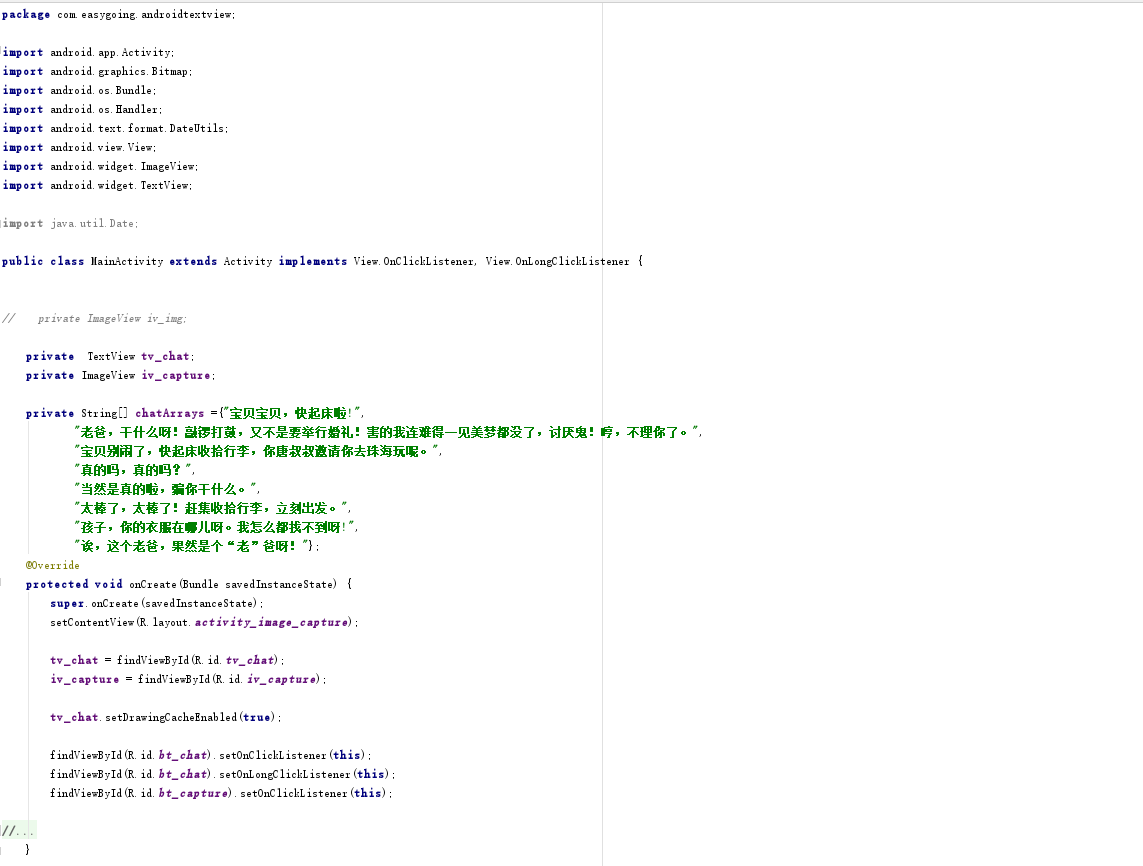
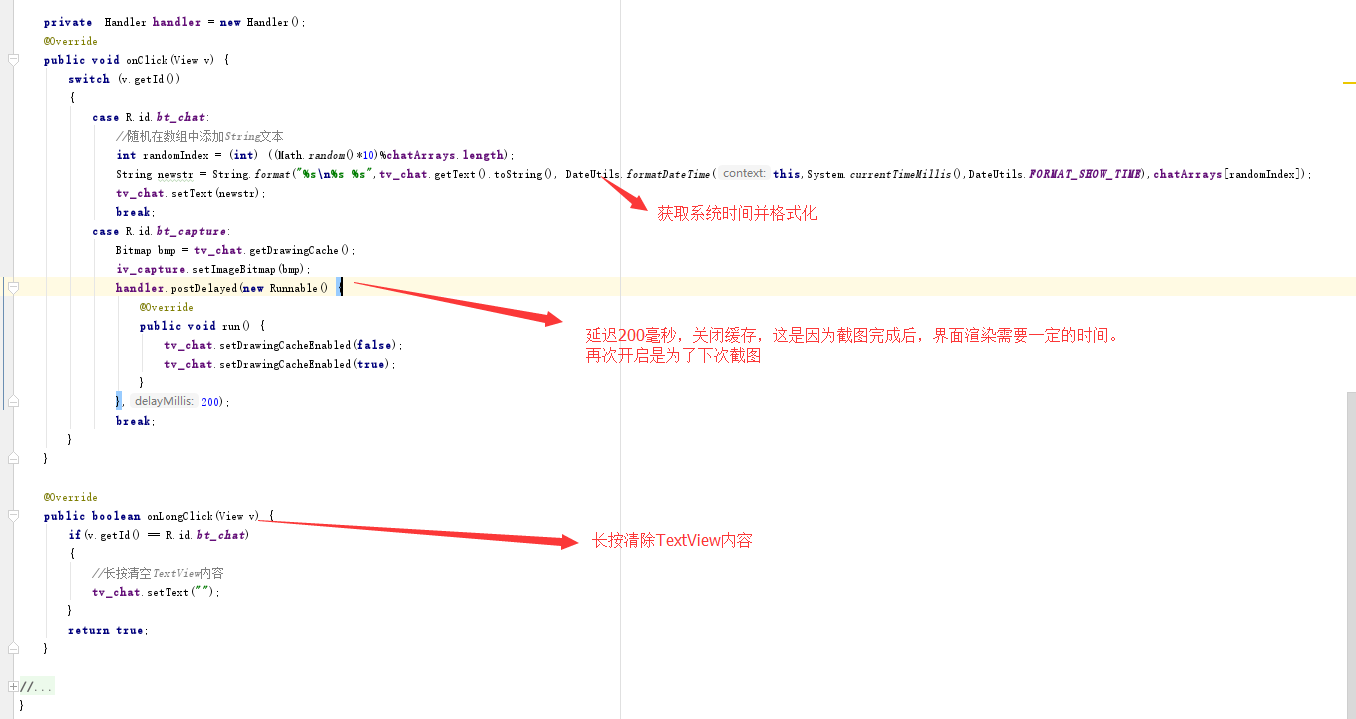
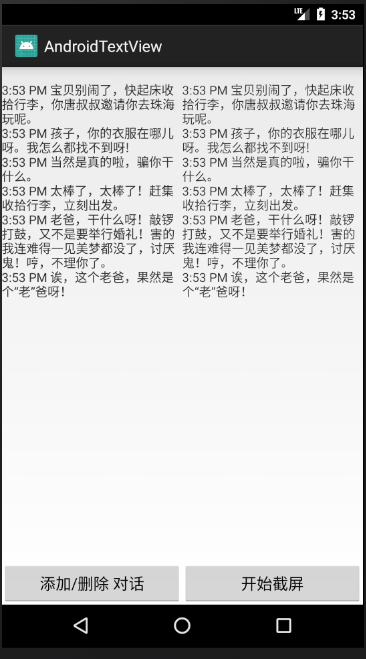
主页面代码也很简单,值得注意的是不要立即关闭绘图缓存即可,有兴趣的同学可以试试怎们判断截图后的渲染完成了呢?
运行结果:


")
实现")

算法")
之python实现")


还没有评论,来说两句吧...