centos7 搭建Nginx-1.12.2代理服务器
一、准备工作(选择分步安装与集中安装,其中一种即可**)**
a.分步安装:
1.安装 gcc
安装 nginx 需要先将官网下载的源码进行编译,编译依赖 gcc 环境,如果没有 gcc 环境,则需要安装
# yum install gcc-c++
2.安装 zlib
zlib 库提供了很多种压缩和解压缩的方式, nginx 使用 zlib 对 http 包的内容进行 gzip ,所以需要在 Centos 上安装 zlib 库。
# yum install -y pcre pcre-devel
3.安装 openssl
OpenSSL 是一个强大的安全套接字层密码库,囊括主要的密码算法、常用的密钥和证书封装管理功能及 SSL 协议,并提供丰富的应用程序供测试或其它目的使用。
nginx 不仅支持 http 协议,还支持 https(即在ssl协议上传输http),所以需要在 Centos 安装 OpenSSL 库。
# yum install -y openssl openssl-devel
4.安装 pcre
PCRE(Perl Compatible Regular Expressions) 是一个Perl库,包括 perl 兼容的正则表达式库。nginx 的 http 模块使用 pcre 来解析正则表达式,所以需要在 linux 上安装 pcre 库,pcre-devel 是使用 pcre 开发的一个二次开发库。nginx也需要此库
# yum install -y pcre pcre-devel
5.安装autoconf automake
# yum install -y autoconf automake
b.集成安装
# yum -y install gcc gcc-c++ autoconf automake
# yum -y install zlib zlib-devel openssl openssl-devel pcre-devel
二、安装启动Nginx
1.下载
# wget http://nginx.org/download/nginx-1.12.2.tar.gz
2.解压
# tar -zxvf nginx-1.12.2.tar.gz
3.编译
# cd nginx-1.12.2/
# ./configure
4.安装
# make
# make install
5.启动
# cd /usr/local/nginx/sbin
# ./nginx
6.查看端口
# netstat -ntlp
Active Internet connections (only servers)Proto Recv-Q Send-Q Local Address Foreign Address State PID/Program nametcp 0 0 0.0.0.0:80 0.0.0.0:* LISTEN 6765/nginx: mastertcp 0 0 192.168.122.1:53 0.0.0.0:* LISTEN 2455/dnsmasqtcp 0 0 0.0.0.0:22 0.0.0.0:* LISTEN 1168/sshdtcp 0 0 127.0.0.1:631 0.0.0.0:* LISTEN 1165/cupsd
三、测试
1.访问 http://localhost 出现下图所示信息,即表明nginx 安装启动成功
四、安装 tomcat 为测试Nginx反向代理
1.下载
# wget http://mirrors.shuosc.org/apache/tomcat/tomcat-8/v8.0.48/bin/apache-tomcat-8.0.48.tar.gz
2.解压
# tar -zxvf apache-tomcat-8.0.48.tar.gz
3.启动测试
# cd /apache-tomcat-8.0.48/bin
# ./startup.sh
[root@localhost bin]# ./startup.shUsing CATALINA_BASE: /usr/software/apache-tomcat-8.0.48Using CATALINA_HOME: /usr/software/apache-tomcat-8.0.48Using CATALINA_TMPDIR: /usr/software/apache-tomcat-8.0.48/tempUsing JRE_HOME: /usr/java/jdk1.8.0_121/jreUsing CLASSPATH: /usr/software/apache-tomcat-8.0.48/bin/bootstrap.jar:/usr/software/apache-tomcat-8.0.48/bin/tomcat-juli.jarTomcat started.
启动成功 访问:http://localhost:8080
4.打开 nginx的配置文件
# cd /usr/local/nginx/conf
复制一份配置文件 命名为: nginx.conf.bak
#cp nginx.conf nginx.conf.bak
# vim nginx.conf
找到: location / 处,添加: proxy_pass http://localhost:8080; http://localhost:8080;为tomcat的访问路径
server {listen 80; #nginx的监听端口server_name localhost;#charset koi8-r;#access_log logs/host.access.log main;location / {root html;index index.html index.htm;proxy_pass http://localhost:8080;}#error_page 404 /404.html;# redirect server error pages to the static page /50x.html#error_page 500 502 503 504 /50x.html;location = /50x.html {root html;}
修改之后,保存。重启nginx
# ./usr/local/nginx/sbin/nginx -s reload
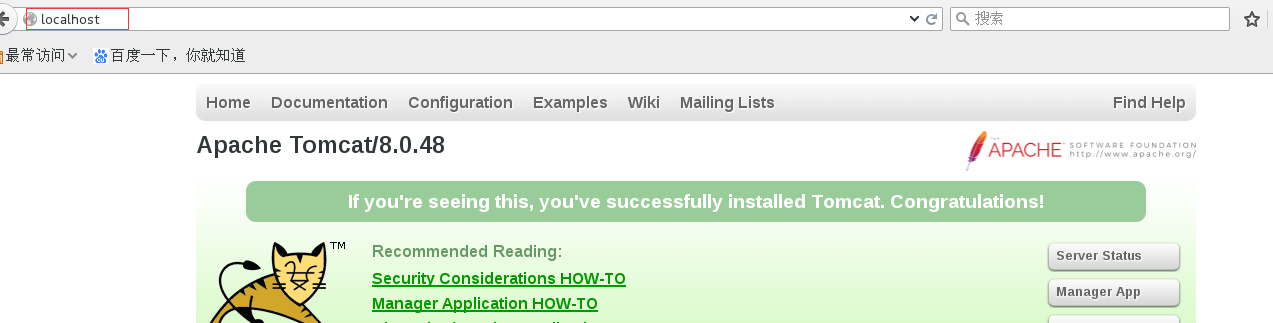
访问:http://localhost:80 即可访问 tomcat的路径
四、Nginx 负载均衡
1.此处需要部署两个tomcat 进入到第四步下载的tomcat的路径下
# cp -r apache-tomcat-8.0.48 tomcat1
# cp -r apache-tomcat-8.0.48 tomcat2
2.修改tomcat配置文件
tomcat1 端口设定为8080 ;tomcat1的配置无需修改
tomcat2 端口设定为8090
# cd /tomcat2/conf
# vim server.xml
修改
为:
为:
为:
3.在tomcat1和tomcat2下创建测试站点
# cd /tomcat1/webapp
# madir test
# vi index.html
添加
this is tomcat1 index
esc :wq 保存推出
同理在tomcat2下创建test与indexhtml,添加this is tomcat2 index
# cd /tomcat2/webapp
# madir test
# vi index.html
添加
this is tomcat2 index
esc :wq 保存推出
4.修改Nginx的 nginx.conf配置文件
# vim /usr/local/nginx/conf/nginx.conf
http {include mime.types;default_type application/octet-stream;#log_format main '$remote_addr - $remote_user [$time_local] "$request" '# '$status $body_bytes_sent "$http_referer" '# '"$http_user_agent" "$http_x_forwarded_for"';#access_log logs/access.log main;sendfile on;#tcp_nopush on;#keepalive_timeout 0;keepalive_timeout 65;#gzip on;upstream mytomcat { server localhost:8080 weight=100; server localhost:8090 weight=110; } server {listen 80;server_name mytomcat;#charset koi8-r;#access_log logs/host.access.log main;location / {root html;index index.html index.htm;proxy_pass http://mytomcat;}#error_page 404 /404.html;# redirect server error pages to the static page /50x.html#error_page 500 502 503 504 /50x.html;保存后退出分别启动tomcat1与tomcat2# /tomcat1/bin/startup.sh# /tomcat2/bin/startup.sh分别访问 http://localhost:8080/test1与http://localhost:8090/test2 验证是否正常重启 nginx# /usr/local/nginx/sbin/nginx -s reload打开浏览器输入:http://localhost/test 多刷新几次,就会看到请求回来的内容有时不一样。说明,nginx 是随机访问的tomcat1或者tomcat2配置文件里面的weight哪个数值越大,请求到的次数就会多。


—— 图和会话")
—— 保存和恢复")
—— 开始Python之旅")
—— 变量和数据类型")


还没有评论,来说两句吧...