(1)ActiveMQ笔记:ActiveMQ与Spring整合&使用例子
ActiveMQ 是Apache出品,最流行的,能力强劲的开源消息总线。
我所在的项目中,ActiveMQ被用来实现大批量邮件发送功能(项目需求中会出现一次性发送N多封邮件的情况,所以需要将邮件请求放入一个队列中,然后专门处理邮件的服务器就可以从队列中取出请求并发送邮件,原系统就可以做其他事而不被大批量邮件发送功能阻塞,并能实现与原有系统的功能隔离,降低系统的耦合)
在项目实现中,原有系统将大量的邮件请求发送给ActiveMQ服务器,形成消息队列,然后邮件服务器从ActiveMQ消息队列中取出请求,发送邮件。
首先看下最简单的整合例子吧。
示例项目源代码下载:https://github.com/SecondMagic/ActiveMQ_demo
1.下载ActiveMQ:
http://activemq.apache.org/download-archives.html
选择一个版本下载,本文中所用的是ActiveMQ 5.11.1 Release
下载完解压后的样子:
activemq-all-5.11.1.jar文件为之后整合时所需的jar包
点击或者命令行启动bin\activemq.bat 后activemq服务就在本地启动了,默认端口号61616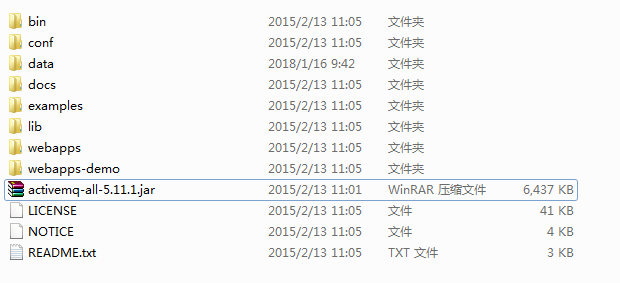
可以通过浏览器查看管理界面:
http://127.0.0.1:8161/admin/ 账号:admin 密码:admin
点击queues可以查看消息队列,其中第一列为消息目的地名,第二列为等待下发/消费的信息数量,第三列为消费者数量(接收消息方),第四列为进入队列的信息数量,第五列为出列的信息数量(已经被接收走)。
停止服务器,只需要按着Ctrl+Shift+C,之后输入y即可,不行的话,可以到服务中手动暂停服务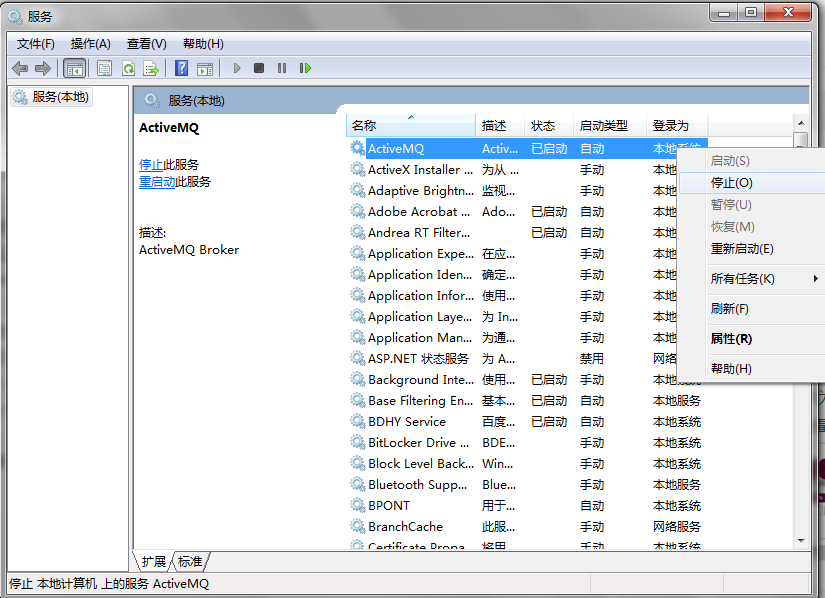
2.现在ActiveMQ服务已经启动完毕,接下来开始整合项目
首先创建一个web项目,配置spring,这个这里就不赘述了,可以到源代码中查看相应部分,主要讲下activeMQ与spring的整合。
项目结构如下:
需要的是上面提到的activemq-all-5.11.1.jar,放入项目lib中
dispatcherServlet-servlet.xml,applicationContext.xml都是spring,spring mvc相关配置
applicationContext-activeMQ.xml文件
<?xml version="1.0" encoding="UTF-8"?><beans xmlns="http://www.springframework.org/schema/beans" xmlns:xsi="http://www.w3.org/2001/XMLSchema-instance" xmlns:context="http://www.springframework.org/schema/context" xmlns:jms="http://www.springframework.org/schema/jms" xsi:schemaLocation="http://www.springframework.org/schema/beans http://www.springframework.org/schema/beans/spring-beans-3.0.xsd http://www.springframework.org/schema/context http://www.springframework.org/schema/context/spring-context-3.0.xsd http://www.springframework.org/schema/beans http://www.springframework.org/schema/beans/spring-beans-3.0.xsd http://www.springframework.org/schema/jms http://www.springframework.org/schema/jms/spring-jms-3.0.xsd"><!-- Spring提供的JMS工具类,它可以进行消息发送、接收等 --><bean id="jmsTemplate" class="org.springframework.jms.core.JmsTemplate"><!-- 这个connectionFactory对应的是我们定义的Spring提供的那个ConnectionFactory对象 --><property name="connectionFactory" ref="connectionFactory"/></bean><!-- 真正可以产生Connection的ConnectionFactory,由对应的 JMS服务厂商提供--><!--<bean id="targetConnectionFactory" class="org.apache.activemq.spring.ActiveMQConnectionFactory">--><bean id="targetConnectionFactory" class="org.apache.activemq.ActiveMQConnectionFactory"><property name="brokerURL" value="tcp://xx.xx.xx.xx:61616"/><property name="userName" value="admin" /><property name="password" value="admin" /><property name="useAsyncSend" value="true"/></bean><!-- Spring用于管理真正的ConnectionFactory的ConnectionFactory --><bean id="connectionFactory" class="org.springframework.jms.connection.SingleConnectionFactory"><!-- 目标ConnectionFactory对应真实的可以产生JMS Connection的ConnectionFactory --><property name="targetConnectionFactory" ref="targetConnectionFactory"/></bean><!--这个是队列目的地,即1中管理界面queues中的第一列信息--><bean id="subscribeQueue" class="org.apache.activemq.command.ActiveMQQueue"><constructor-arg><value>MailQueue</value></constructor-arg></bean><!-- 消息监听器,用来监听是否有信息接收 --><bean id="subscribeReceiver" class="com.activityMQ.reciveService.reciveService"/><!-- 消息监听容器 --><bean id="subscribeContainer" class="org.springframework.jms.listener.DefaultMessageListenerContainer"><property name="connectionFactory" ref="connectionFactory"/><property name="destination" ref="subscribeQueue"/><property name="messageListener" ref="subscribeReceiver"/><!-- 消息监听器消费者并发处理数量设置 --><property name="concurrentConsumers" value="2"/></bean></beans>
首先有一点,就是ConnectionFactory会有两个,一个是真正的用来产生Connection 的ConnectionFactory,由对应的JMS供应商提供,另一个是spring用来管理真正的ConnectionFactory的ConnectionFactory。
配置完后记得在web.xml中加载该xml
建立sendMessage和reciveMessage文件
sendService.java文件
queueName为发送信息的目的地,同上面所说一样
message为要发送的信息
package com.activeMQ.sendService;import javax.jms.JMSException;import javax.jms.Message;import javax.jms.Session;import org.springframework.beans.factory.annotation.Autowired;import org.springframework.jms.core.JmsTemplate;import org.springframework.jms.core.MessageCreator;import org.springframework.stereotype.Component;import org.springframework.stereotype.Service;@Component@Servicepublic class sendService {@Autowiredprivate JmsTemplate jmsTemplate;public void sendMessage(String queueName, final String message){jmsTemplate.send(queueName, new MessageCreator() {public Message createMessage(Session session) throws JMSException {System.out.println("========:"+session.createTextMessage(message).toString());return session.createTextMessage(message);}});}}
reciveService文件
通过配置文件配置,将会不停监听是否有信息需要接收
package com.activityMQ.reciveService;import javax.jms.JMSException;import javax.jms.Message;import javax.jms.MessageListener;import org.apache.activemq.command.ActiveMQTextMessage;import org.springframework.stereotype.Component;@Componentpublic class reciveService implements MessageListener{@Overridepublic void onMessage(Message message) {// TODO Auto-generated method stubtry {String xmlMessage = (String)((ActiveMQTextMessage) message).getText();System.out.println(xmlMessage);} catch (JMSException e) {// TODO Auto-generated catch blocke.printStackTrace();}}}
3.启动运行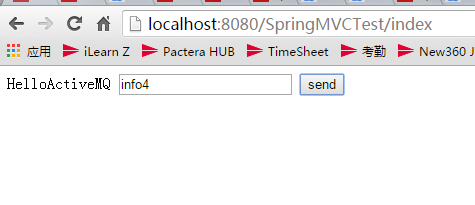
可以看到确实多了一条记录,下面一行中的为2条还未被接收的信息,因为他们的目的地名为testSendInfo,而我们这里只配置了MailQueue,所以无法接收。修改配置即可接收。
控制台中也输出了相应的信息: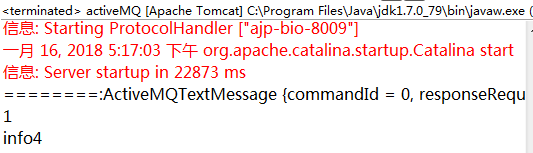
实际使用时一般都会将接收端单独部署成一个服务,还有负载均衡,集群等等。


还没有评论,来说两句吧...