ssm框架整合并实现简单验证登陆功能
ssm框架整合
- ssm整合要用到的jar包和配置文件
- 新建动态web项目,
- 在web-inf/lib中添加资源中给的所有jar包,并右键依赖项目
- 添加以下配置文件到src下
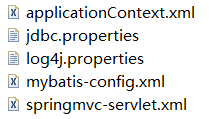
- 将配置文件中的web.xml中的内容粘贴进去。
- 修改jdbc.properties中的数据库连接信息(此处连接数据库用的c3p0)。
- 逆向工程生成mapper和entity实体类,或者自己写。(此处所有配置文件中的包名统一为com.xx开头),可以自己改。
完成上述步骤ssm就已经配置好了。
下面我们写一个登陆验证的功能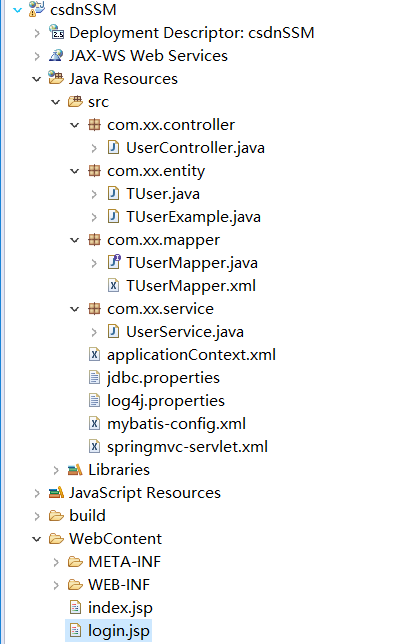
1.先写一个login.jsp
<%@ page language=”java” contentType=”text/html; charset=UTF-8”
pageEncoding="UTF-8"%>
<!DOCTYPE html PUBLIC “-//W3C//DTD HTML 4.01 Transitional//EN” “http://www.w3.org/TR/html4/loose.dtd">
登录
2.再写一个登陆成功的跳转index.jsp
<%@ page language=”java” contentType=”text/html; charset=UTF-8”
pageEncoding="UTF-8"%>
<!DOCTYPE html PUBLIC “-//W3C//DTD HTML 4.01 Transitional//EN” “http://www.w3.org/TR/html4/loose.dtd">
Insert title here 登陆成功!
3.写UserController,并加注解
package com.xx.controller;
import javax.servlet.http.HttpSession;
import org.springframework.beans.factory.annotation.Autowired;
import org.springframework.stereotype.Controller;
import org.springframework.ui.Model;
import org.springframework.web.bind.annotation.RequestMapping;import com.xx.entity.TUser;
import com.xx.service.UserService;@Controller
public class UserController {@Autowiredprivate UserService userService;@RequestMapping("login")public String login(TUser user,Model model,HttpSession session) {TUser user2 = userService.loginByCode(user.getCode());if(user2!=null){if (user.getPassword().equals(user2.getPassword())) {session.setAttribute("user", user);return "redirect:index.jsp";} else {model.addAttribute("error", "密码错误");return "forward:login.jsp";}}else {model.addAttribute("error", "用户名不存在");return "forward:login.jsp";}
}}
4.写UserService,实现访问数据库
package com.xx.service;
import org.springframework.beans.factory.annotation.Autowired;
import org.springframework.stereotype.Service;import com.xx.entity.TUser;
import com.xx.mapper.TUserMapper;@Service
public class UserService {@Autowiredprivate TUserMapper userMapper;public TUser loginByCode(String code) {TUser user=userMapper.loginByCode(code);return user;}
}
5.在TUserMapper.java中写实现方法
TUser loginByCode(String code);
6.在TUserMapper.xml中写sql语句
7.完成之后,启动服务器,在浏览器中访问
启动正常:
访问: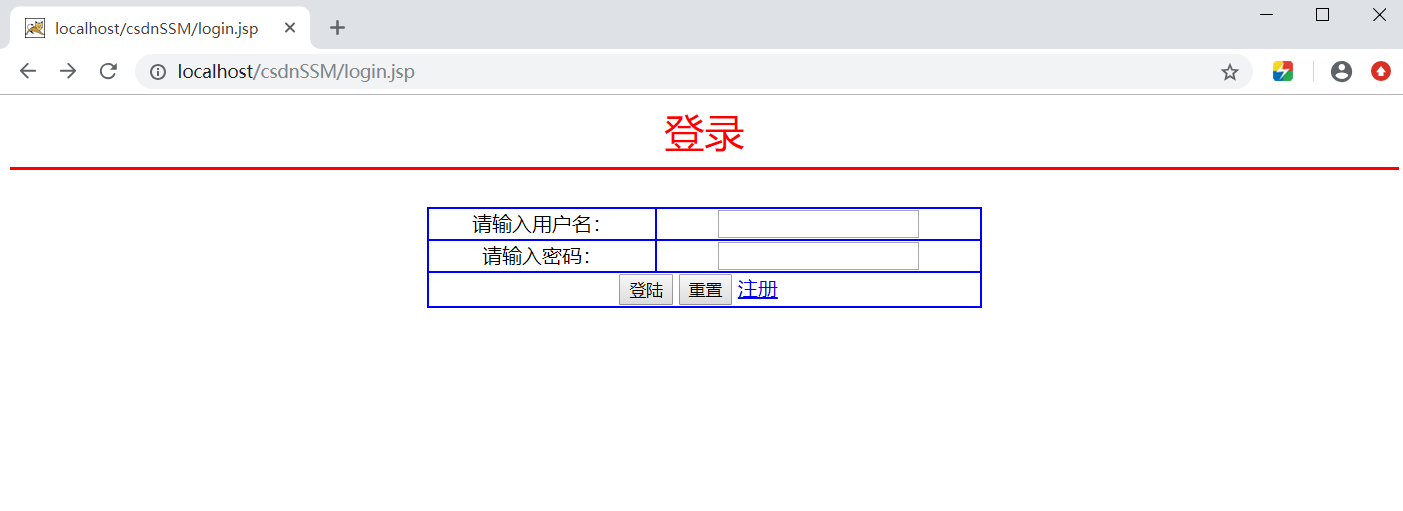
谢谢!


")


四、SpringBoot集成MyBatisPlus+达梦数据库(DM)")


还没有评论,来说两句吧...