Springboot 整合 SpringCloud组件-Config 配置中心 ConfigClient (七)
在上一篇https://blog.csdn.net/qq_35387940/article/details/94616604 我们已经将配置中心 ConfigServer成功完成整合,也和github打通,那么这篇我们将实现ConfigClient ,通过 ConfigServer去读取github里的相关值。
大致流程如下图:

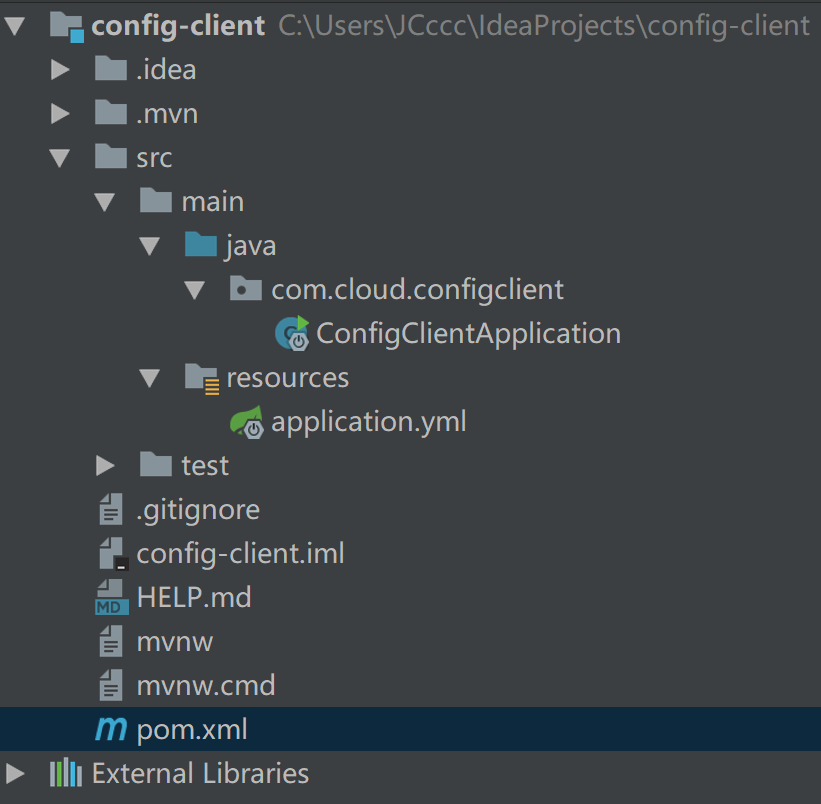
不多说,我们开始整合,创建一个springboot项目,起名config-client:
pom.xml:
<?xml version="1.0" encoding="UTF-8"?><project xmlns="http://maven.apache.org/POM/4.0.0" xmlns:xsi="http://www.w3.org/2001/XMLSchema-instance"xsi:schemaLocation="http://maven.apache.org/POM/4.0.0 http://maven.apache.org/xsd/maven-4.0.0.xsd"><modelVersion>4.0.0</modelVersion><parent><groupId>org.springframework.boot</groupId><artifactId>spring-boot-starter-parent</artifactId><version>2.1.6.RELEASE</version><relativePath/> <!-- lookup parent from repository --></parent><groupId>com.cloud</groupId><artifactId>config-client</artifactId><version>0.0.1-SNAPSHOT</version><name>config-client</name><description>Demo project for Spring Boot</description><properties><java.version>1.8</java.version><spring-cloud.version>Finchley.RELEASE</spring-cloud.version></properties><dependencies><dependency><groupId>org.springframework.cloud</groupId><artifactId>spring-cloud-starter-config</artifactId></dependency><dependency><groupId>org.springframework.boot</groupId><artifactId>spring-boot-starter-web</artifactId></dependency><dependency><groupId>org.springframework.cloud</groupId><artifactId>spring-cloud-starter-netflix-eureka-client</artifactId></dependency><dependency><groupId>org.springframework.boot</groupId><artifactId>spring-boot-starter-test</artifactId><scope>test</scope></dependency></dependencies><dependencyManagement><dependencies><dependency><groupId>org.springframework.cloud</groupId><artifactId>spring-cloud-dependencies</artifactId><version>${spring-cloud.version}</version><type>pom</type><scope>import</scope></dependency></dependencies></dependencyManagement><build><plugins><plugin><groupId>org.springframework.boot</groupId><artifactId>spring-boot-maven-plugin</artifactId></plugin></plugins></build></project>
接着我们写一个controller, 写一个接口来测试读取GitHub的配置文件值,ConfigClientController.java:
import org.springframework.beans.factory.annotation.Value;import org.springframework.web.bind.annotation.RequestMapping;import org.springframework.web.bind.annotation.RestController;@RestControllerpublic class ConfigClientController {@Value("${testValue}")String testValue;@RequestMapping(value = "/getTestValue")public String getTestValue(){return "获取到的配置文件值为:"+testValue;}}
然后是配置文件,这里我们需要创建一个bootstrap.yml (或者bootstrap.properties):
eureka:instance:#以IP地址注册到服务中心,相互注册使用IP地址preferIpAddress: trueinstance-id: ${spring.cloud.client.ip-address}:${server.port}client:serviceUrl:defaultZone: http://localhost:8761/eureka/spring:application:#和git里的文件名(application)对应name: config-clientcloud:config:#分支label: master#环境值profile: dev#config-server的地址uri: http://localhost:8888/server:port: 8881
在启动类加上注解,也将这个服务注册到Eureka注册中心去:
import org.springframework.boot.SpringApplication;import org.springframework.boot.autoconfigure.SpringBootApplication;import org.springframework.cloud.netflix.eureka.EnableEurekaClient;@EnableEurekaClient@SpringBootApplicationpublic class ConfigClientApplication {public static void main(String[] args) {SpringApplication.run(ConfigClientApplication.class, args);}}
OK,到这里已经准备完毕,将config-client服务也跑起来,
访问http://localhost:8881/getTestValue :
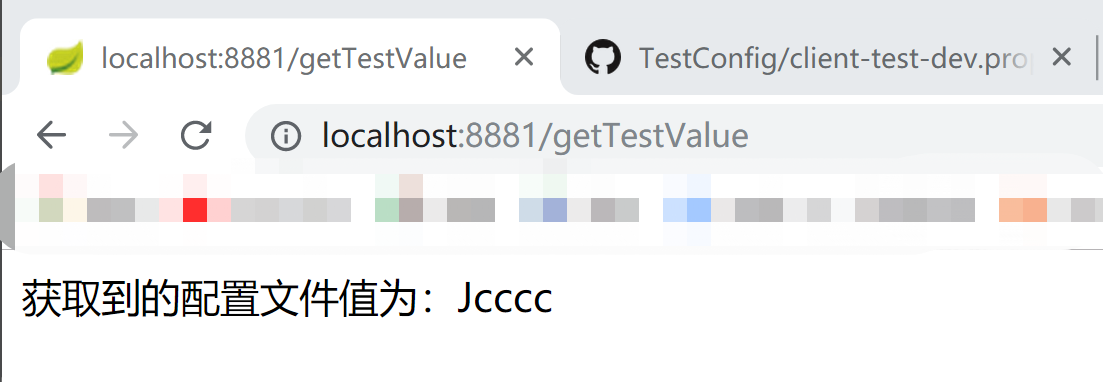
OK,git上面的配置值成功获取。
PS: 补充2个错误,项目无法正常运行
一、如果你在运行项目出现以下这类错误:
org.springframework.beans.factory.BeanCreationException: Error creating bean with name 'configClientController': Injection of autowired dependencies failed; nested exception is java.lang.IllegalArgumentException: Could not resolve placeholder 'testValue' in value "${testValue}"
不用想,你的config-client 已经在项目跑起来尝试地去访问config-server,然后尝试读取git里面的值,发现找不到才报的错。
那么怎么解决, 1.请对比配置文件里面有没有这个配置项的key 2.请对照好git里面配置文件的名字 是不是跟我们这个项目里的服务名一致. 3.config-server服务有没有正常运行,端口是不是对应起来了 4.这个服务用的配置文件是bootstrap.yml,优先级大于application.yml,有没有配置信息搞乱了。
二、如果你在运行项目出现以下这类错误:
2019-07-04 15:36:46.738 INFO 16380 --- [ Thread-15] com.netflix.discovery.DiscoveryClient : Shutting down DiscoveryClient ...2019-07-04 15:36:46.752 INFO 16380 --- [nfoReplicator-0] com.netflix.discovery.DiscoveryClient : DiscoveryClient_CLIENT-TEST/192.168.2.246:8881 - registration status: 2042019-07-04 15:36:46.753 INFO 16380 --- [nfoReplicator-0] com.netflix.discovery.DiscoveryClient : DiscoveryClient_CLIENT-TEST/192.168.2.246:8881: registering service...2019-07-04 15:36:46.756 INFO 16380 --- [nfoReplicator-0] com.netflix.discovery.DiscoveryClient : DiscoveryClient_CLIENT-TEST/192.168.2.246:8881 - registration status: 2042019-07-04 15:36:46.756 INFO 16380 --- [ Thread-15] com.netflix.discovery.DiscoveryClient : Unregistering ...2019-07-04 15:36:46.761 INFO 16380 --- [ Thread-15] com.netflix.discovery.DiscoveryClient : DiscoveryClient_CLIENT-TEST/192.168.2.246:8881 - deregister status: 2002019-07-04 15:36:46.769 INFO 16380 --- [ Thread-15] com.netflix.discovery.DiscoveryClient : Completed shut down of DiscoveryClient
不用想,这多半是pom.xml里面忘记导入spring-boot-starter-web依赖了,添加依赖即可。


还没有评论,来说两句吧...