[SDK2.2]Windows Azure Virtual Network (2) 创建简单的Virtual Network
《Windows Azure Platform 系列文章目录》
本章笔者将介绍如何创建一个简单的 Virtual Network。
1.首先我们登陆Windows Azure管理界面 https://manage.windowsazure.com
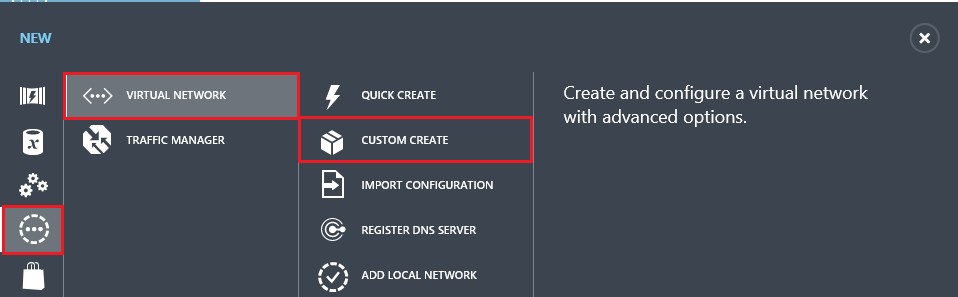
2.点击 Network Services -> Virtual Network -> Custom Create
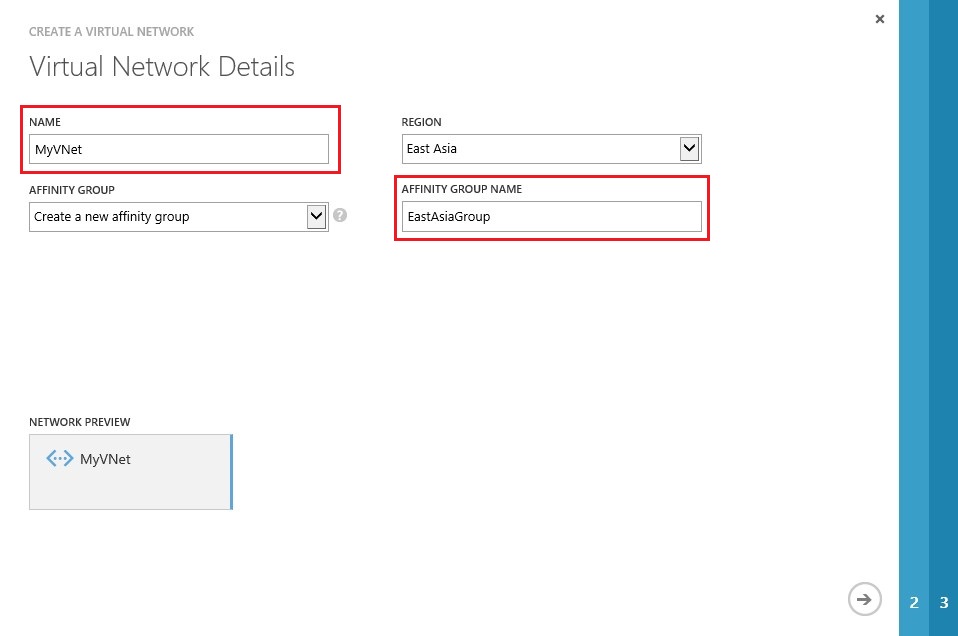
3.首先设置我们VNet的Name,如果没有设置Affinity Group,则需要设置相应的Affinity Group Name。
有关Affinity Group的详细内容,请参考:Windows Azure Platform (五十六) Windows Azure Affinity Groups(地缘组)的重要性
我们设置VNet Name为MyVNet,设置Region为East Asia。如下图:
Update 2015-03-27:请读者在创建Virtual Network的时候,不要使用Affinity Group,因为无法绑定公网IP地址
如果已经基于Affinity Group创建了VNet,请参考我的同事Jason Huang的Blog,修改VNet配置
http://jashuang.cn/post/azure-ip
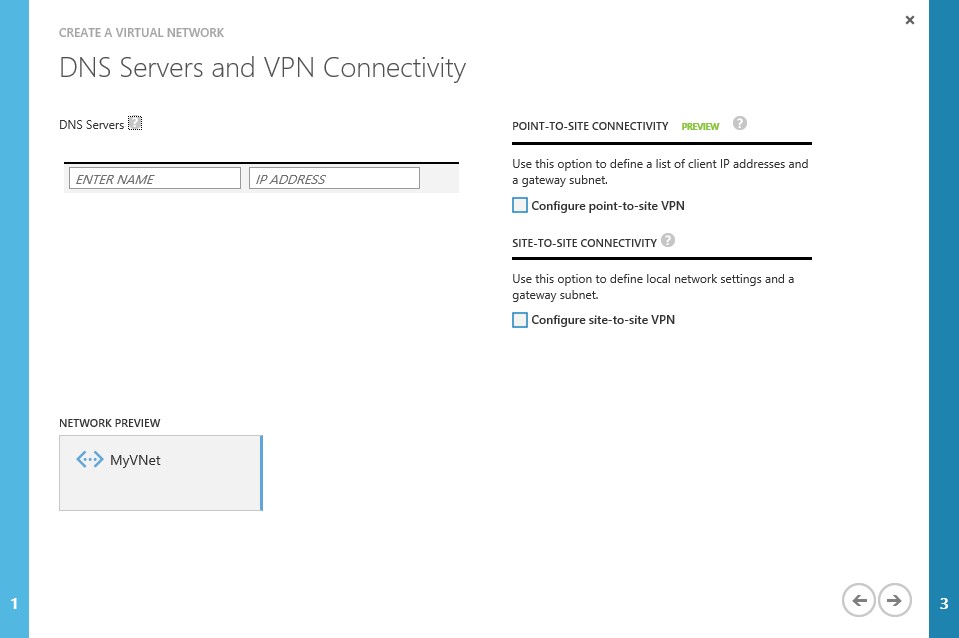
4.DNS Server和VPN Connectivity我们暂时跳过
5.在下图的Address Spaces里,设置Starting IP为192.168.0.0
设置CIDR(Address Count)为24(256)。有关CIDR的信息,可以参考维基百科
简单的说,CIDR为24(256),括号内的数字256就表示该网段内拥有的主机数为256台。对应的IP从192.168.0.0至192.168.0.255
*但是对于Azure Virtual Network来说,开始的4个IP(192.168.0.0-192.168.0.3)都是Azure保留IP。实际能使用的IP有256-4=252*个
然后我们增加一个子网(SUBNETS),命名为Subnet-1
子网Subnet-1保证所有加入Virtual Network的Azure VM都可以获得IP地址。
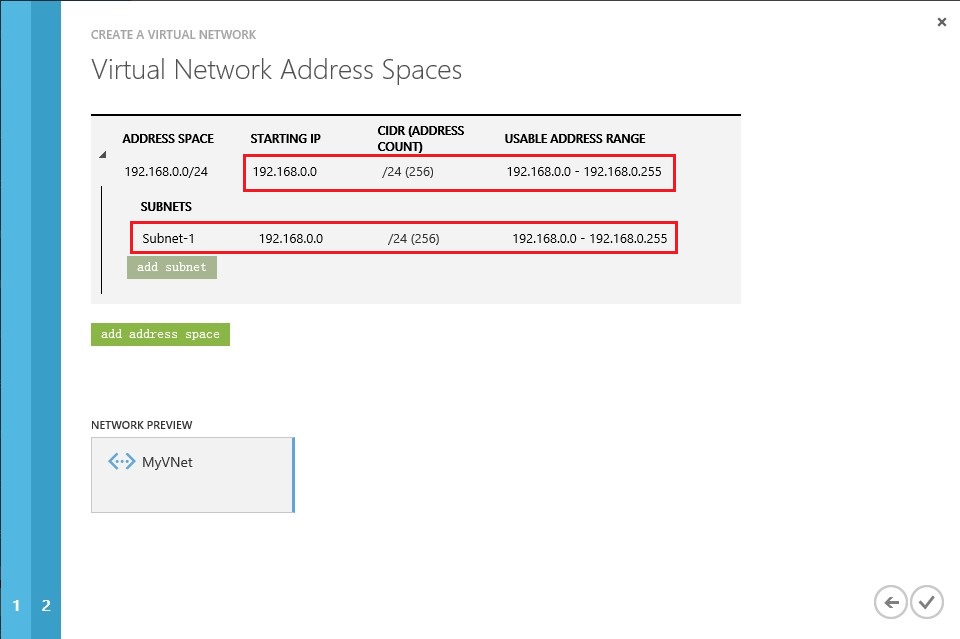
6.创建完毕后如下图:
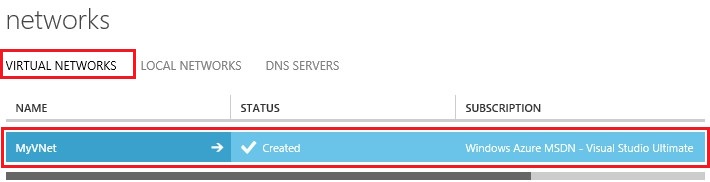
在接下来的文章中,我将给大家介绍如何使用我们创建完成的Virtual Network。
转载于 //www.cnblogs.com/threestone/p/3494816.html


还没有评论,来说两句吧...