java——spring boot集成RabbitMQ——高级特效——可靠性投递——spring boot实现confirm机制...
生产者:
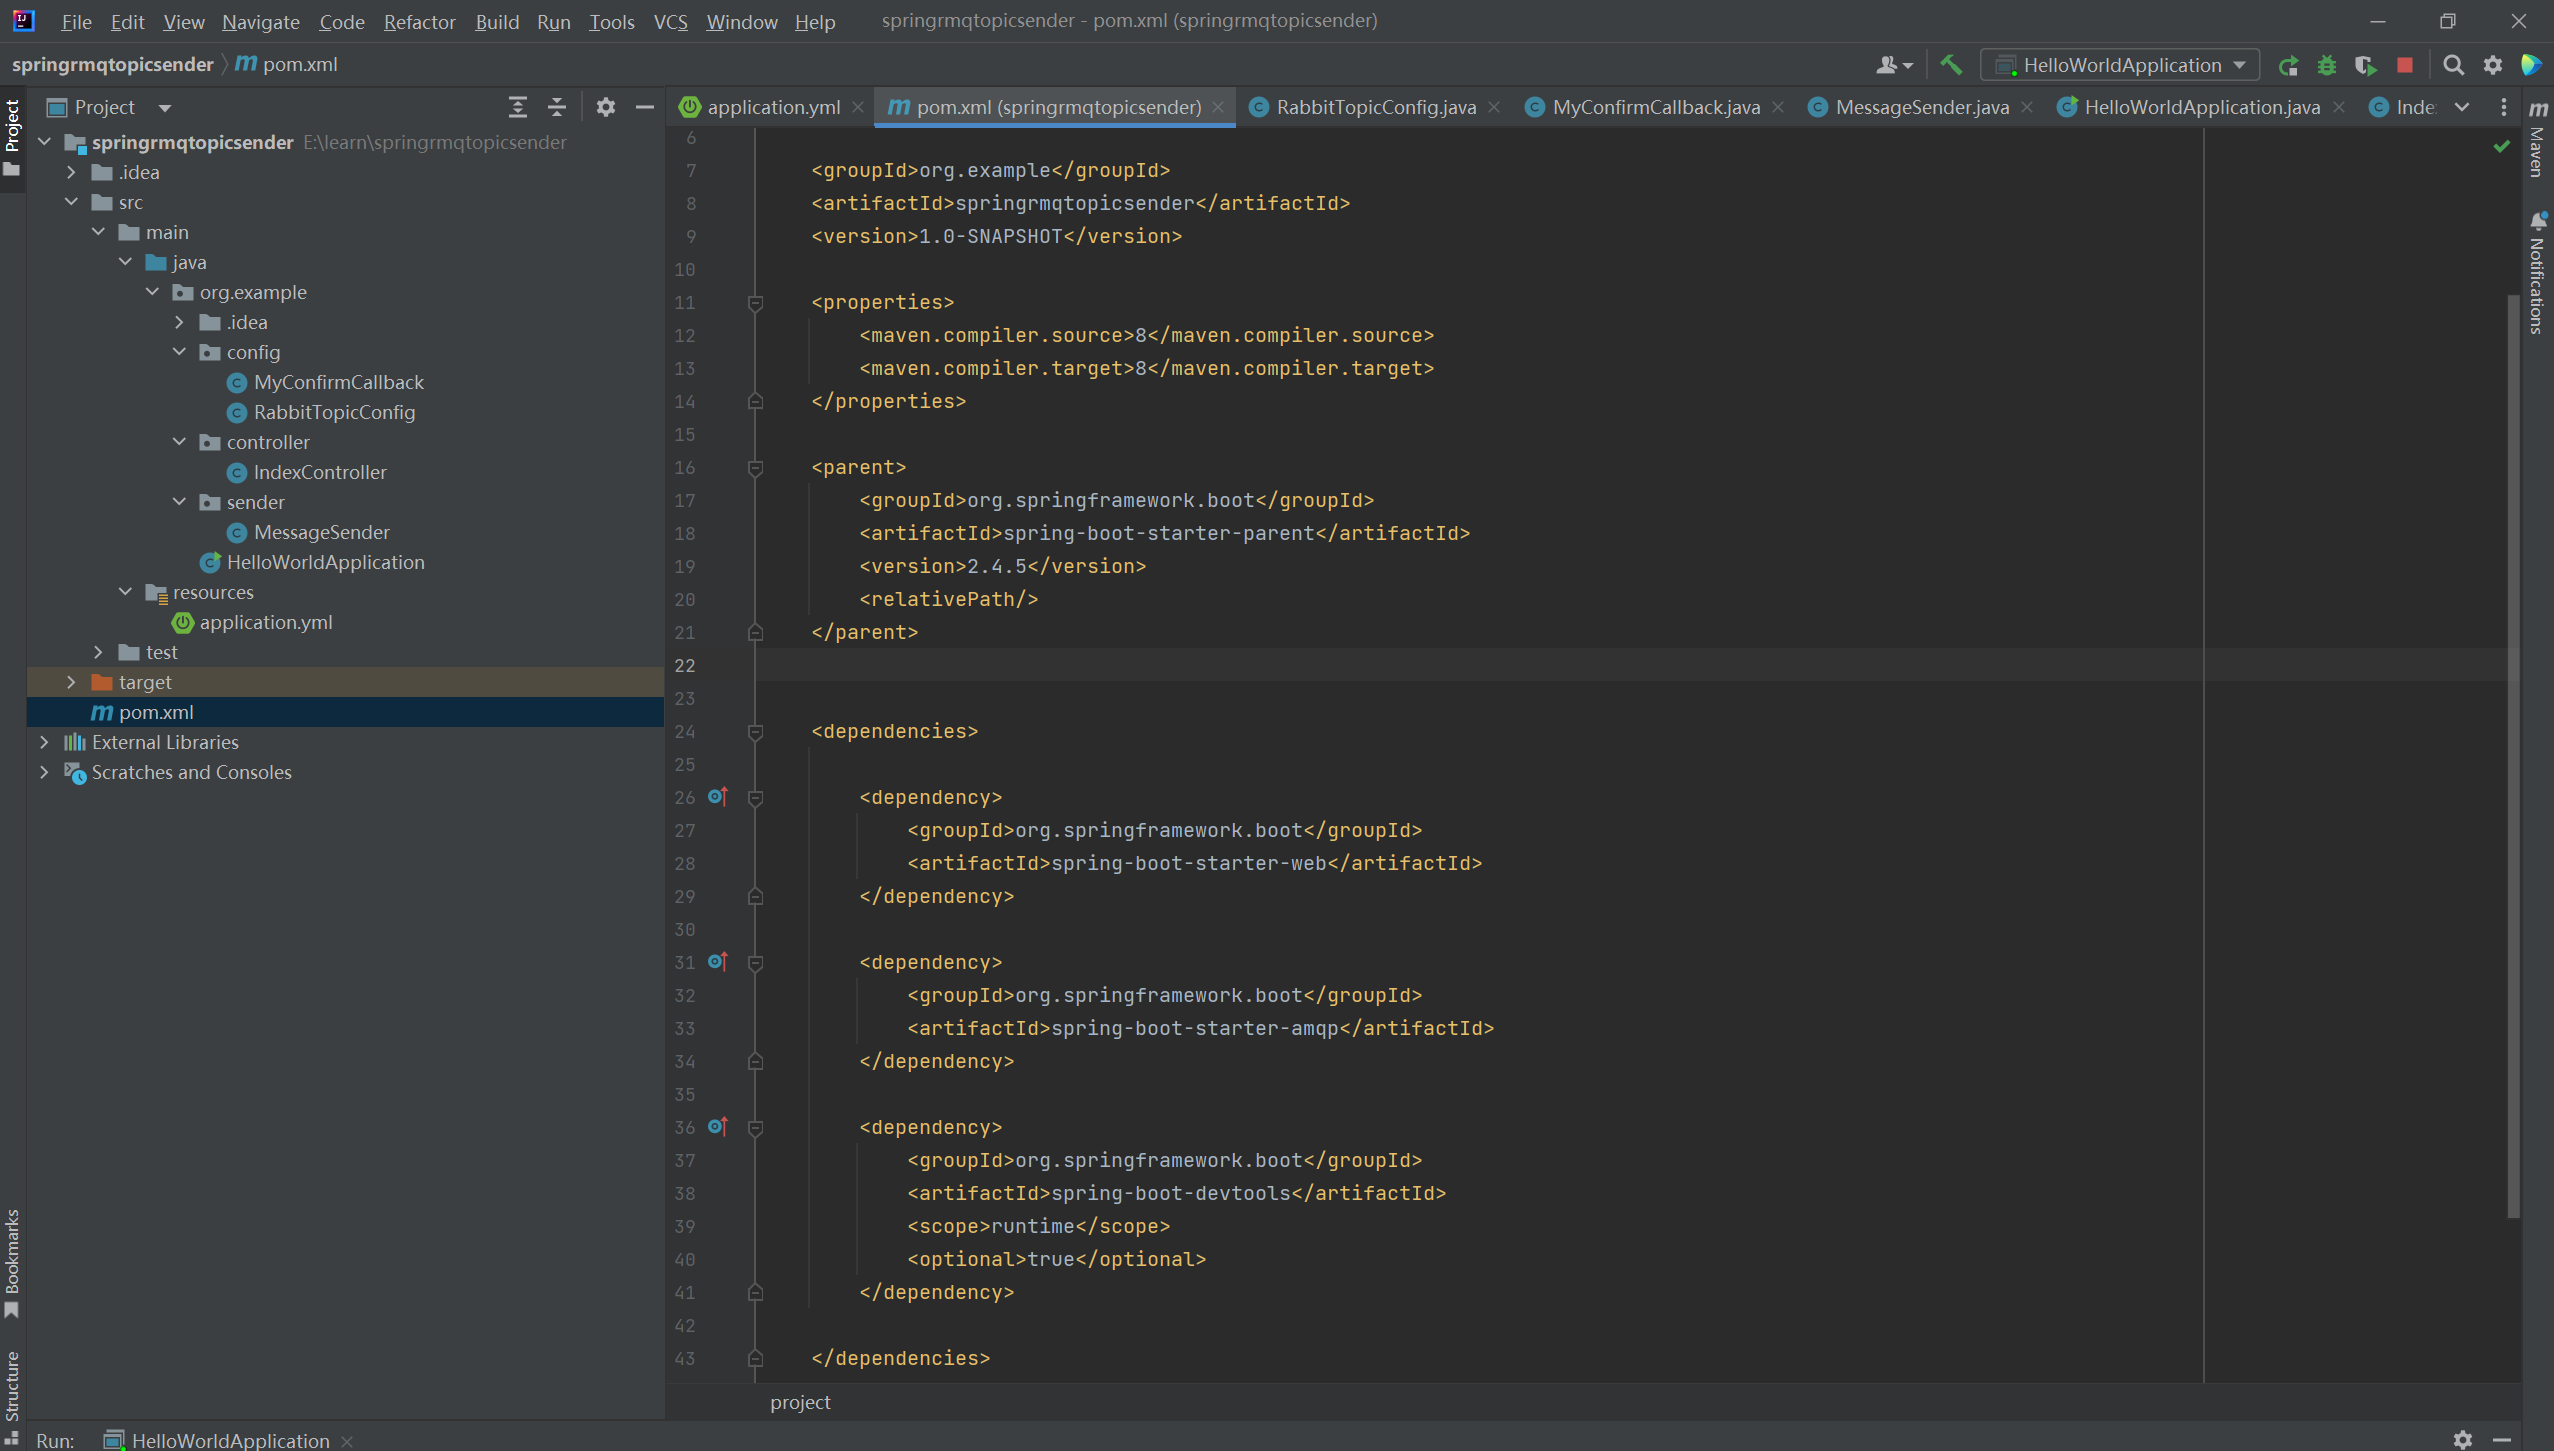
pom文件:
<?xml version="1.0" encoding="UTF-8"?><project xmlns="http://maven.apache.org/POM/4.0.0"xmlns:xsi="http://www.w3.org/2001/XMLSchema-instance"xsi:schemaLocation="http://maven.apache.org/POM/4.0.0 http://maven.apache.org/xsd/maven-4.0.0.xsd"><modelVersion>4.0.0</modelVersion><groupId>org.example</groupId><artifactId>springrmqtopicsender</artifactId><version>1.0-SNAPSHOT</version><properties><maven.compiler.source>8</maven.compiler.source><maven.compiler.target>8</maven.compiler.target></properties><parent><groupId>org.springframework.boot</groupId><artifactId>spring-boot-starter-parent</artifactId><version>2.4.5</version><relativePath/></parent><dependencies><dependency><groupId>org.springframework.boot</groupId><artifactId>spring-boot-starter-web</artifactId></dependency><dependency><groupId>org.springframework.boot</groupId><artifactId>spring-boot-starter-amqp</artifactId></dependency><dependency><groupId>org.springframework.boot</groupId><artifactId>spring-boot-devtools</artifactId><scope>runtime</scope><optional>true</optional></dependency></dependencies></project>
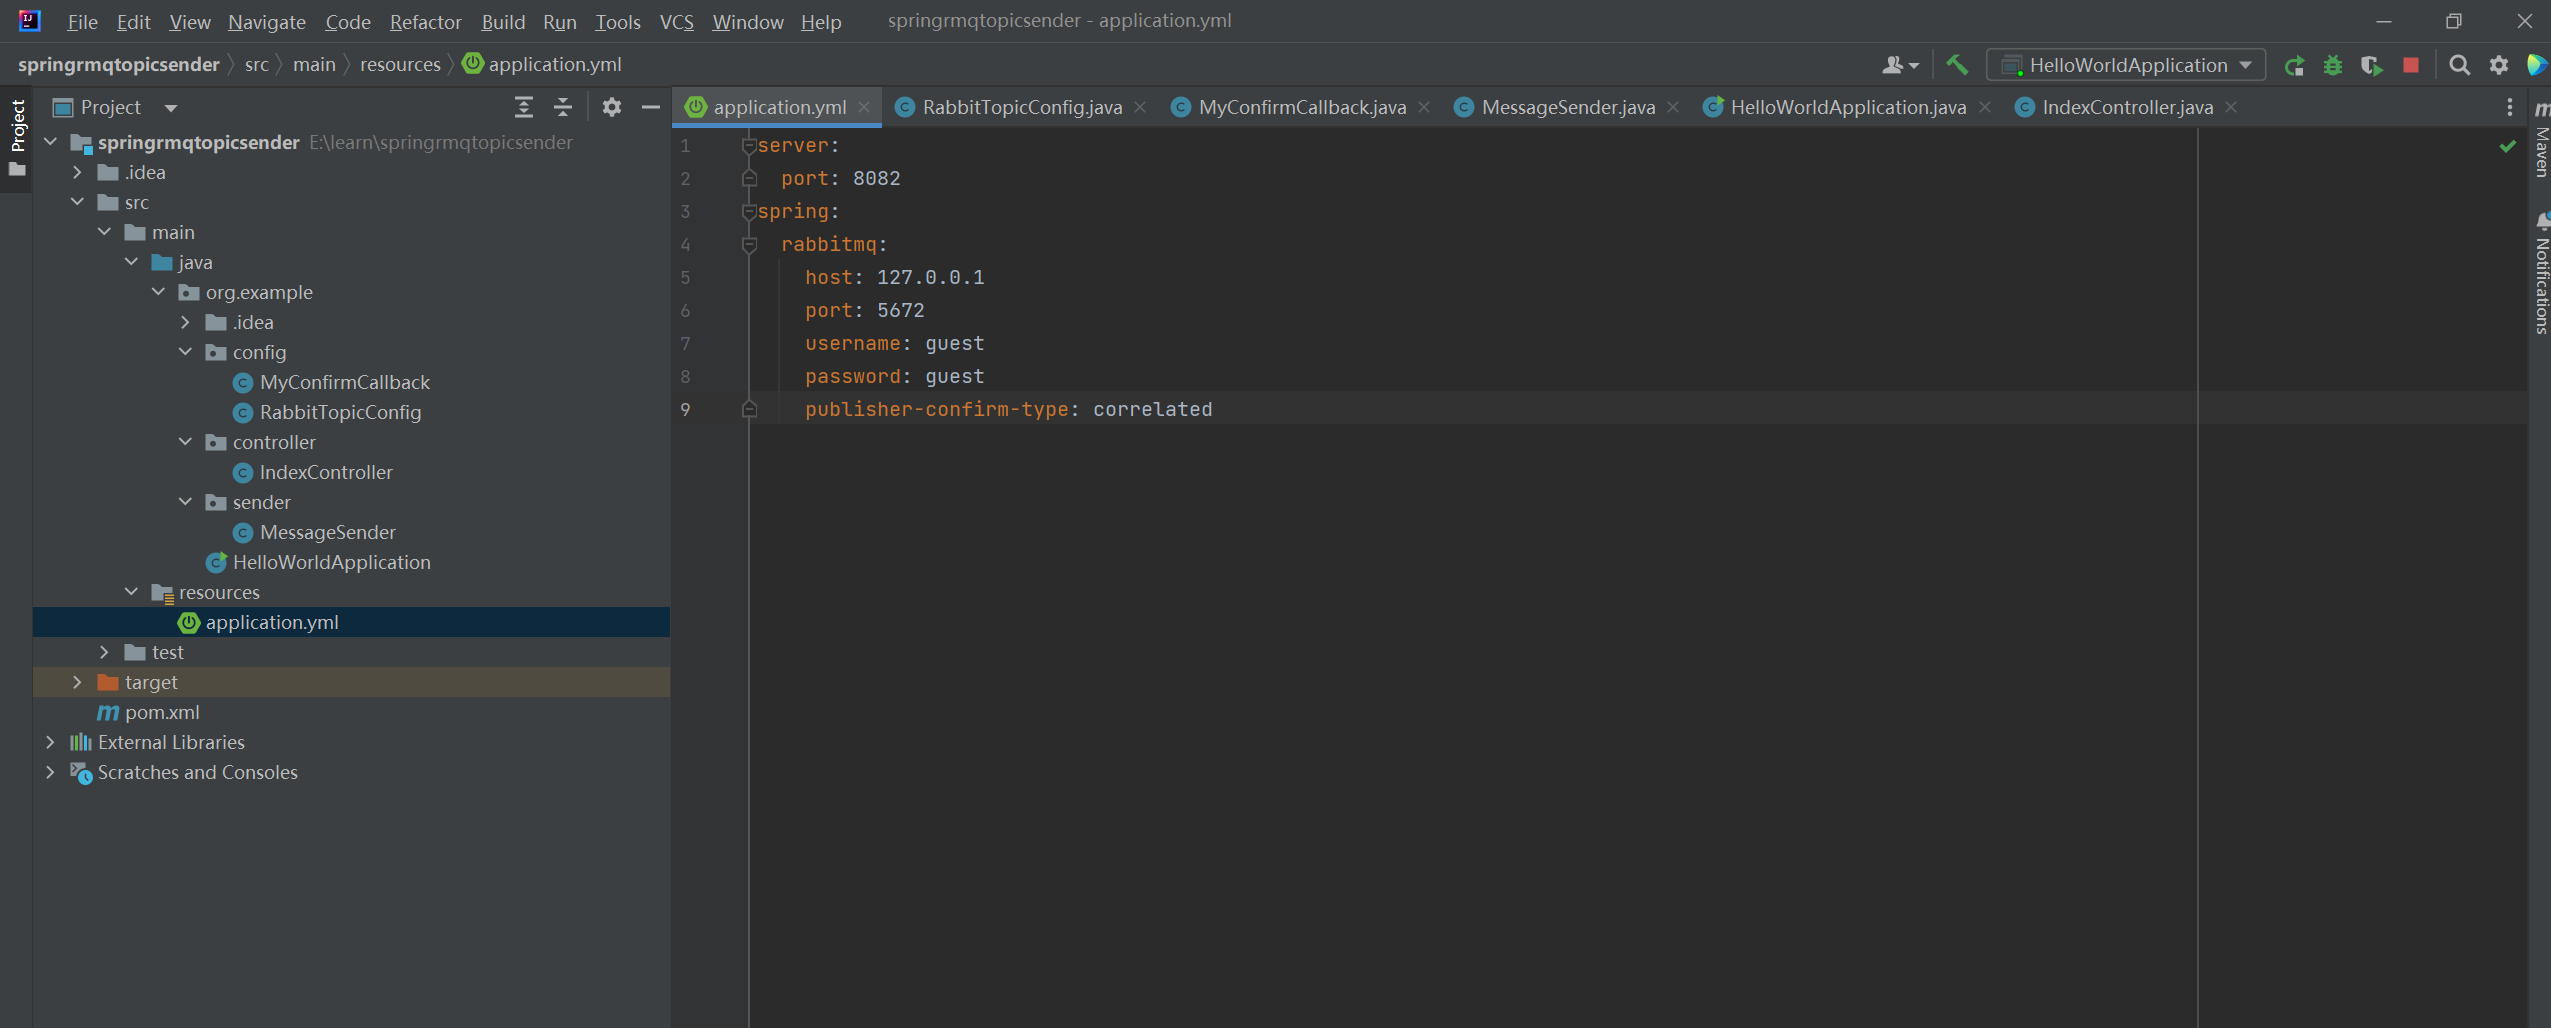
yml文件:
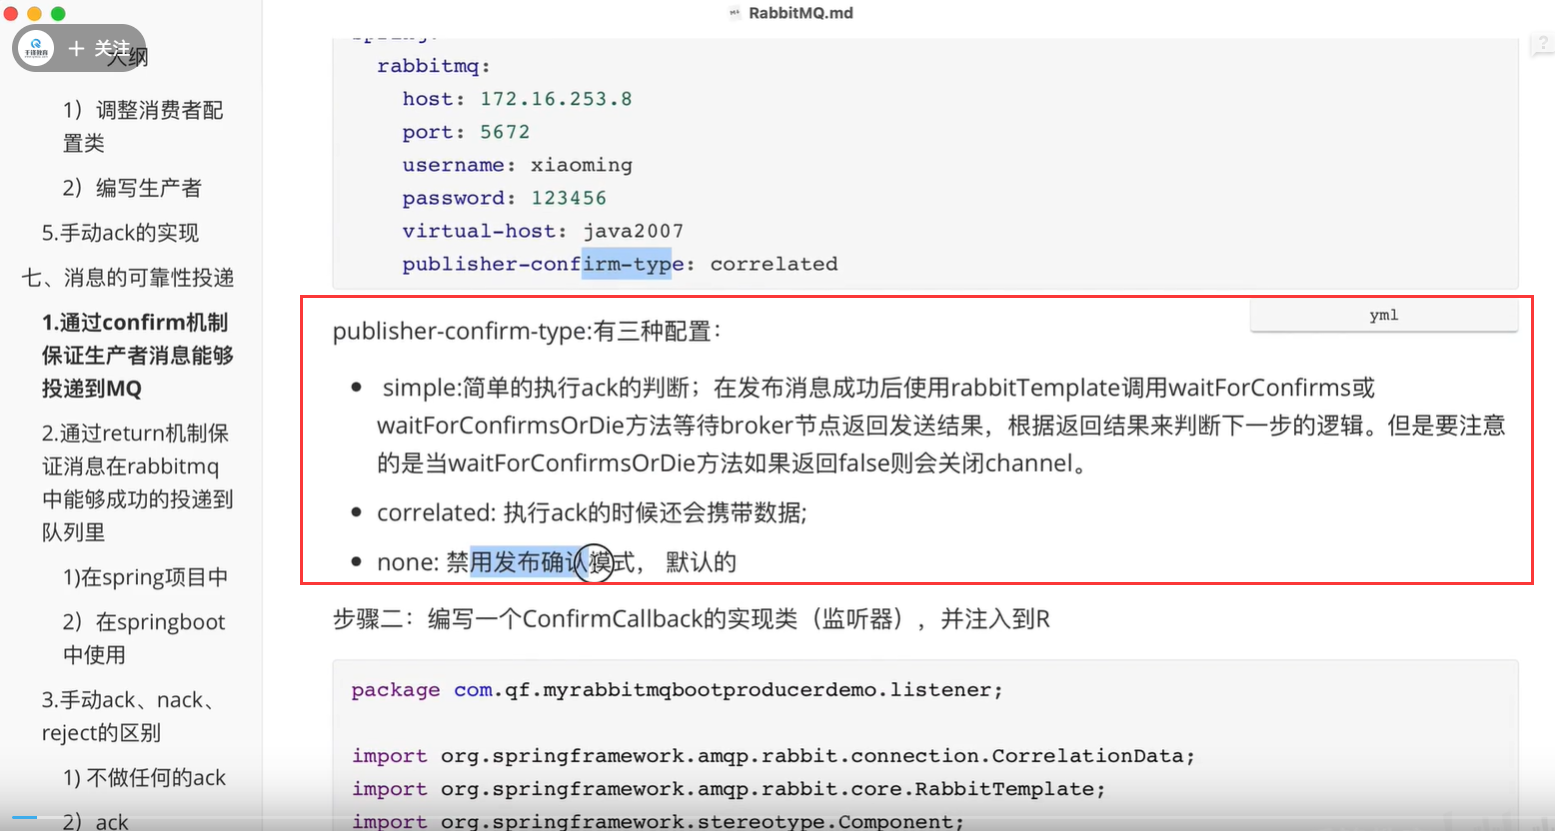
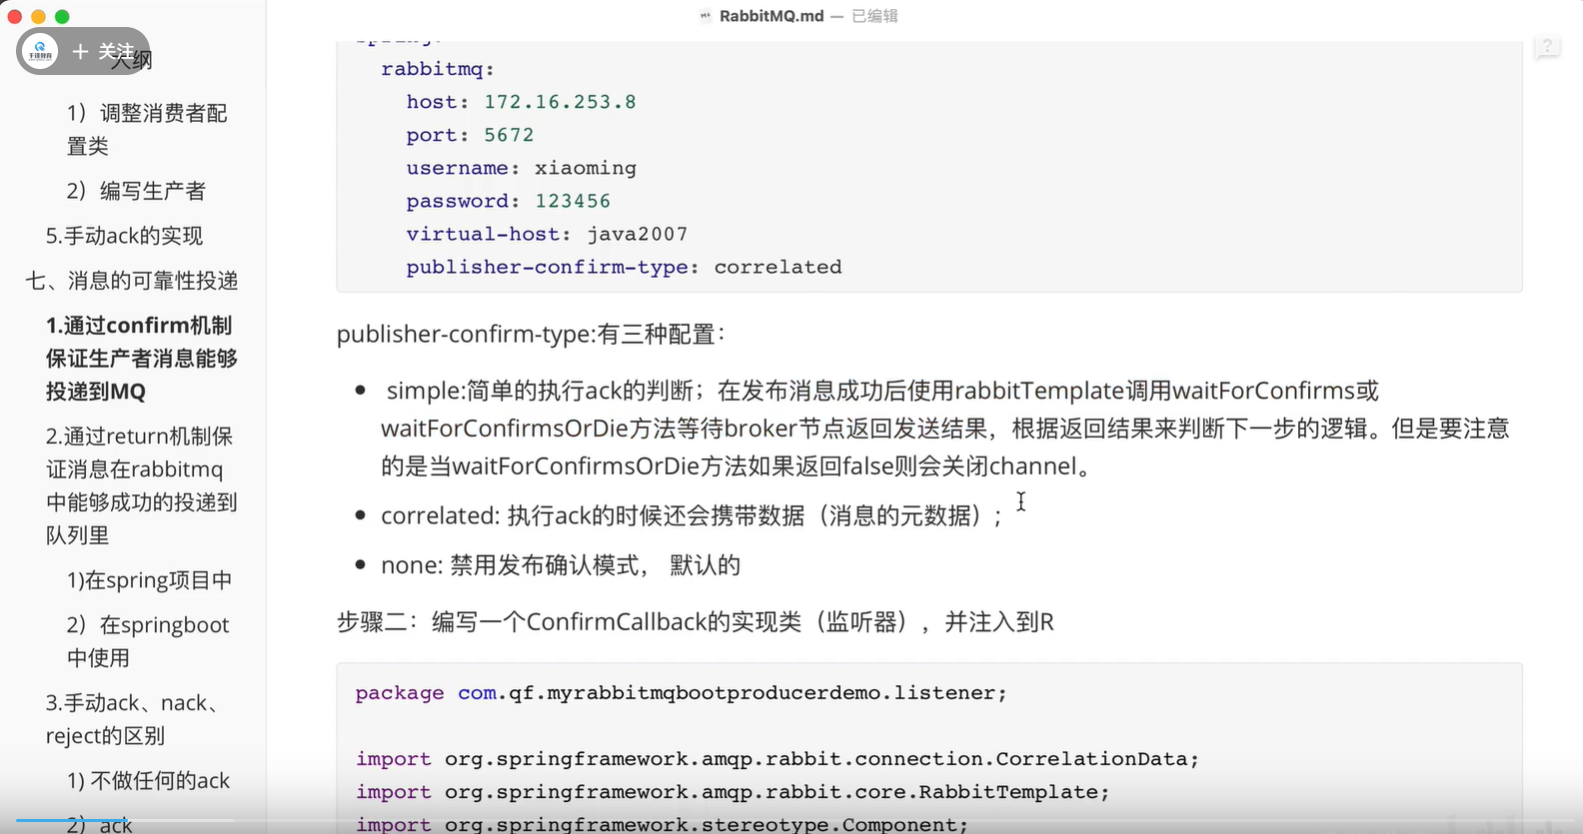
server:port: 8082spring:rabbitmq:host: 127.0.0.1port: 5672username: guestpassword: guestpublisher-confirm-type: correlated
设置config:
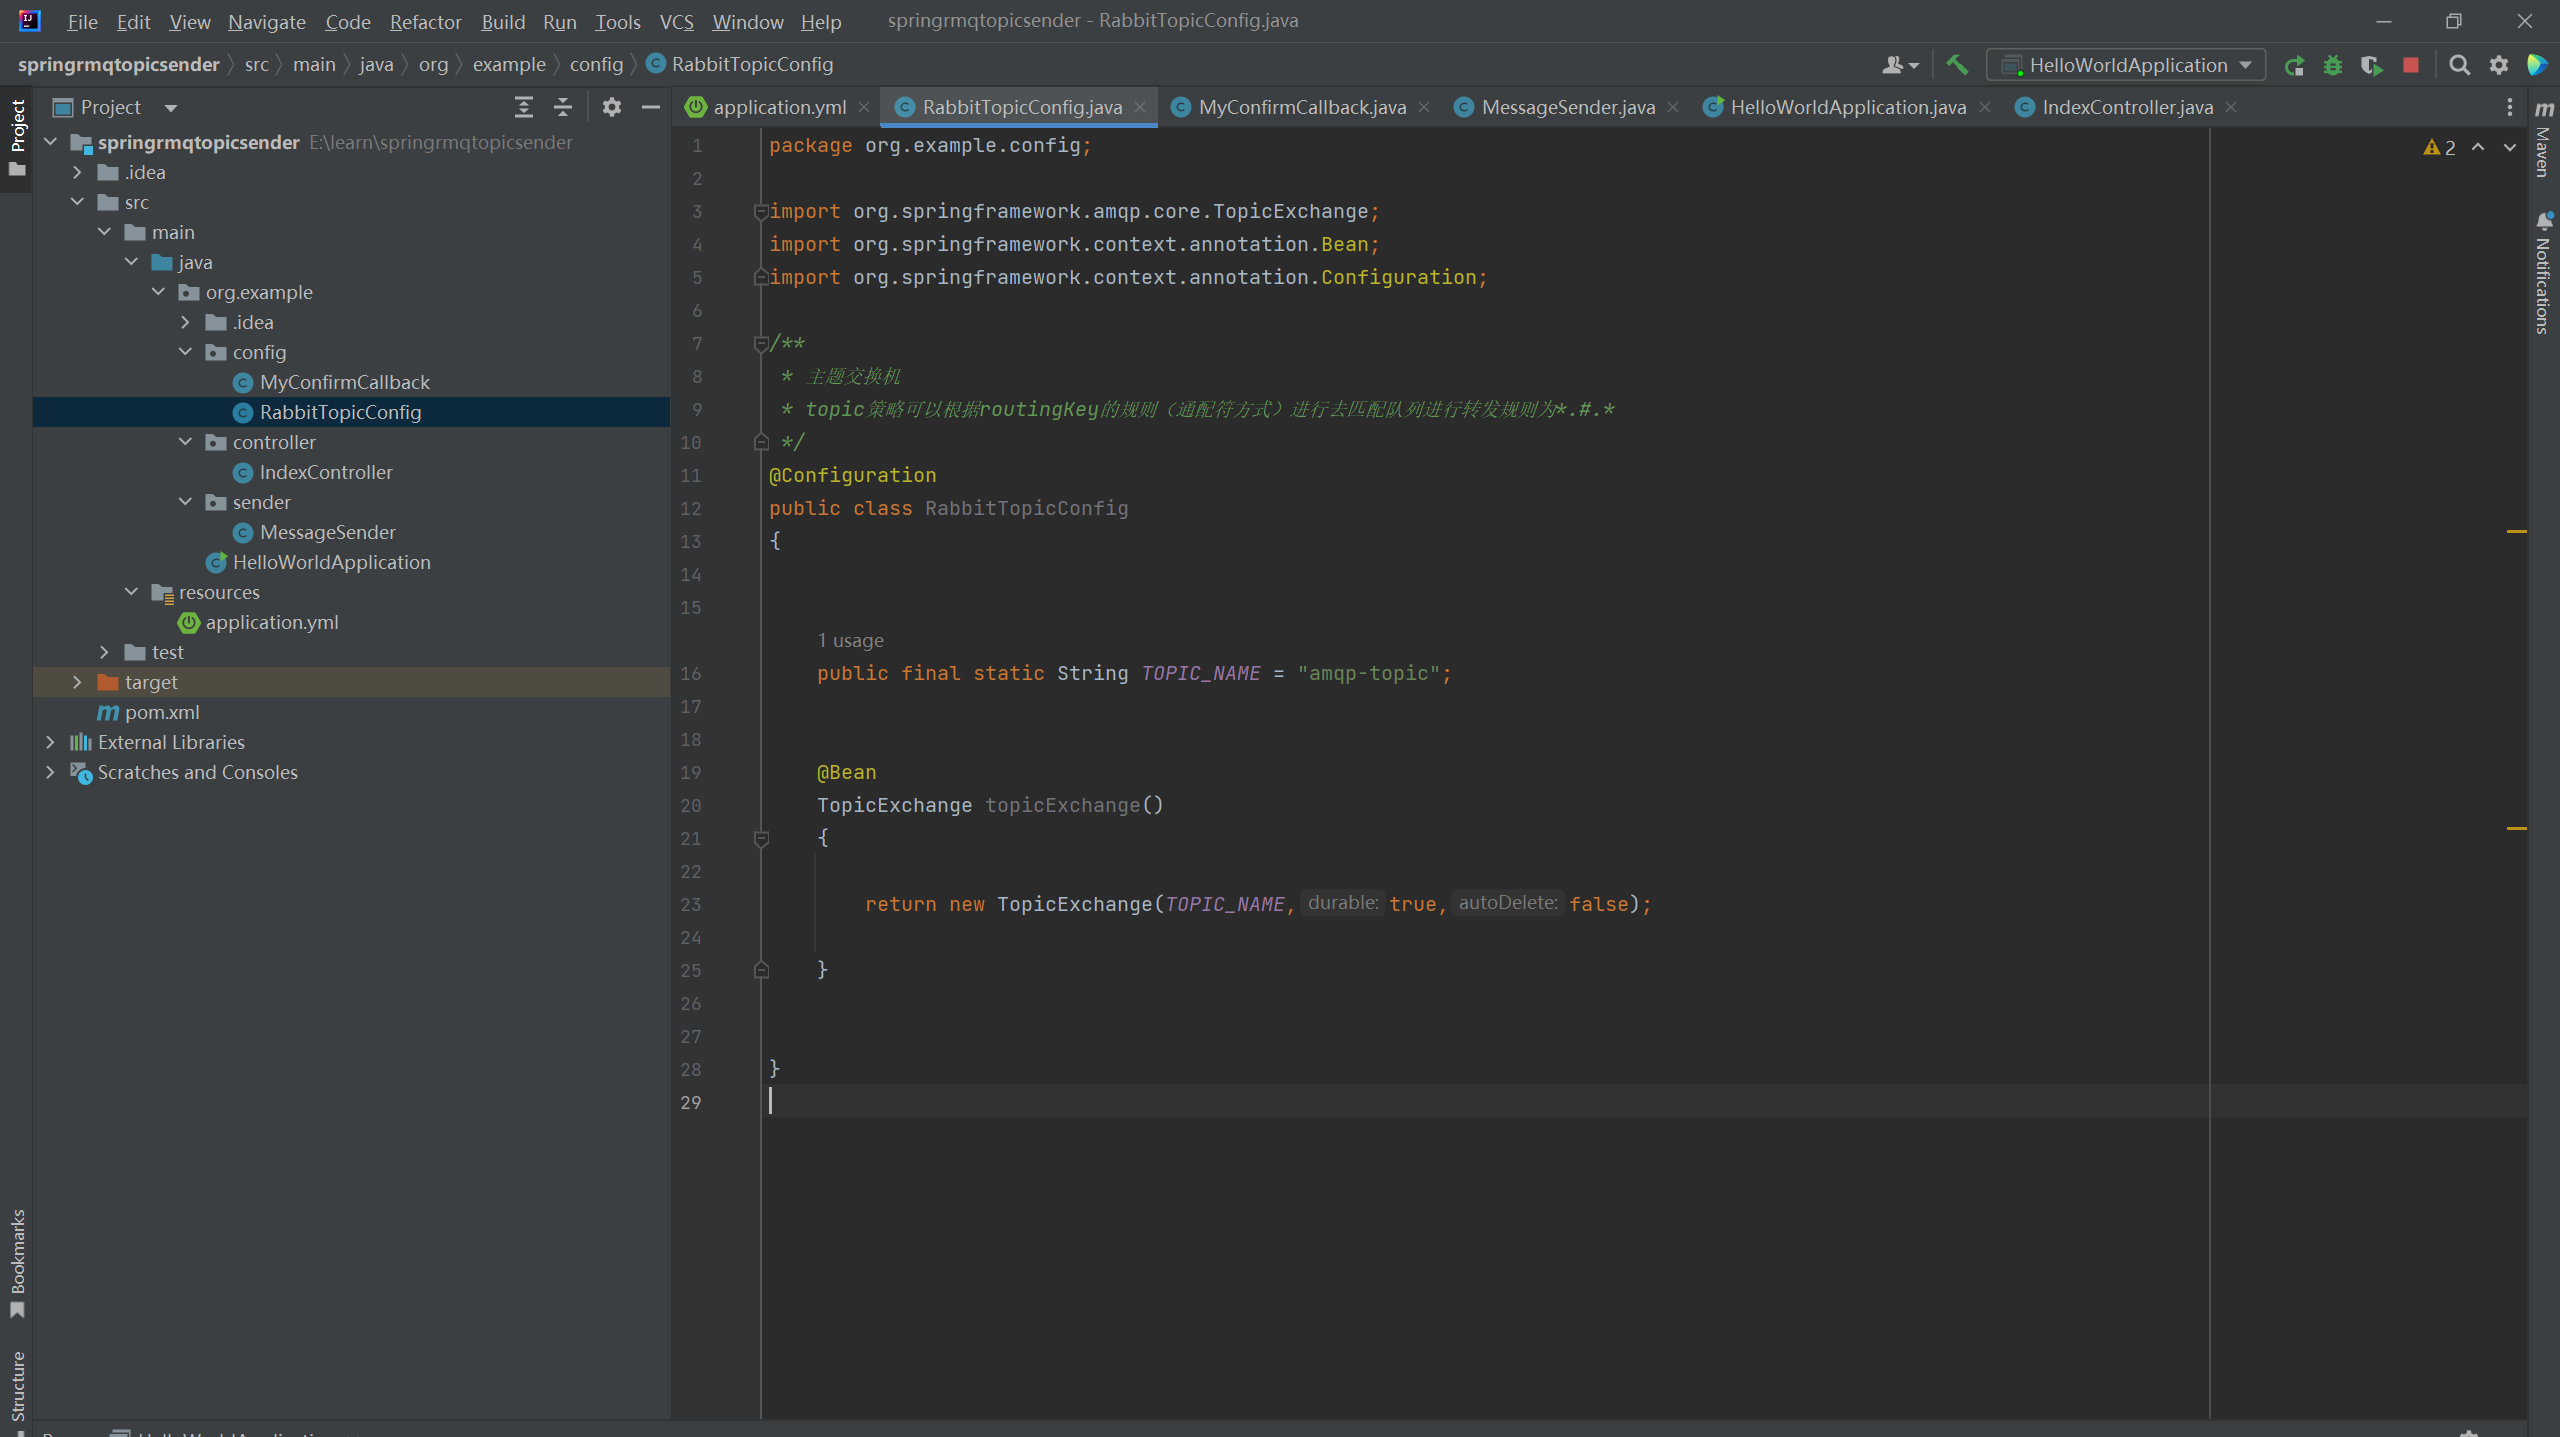
package org.example.config;import org.springframework.amqp.core.TopicExchange;import org.springframework.context.annotation.Bean;import org.springframework.context.annotation.Configuration;/*** 主题交换机* topic策略可以根据routingKey的规则(通配符方式)进行去匹配队列进行转发规则为*.#.**/@Configurationpublic class RabbitTopicConfig{public final static String TOPIC_NAME = "amqp-topic";@BeanTopicExchange topicExchange(){return new TopicExchange(TOPIC_NAME,true,false);}}
注入监听器:
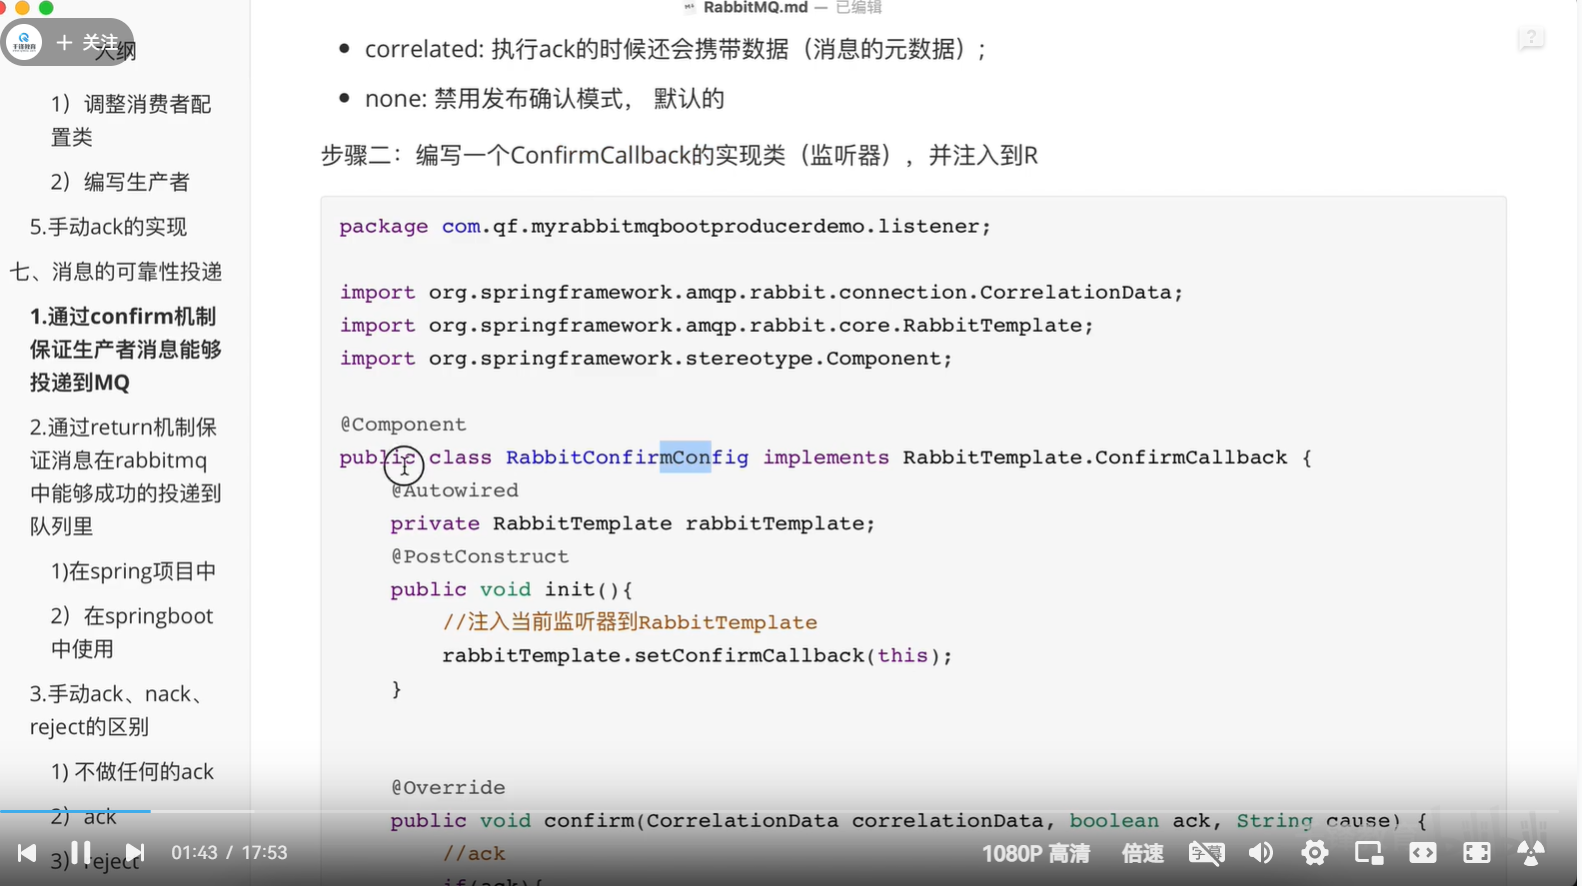
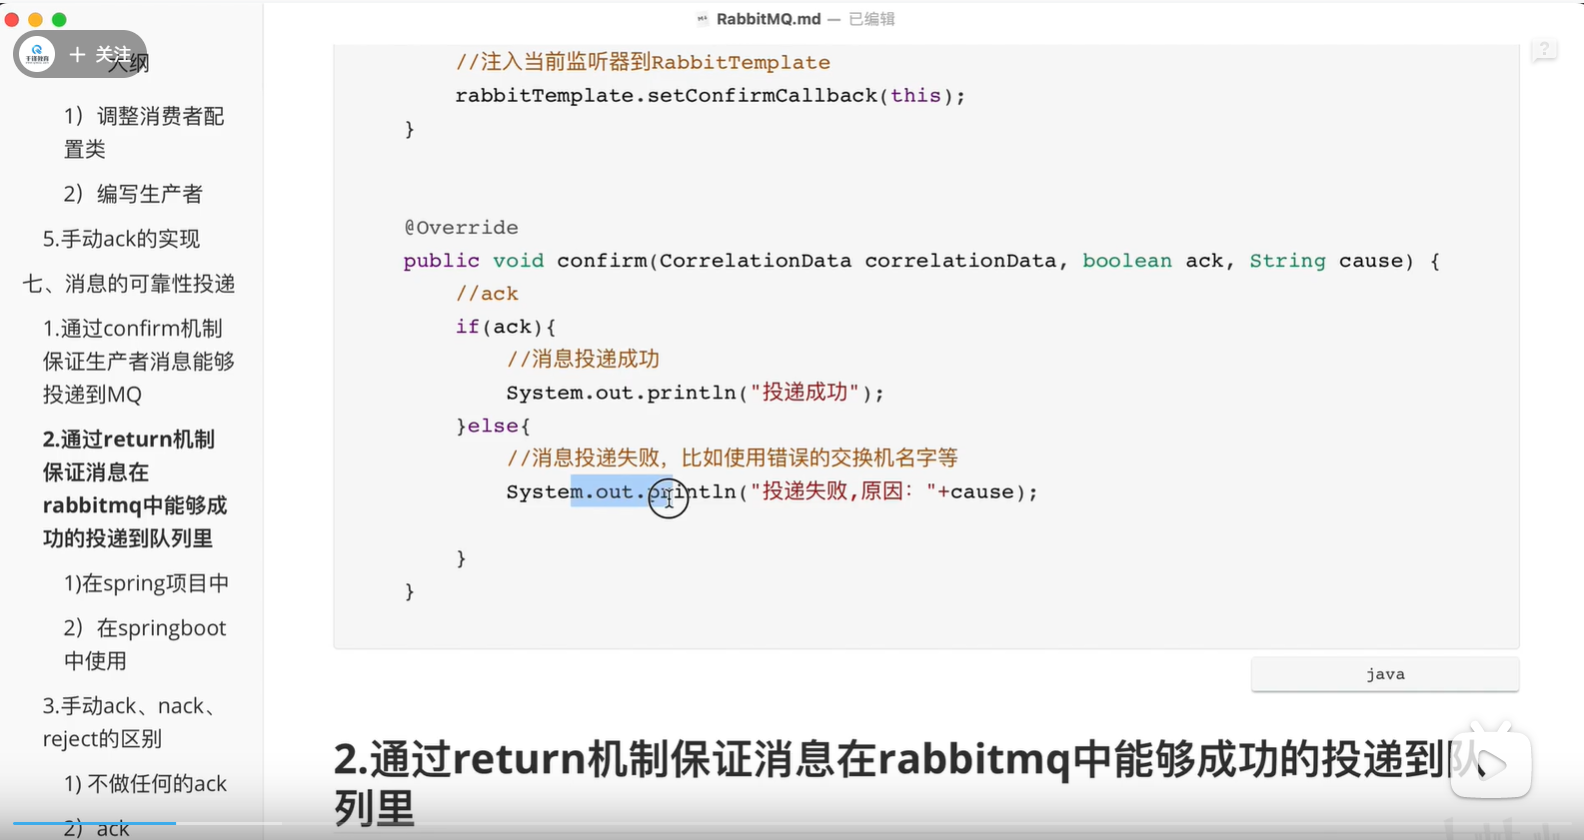
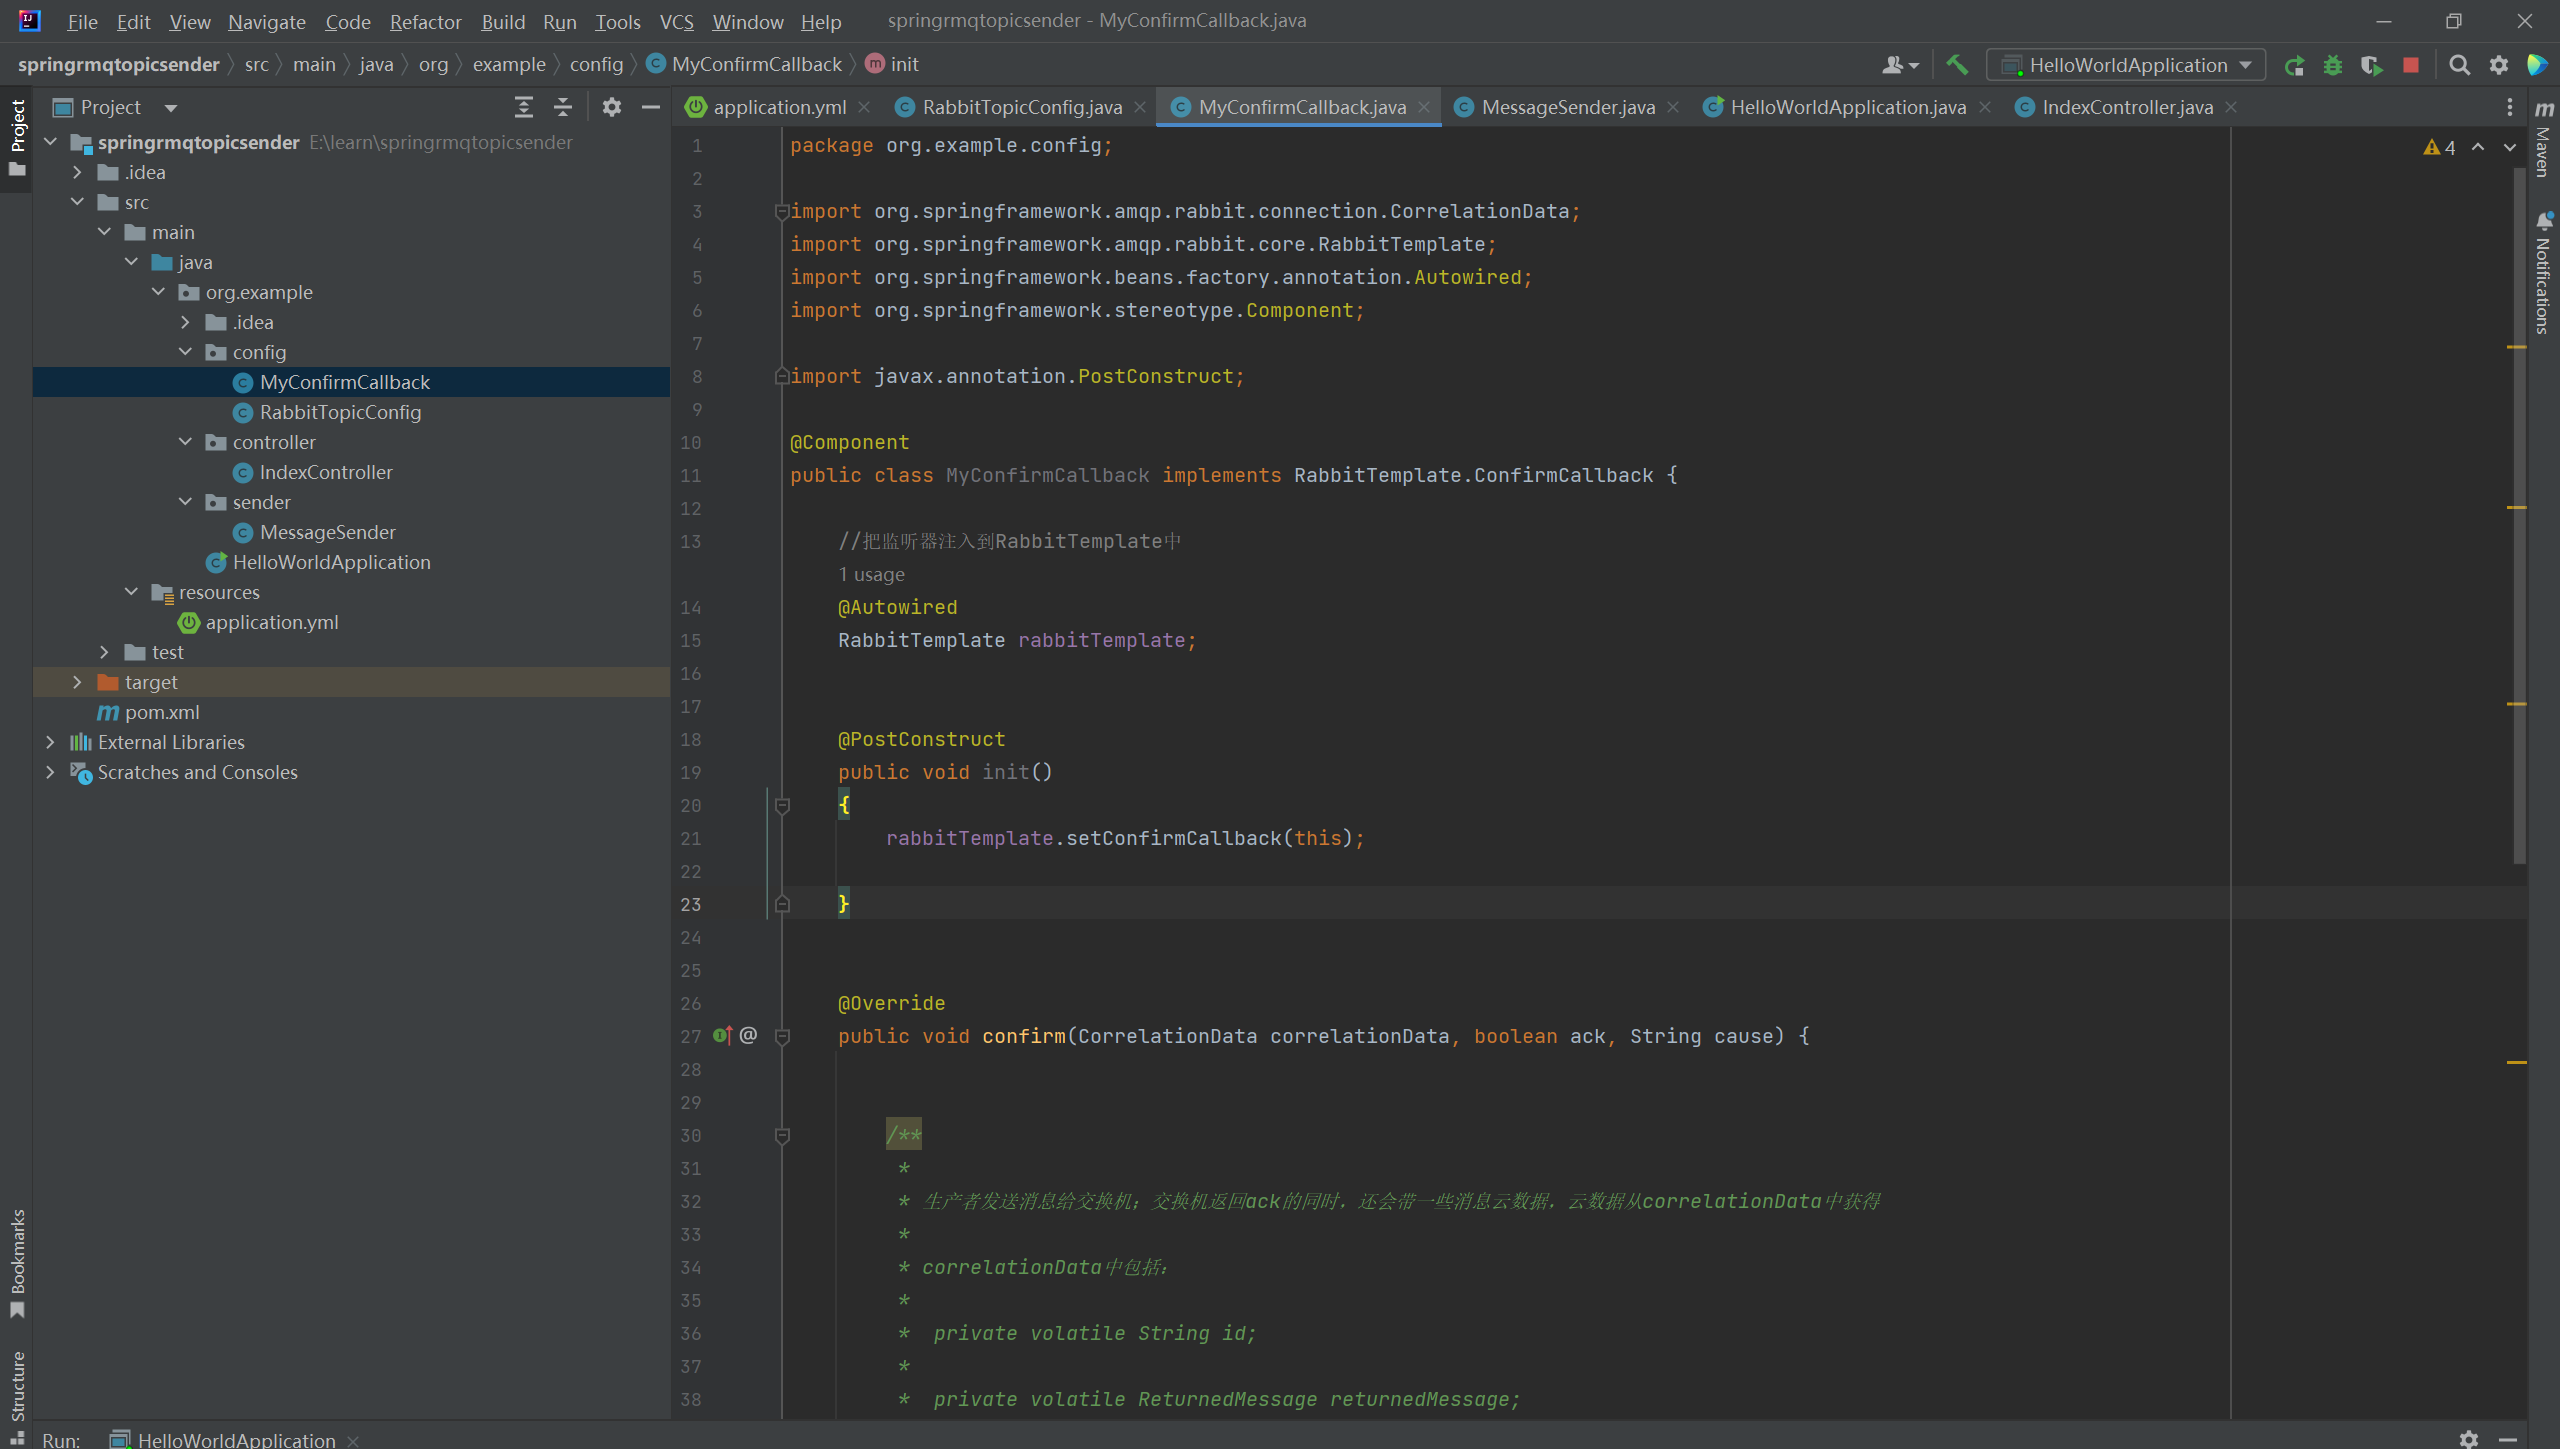
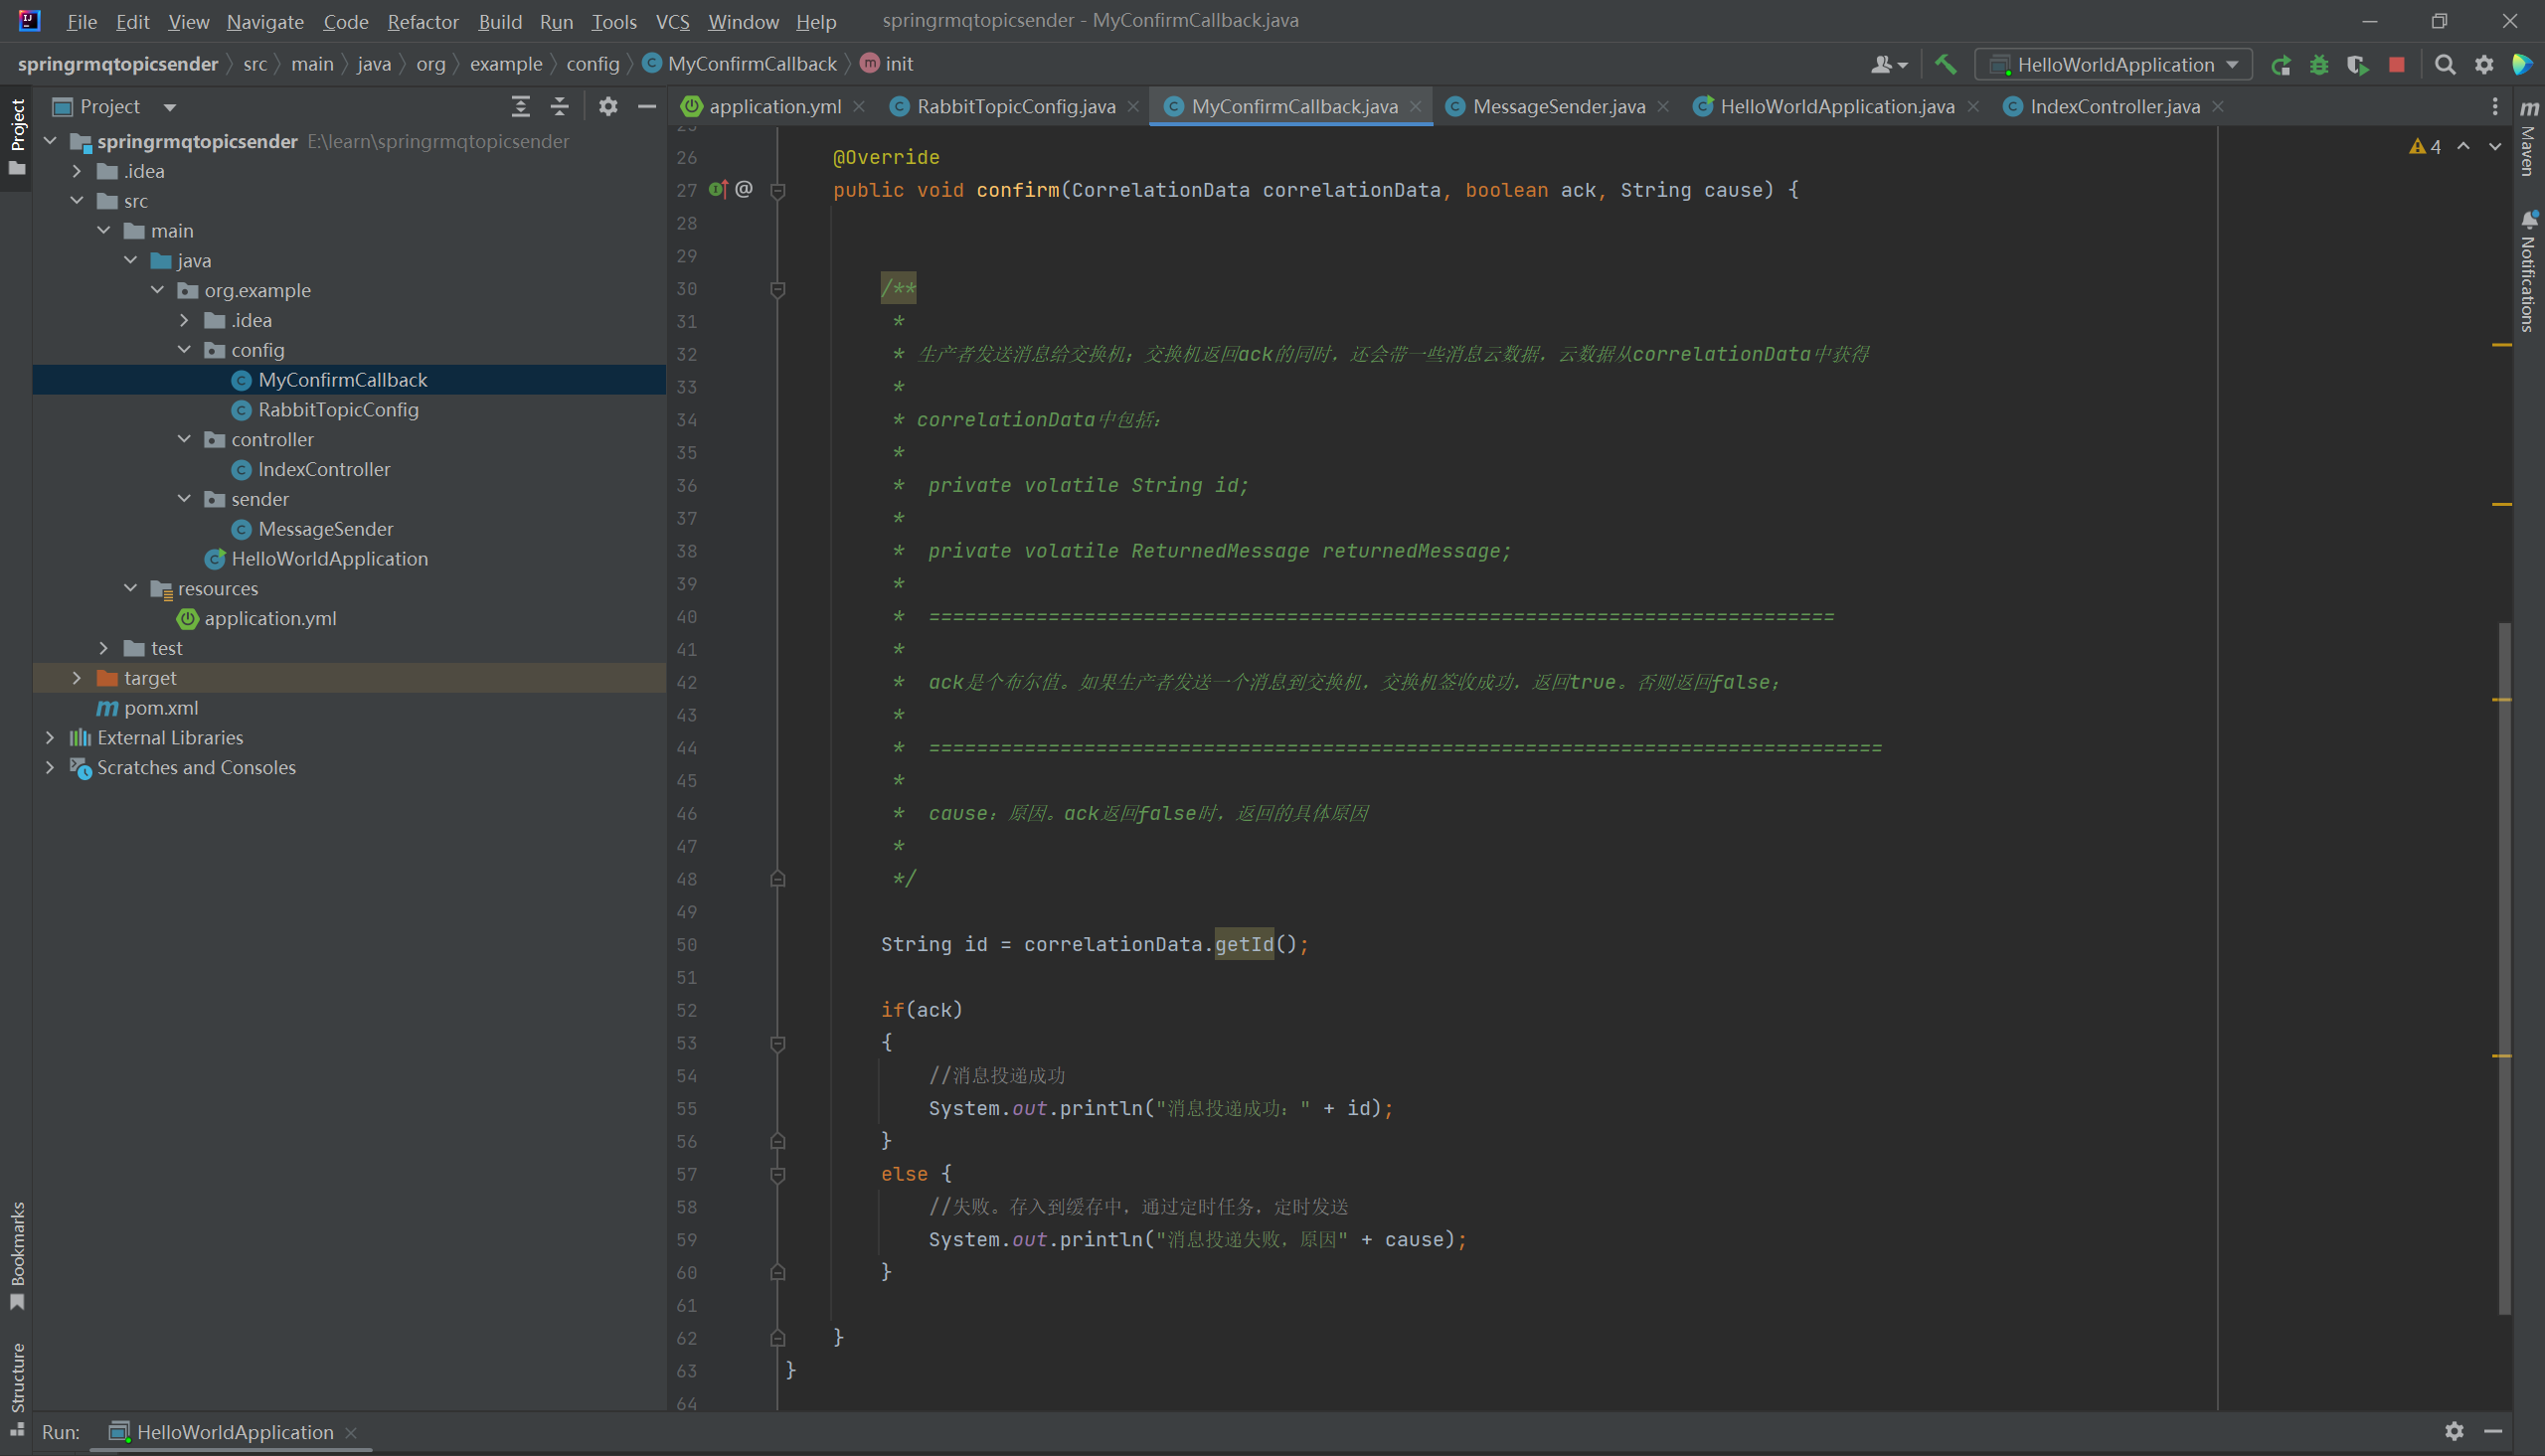
package org.example.config;import org.springframework.amqp.rabbit.connection.CorrelationData;import org.springframework.amqp.rabbit.core.RabbitTemplate;import org.springframework.beans.factory.annotation.Autowired;import org.springframework.stereotype.Component;import javax.annotation.PostConstruct;@Componentpublic class MyConfirmCallback implements RabbitTemplate.ConfirmCallback {//把监听器注入到RabbitTemplate中@AutowiredRabbitTemplate rabbitTemplate;@PostConstructpublic void init(){rabbitTemplate.setConfirmCallback(this);}@Overridepublic void confirm(CorrelationData correlationData, boolean ack, String cause) {/**** 生产者发送消息给交换机;交换机返回ack的同时,还会带一些消息云数据,云数据从correlationData中获得** correlationData中包括:** private volatile String id;** private volatile ReturnedMessage returnedMessage;** ============================================================================** ack是个布尔值。如果生产者发送一个消息到交换机,交换机签收成功,返回true。否则返回false;** ================================================================================** cause:原因。ack返回false时,返回的具体原因**/String id = correlationData.getId();if(ack){//消息投递成功System.out.println("消息投递成功:" + id);}else {//失败。存入到缓存中,通过定时任务,定时发送System.out.println("消息投递失败,原因" + cause);}}}
发送消息:
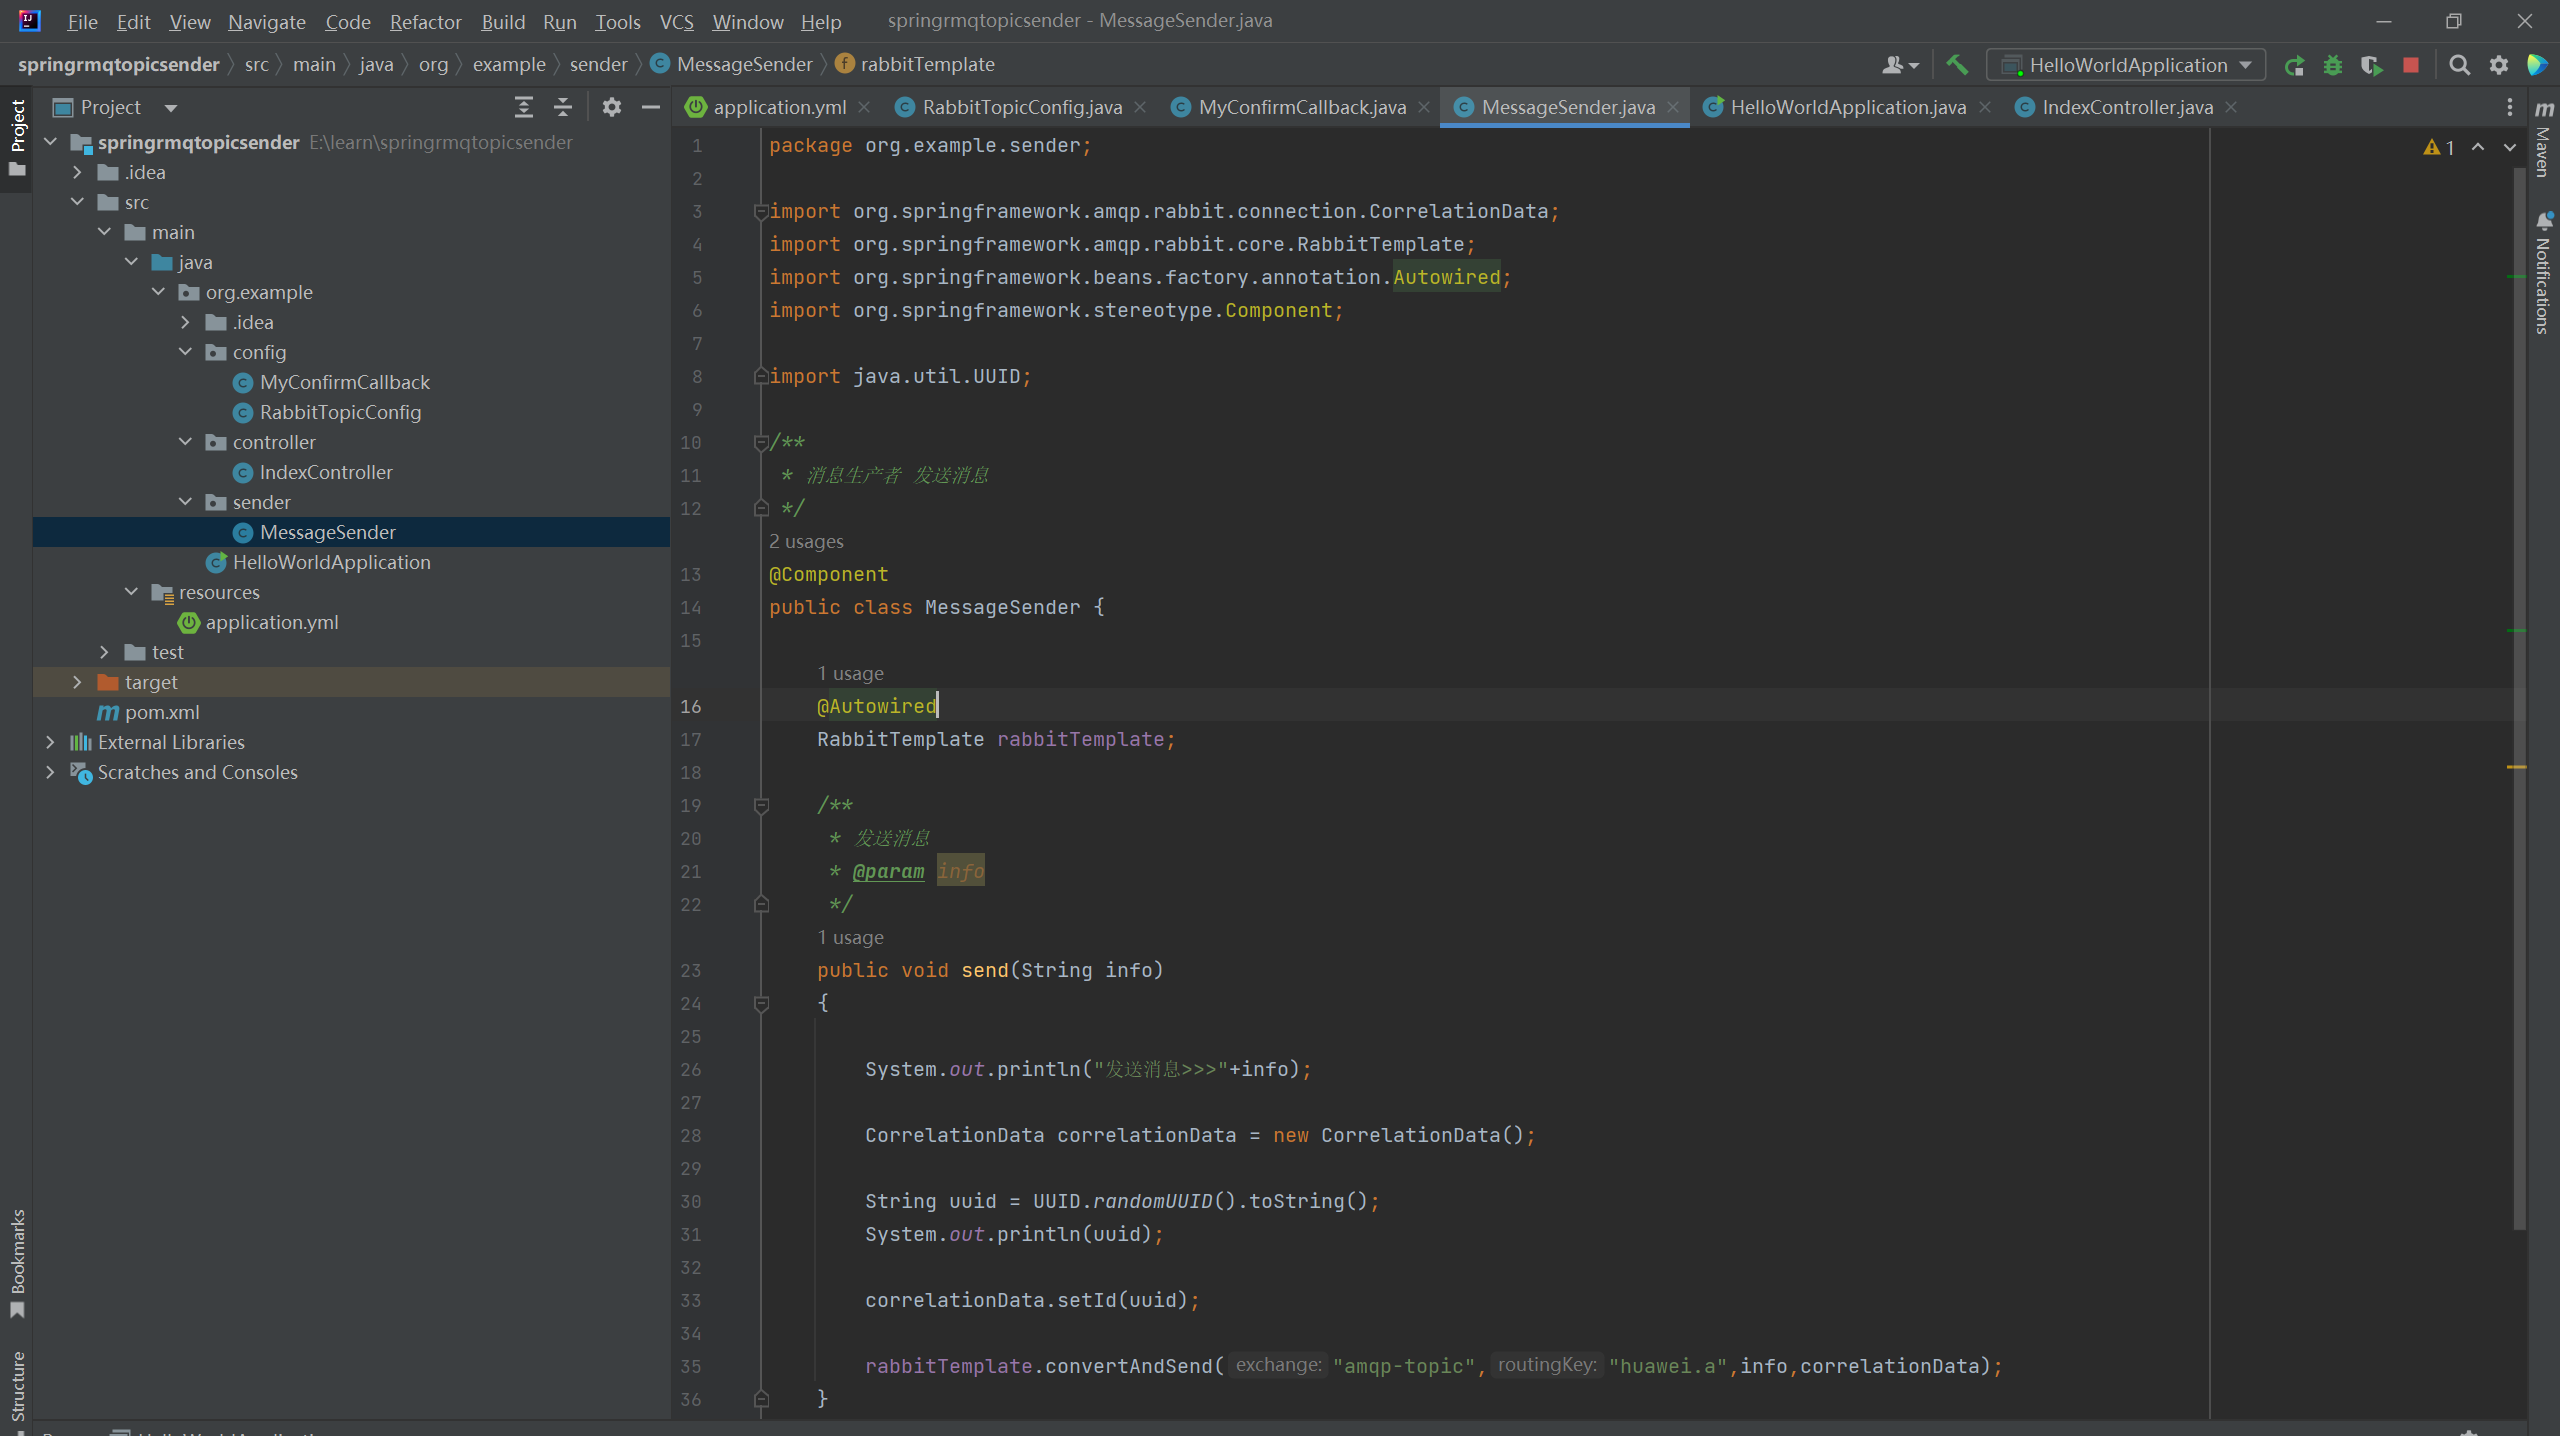
package org.example.sender;import org.springframework.amqp.rabbit.connection.CorrelationData;import org.springframework.amqp.rabbit.core.RabbitTemplate;import org.springframework.beans.factory.annotation.Autowired;import org.springframework.stereotype.Component;import java.util.UUID;/*** 消息生产者 发送消息*/@Componentpublic class MessageSender {@AutowiredRabbitTemplate rabbitTemplate;/*** 发送消息* @param info*/public void send(String info){System.out.println("发送消息>>>"+info);CorrelationData correlationData = new CorrelationData();String uuid = UUID.randomUUID().toString();System.out.println(uuid);correlationData.setId(uuid);rabbitTemplate.convertAndSend("amqp-topic","huawei.a",info,correlationData);}}
发送消息:
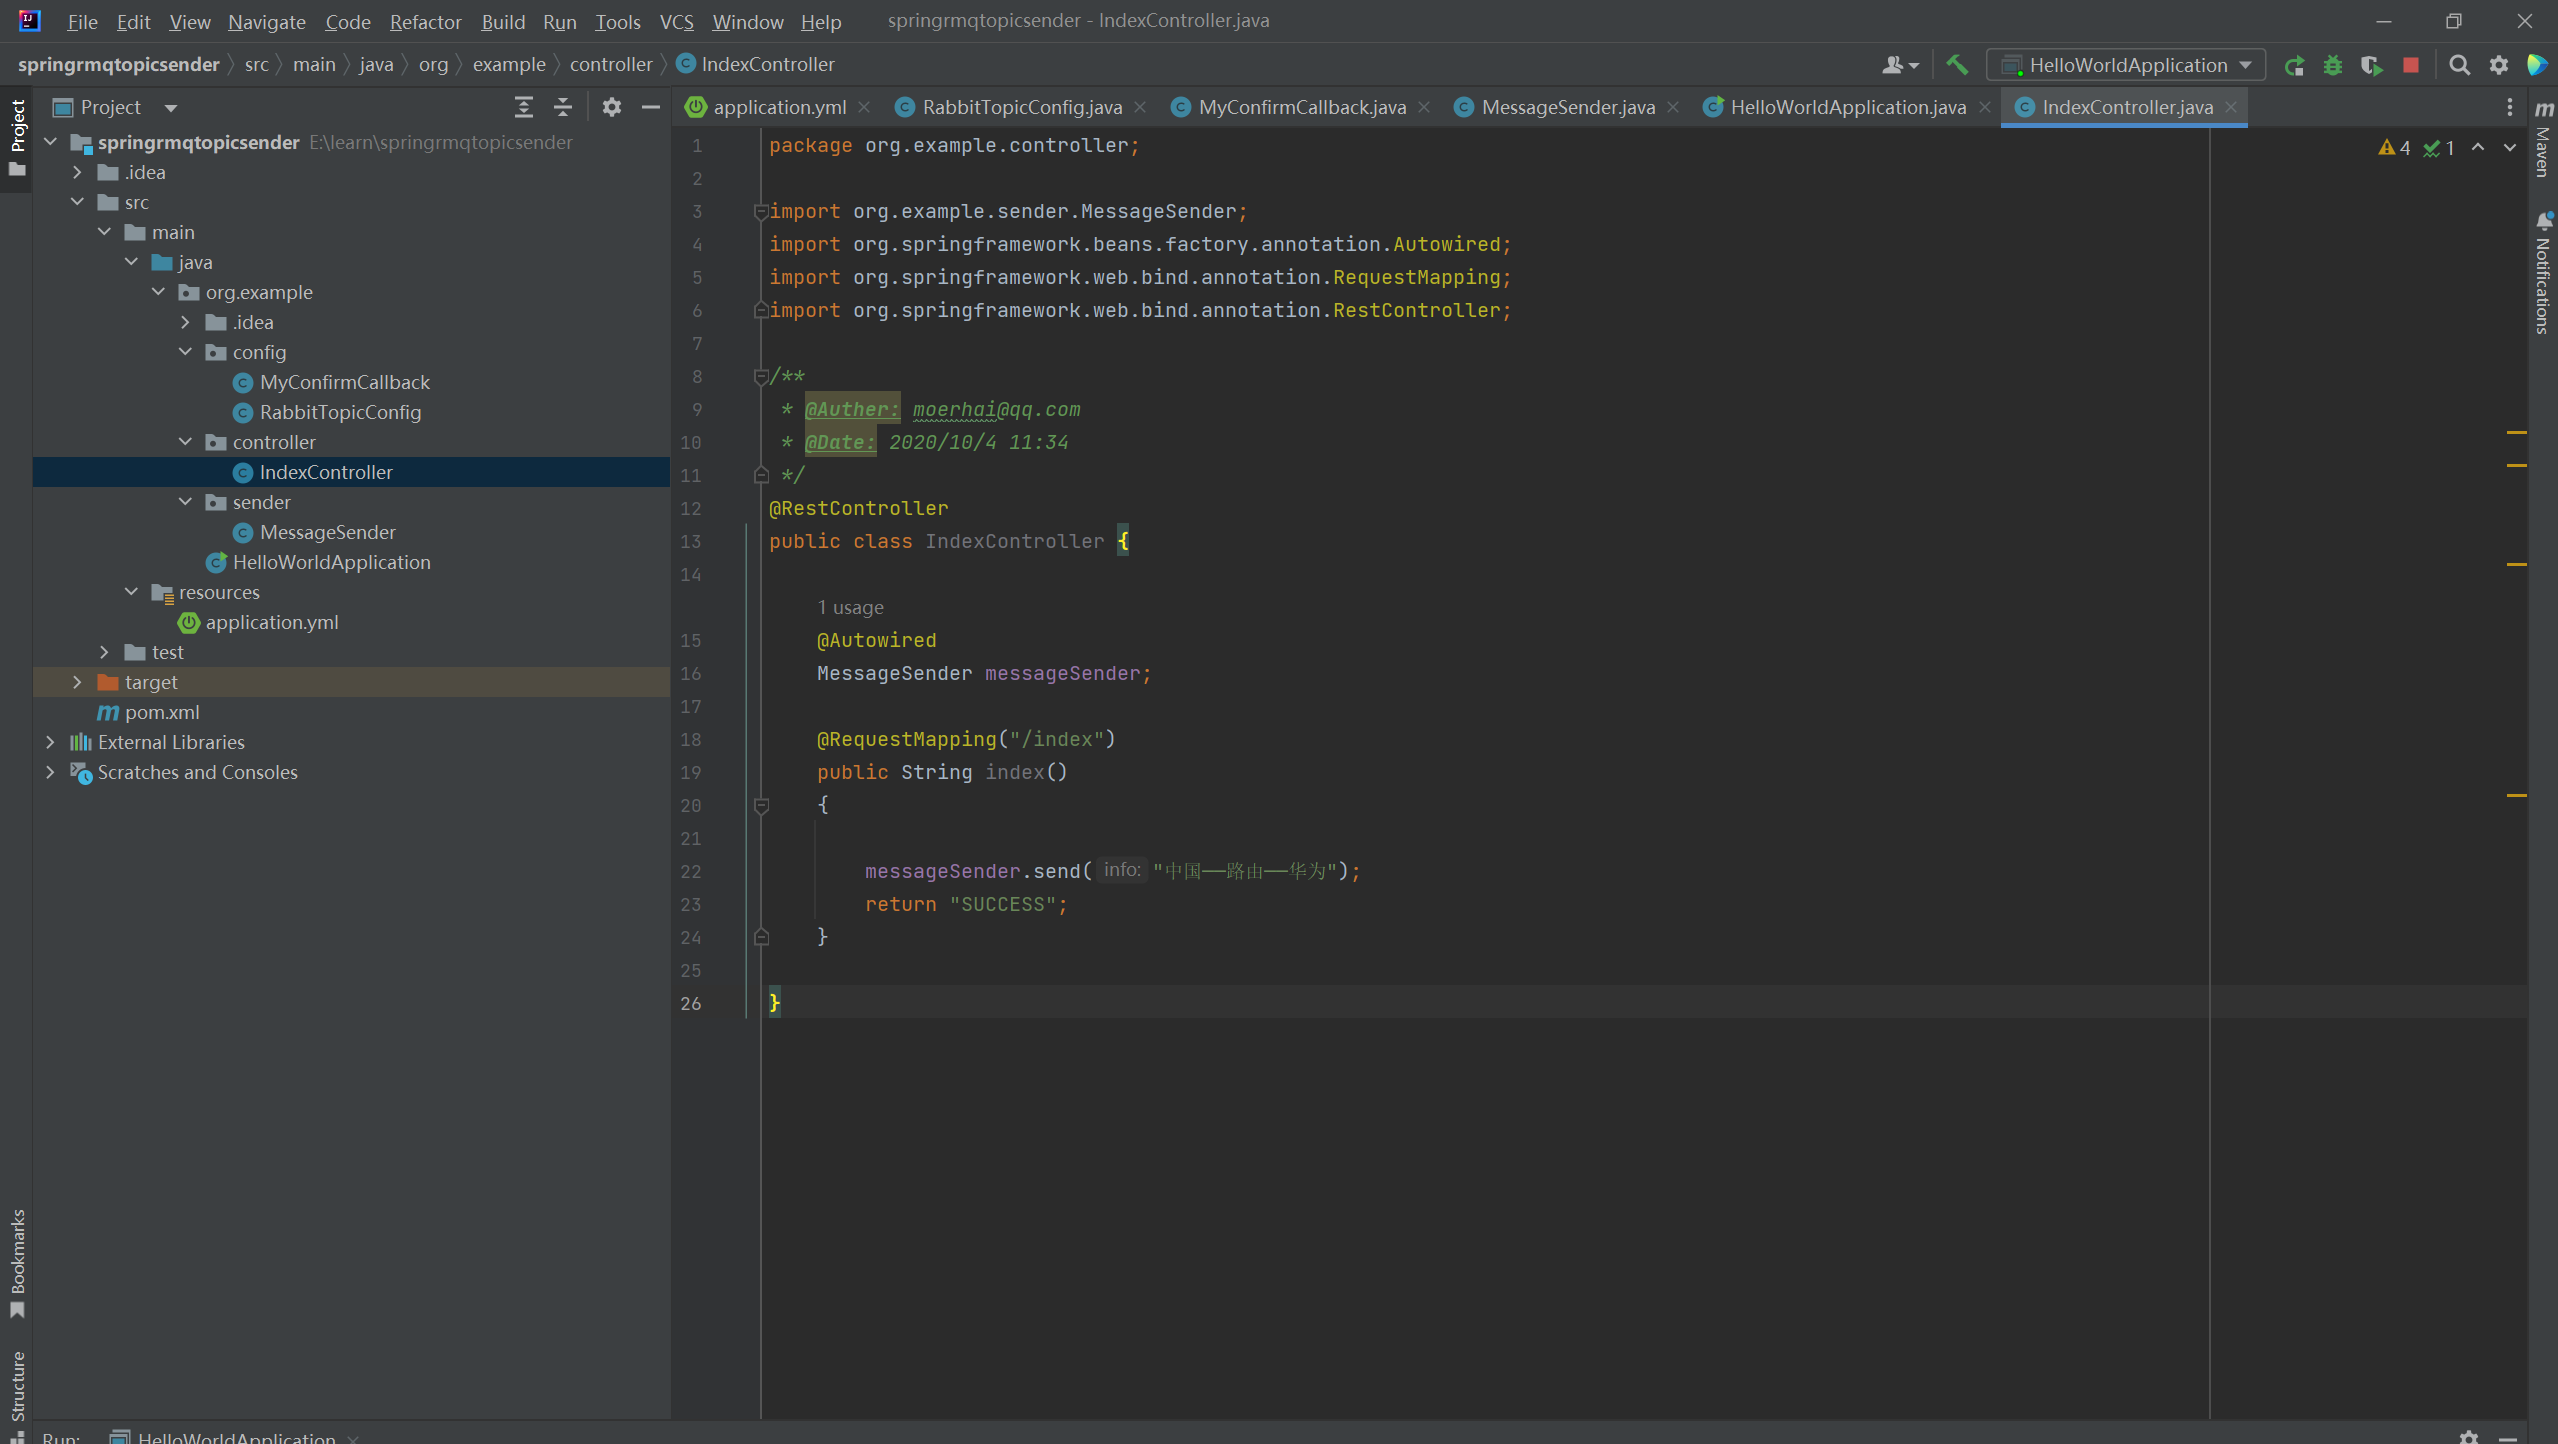
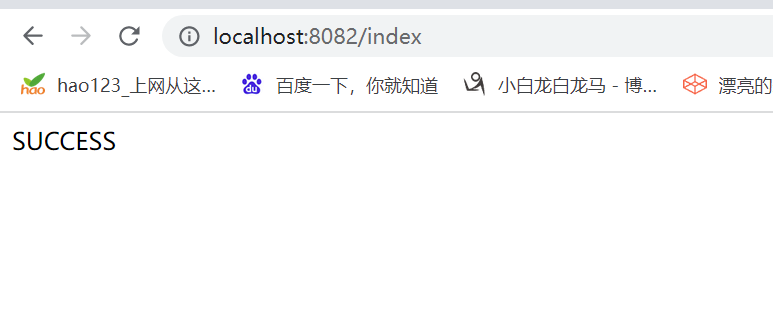
package org.example.controller;import org.example.sender.MessageSender;import org.springframework.beans.factory.annotation.Autowired;import org.springframework.web.bind.annotation.RequestMapping;import org.springframework.web.bind.annotation.RestController;/*** @Auther: moerhai@qq.com* @Date: 2020/10/4 11:34*/@RestControllerpublic class IndexController {@AutowiredMessageSender messageSender;@RequestMapping("/index")public String index(){messageSender.send("中国——路由——华为");return "SUCCESS";}}
启动服务:
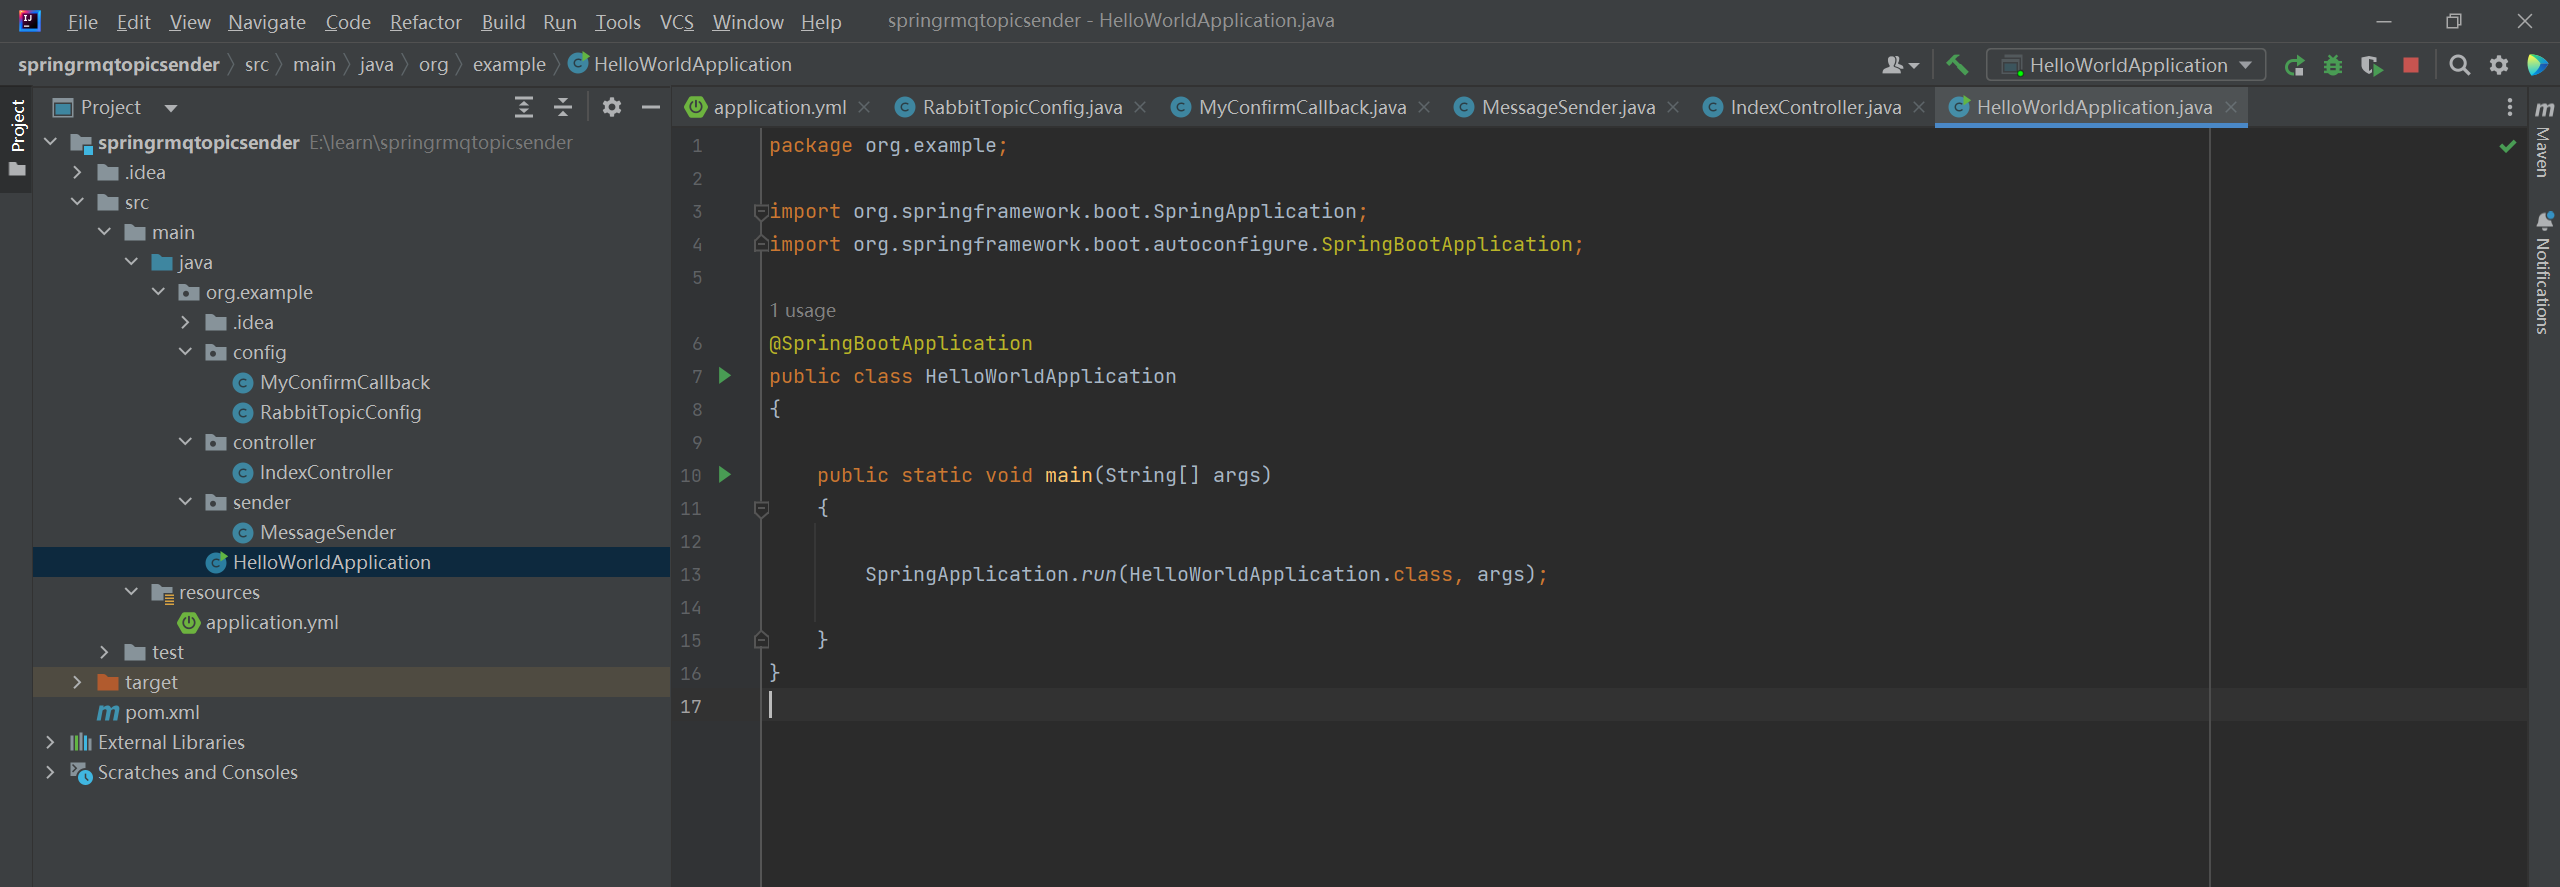
package org.example;import org.springframework.boot.SpringApplication;import org.springframework.boot.autoconfigure.SpringBootApplication;@SpringBootApplicationpublic class HelloWorldApplication{public static void main(String[] args){SpringApplication.run(HelloWorldApplication.class, args);}}

===================================================================
消费者:
pom文件:
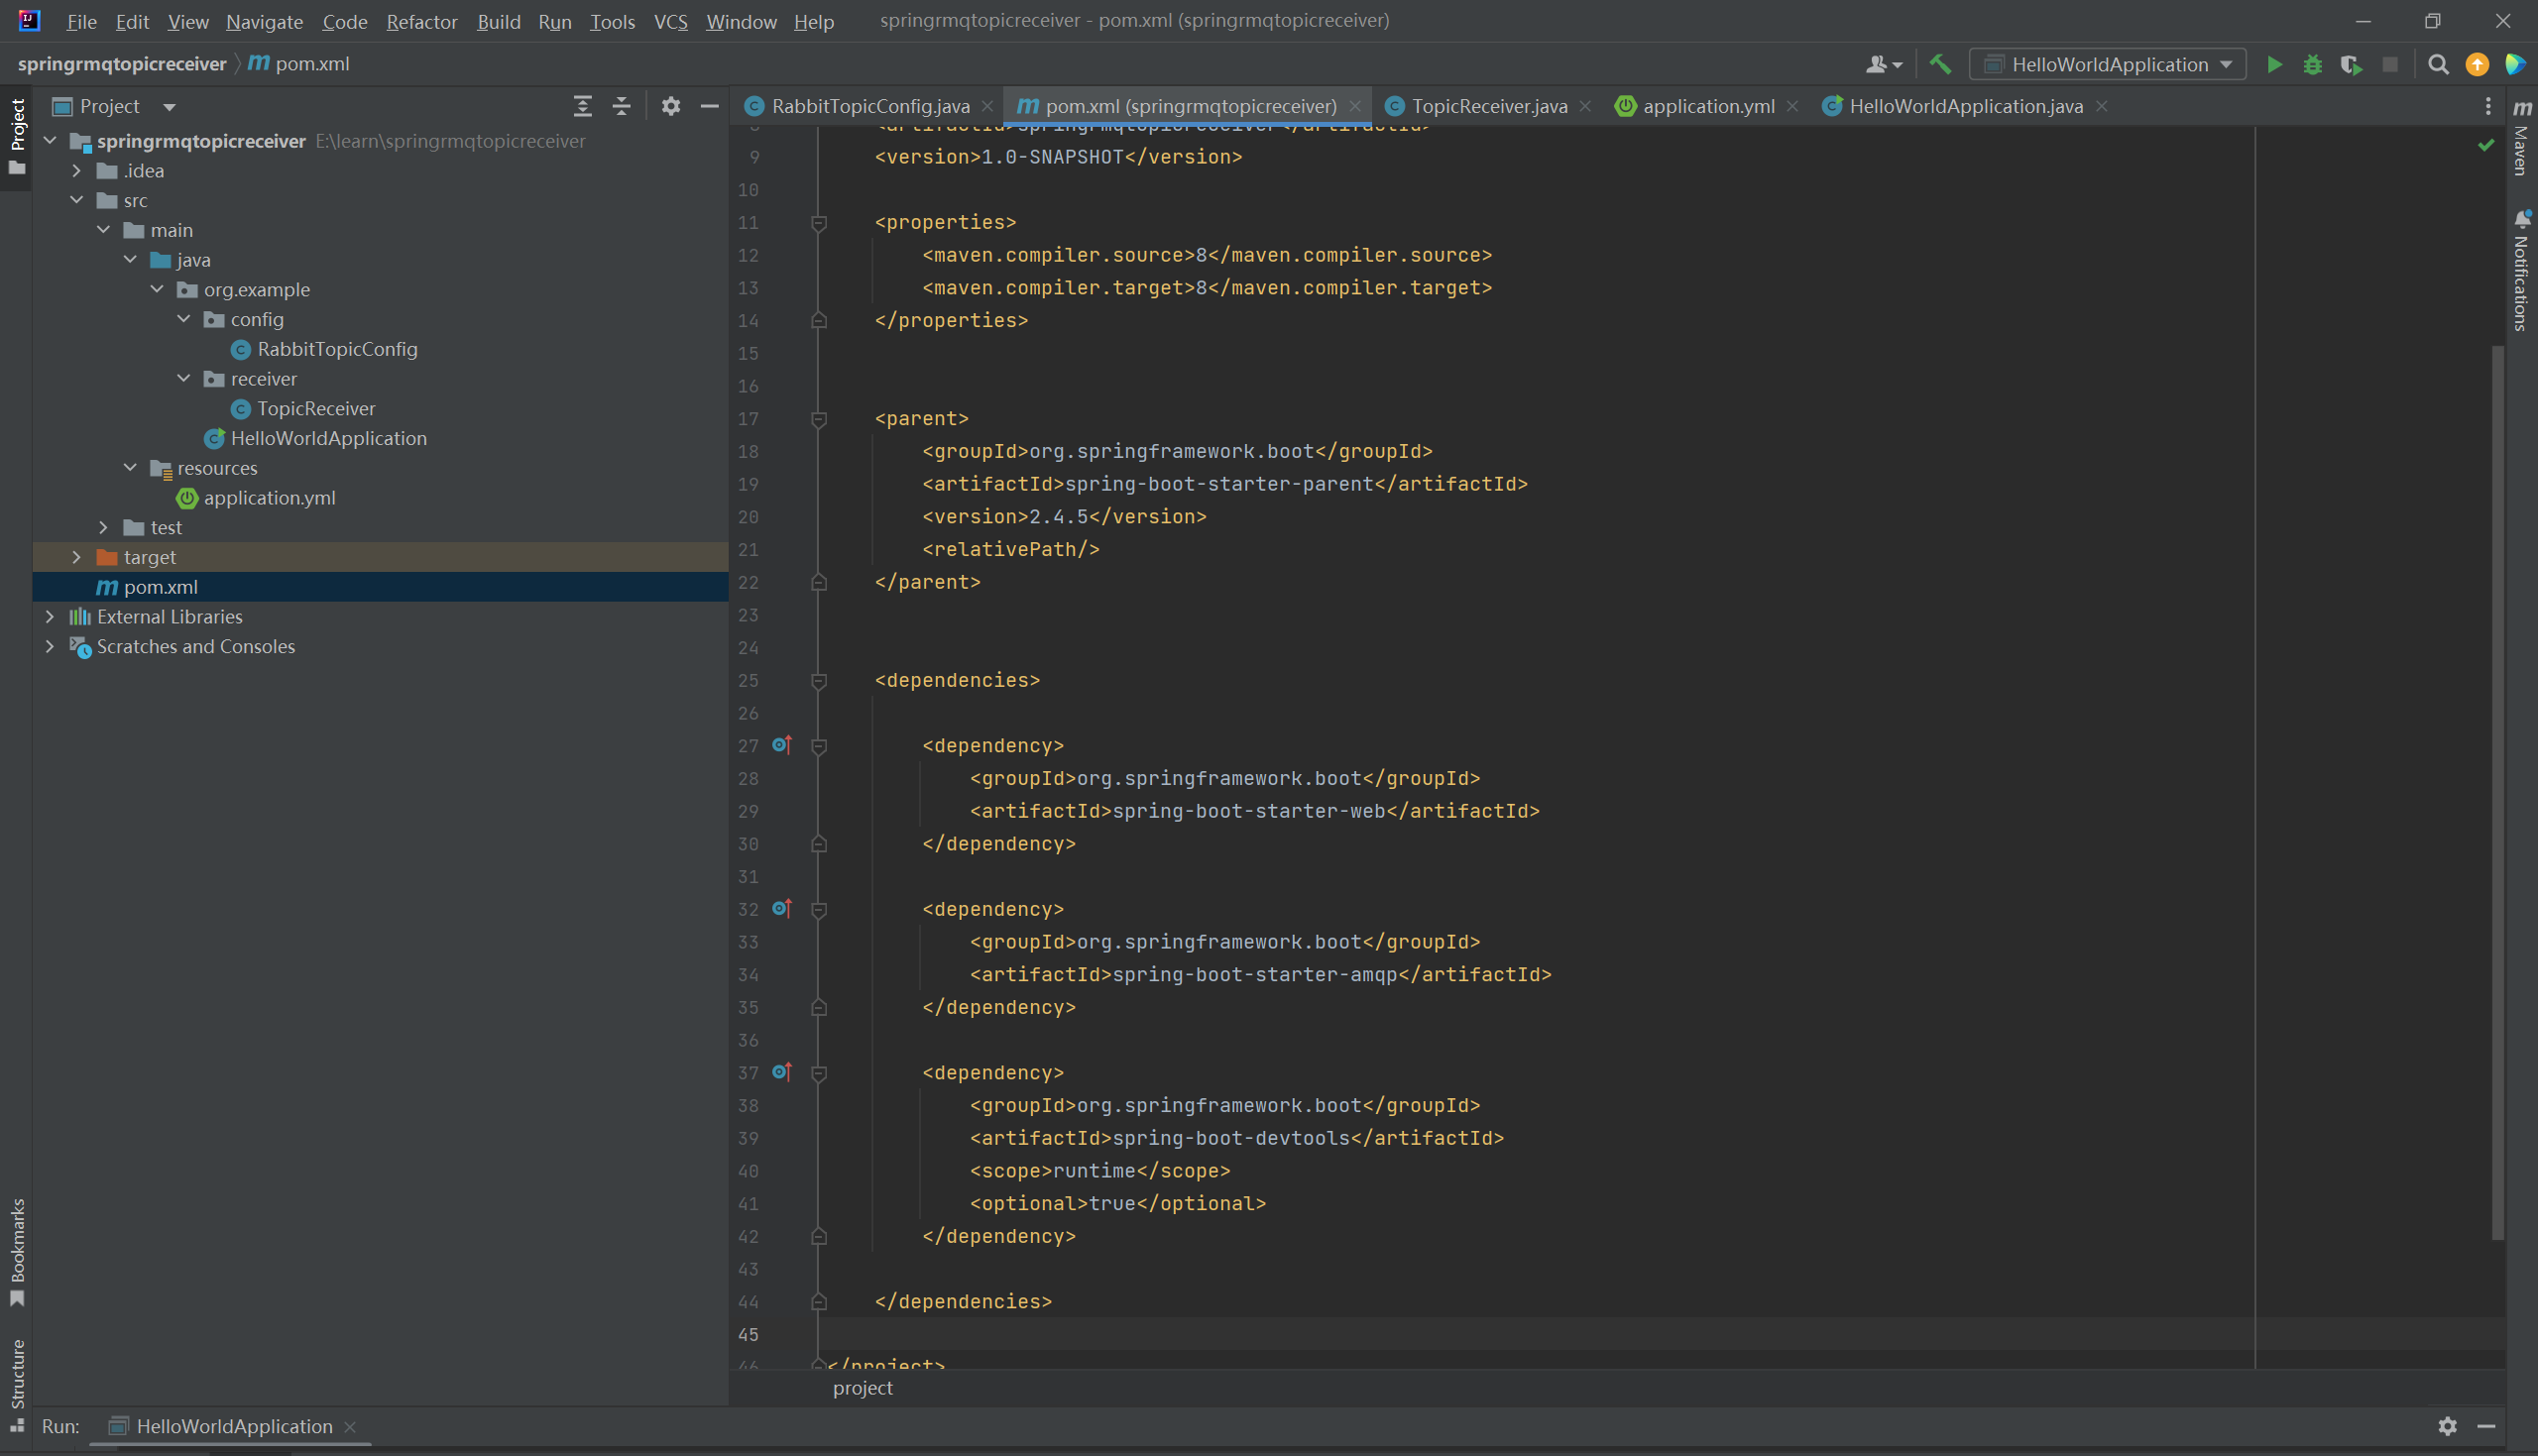
<?xml version="1.0" encoding="UTF-8"?><project xmlns="http://maven.apache.org/POM/4.0.0"xmlns:xsi="http://www.w3.org/2001/XMLSchema-instance"xsi:schemaLocation="http://maven.apache.org/POM/4.0.0 http://maven.apache.org/xsd/maven-4.0.0.xsd"><modelVersion>4.0.0</modelVersion><groupId>org.example</groupId><artifactId>springrmqtopicreceiver</artifactId><version>1.0-SNAPSHOT</version><properties><maven.compiler.source>8</maven.compiler.source><maven.compiler.target>8</maven.compiler.target></properties><parent><groupId>org.springframework.boot</groupId><artifactId>spring-boot-starter-parent</artifactId><version>2.4.5</version><relativePath/></parent><dependencies><dependency><groupId>org.springframework.boot</groupId><artifactId>spring-boot-starter-web</artifactId></dependency><dependency><groupId>org.springframework.boot</groupId><artifactId>spring-boot-starter-amqp</artifactId></dependency><dependency><groupId>org.springframework.boot</groupId><artifactId>spring-boot-devtools</artifactId><scope>runtime</scope><optional>true</optional></dependency></dependencies></project>
yml文件:
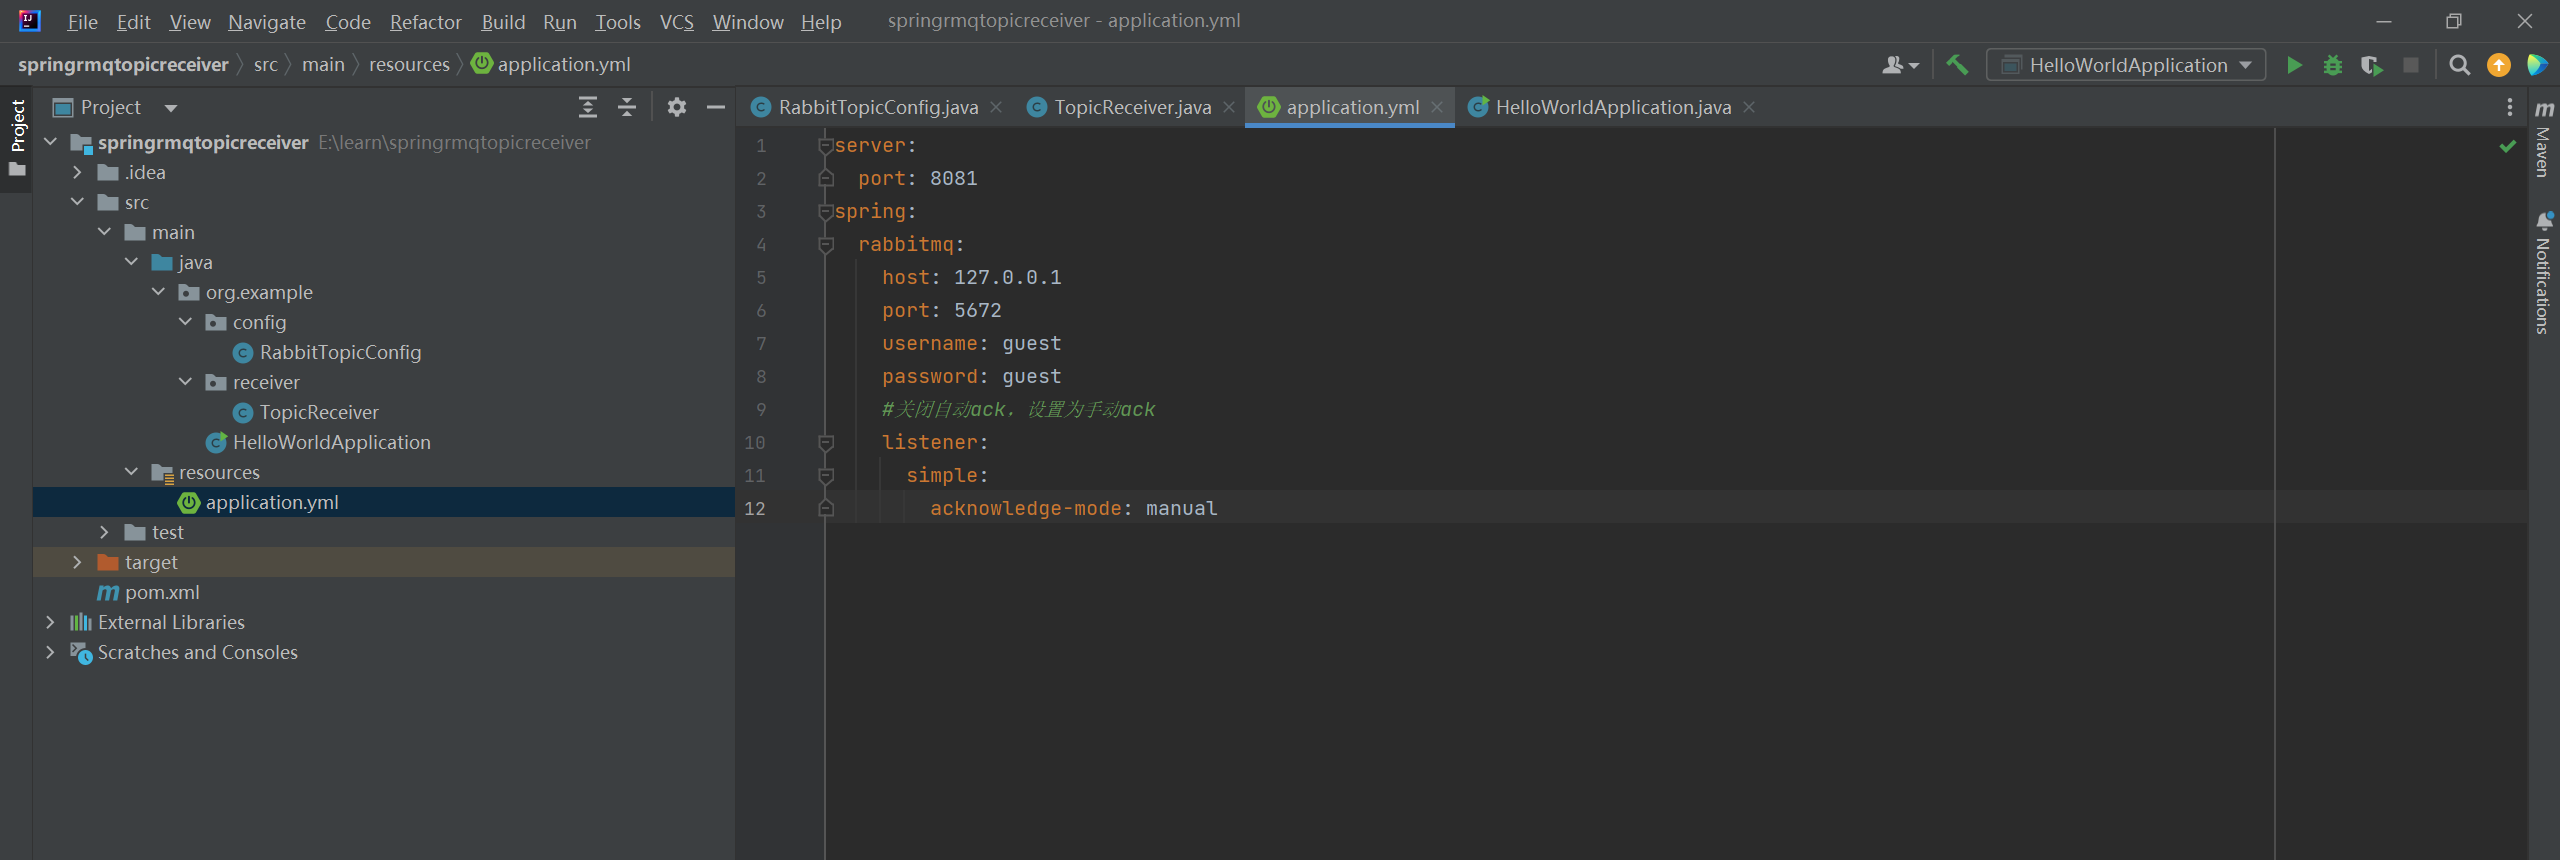
server:port: 8081spring:rabbitmq:host: 127.0.0.1port: 5672username: guestpassword: guest#关闭自动ack,设置为手动acklistener:simple:acknowledge-mode: manual
配置文件:
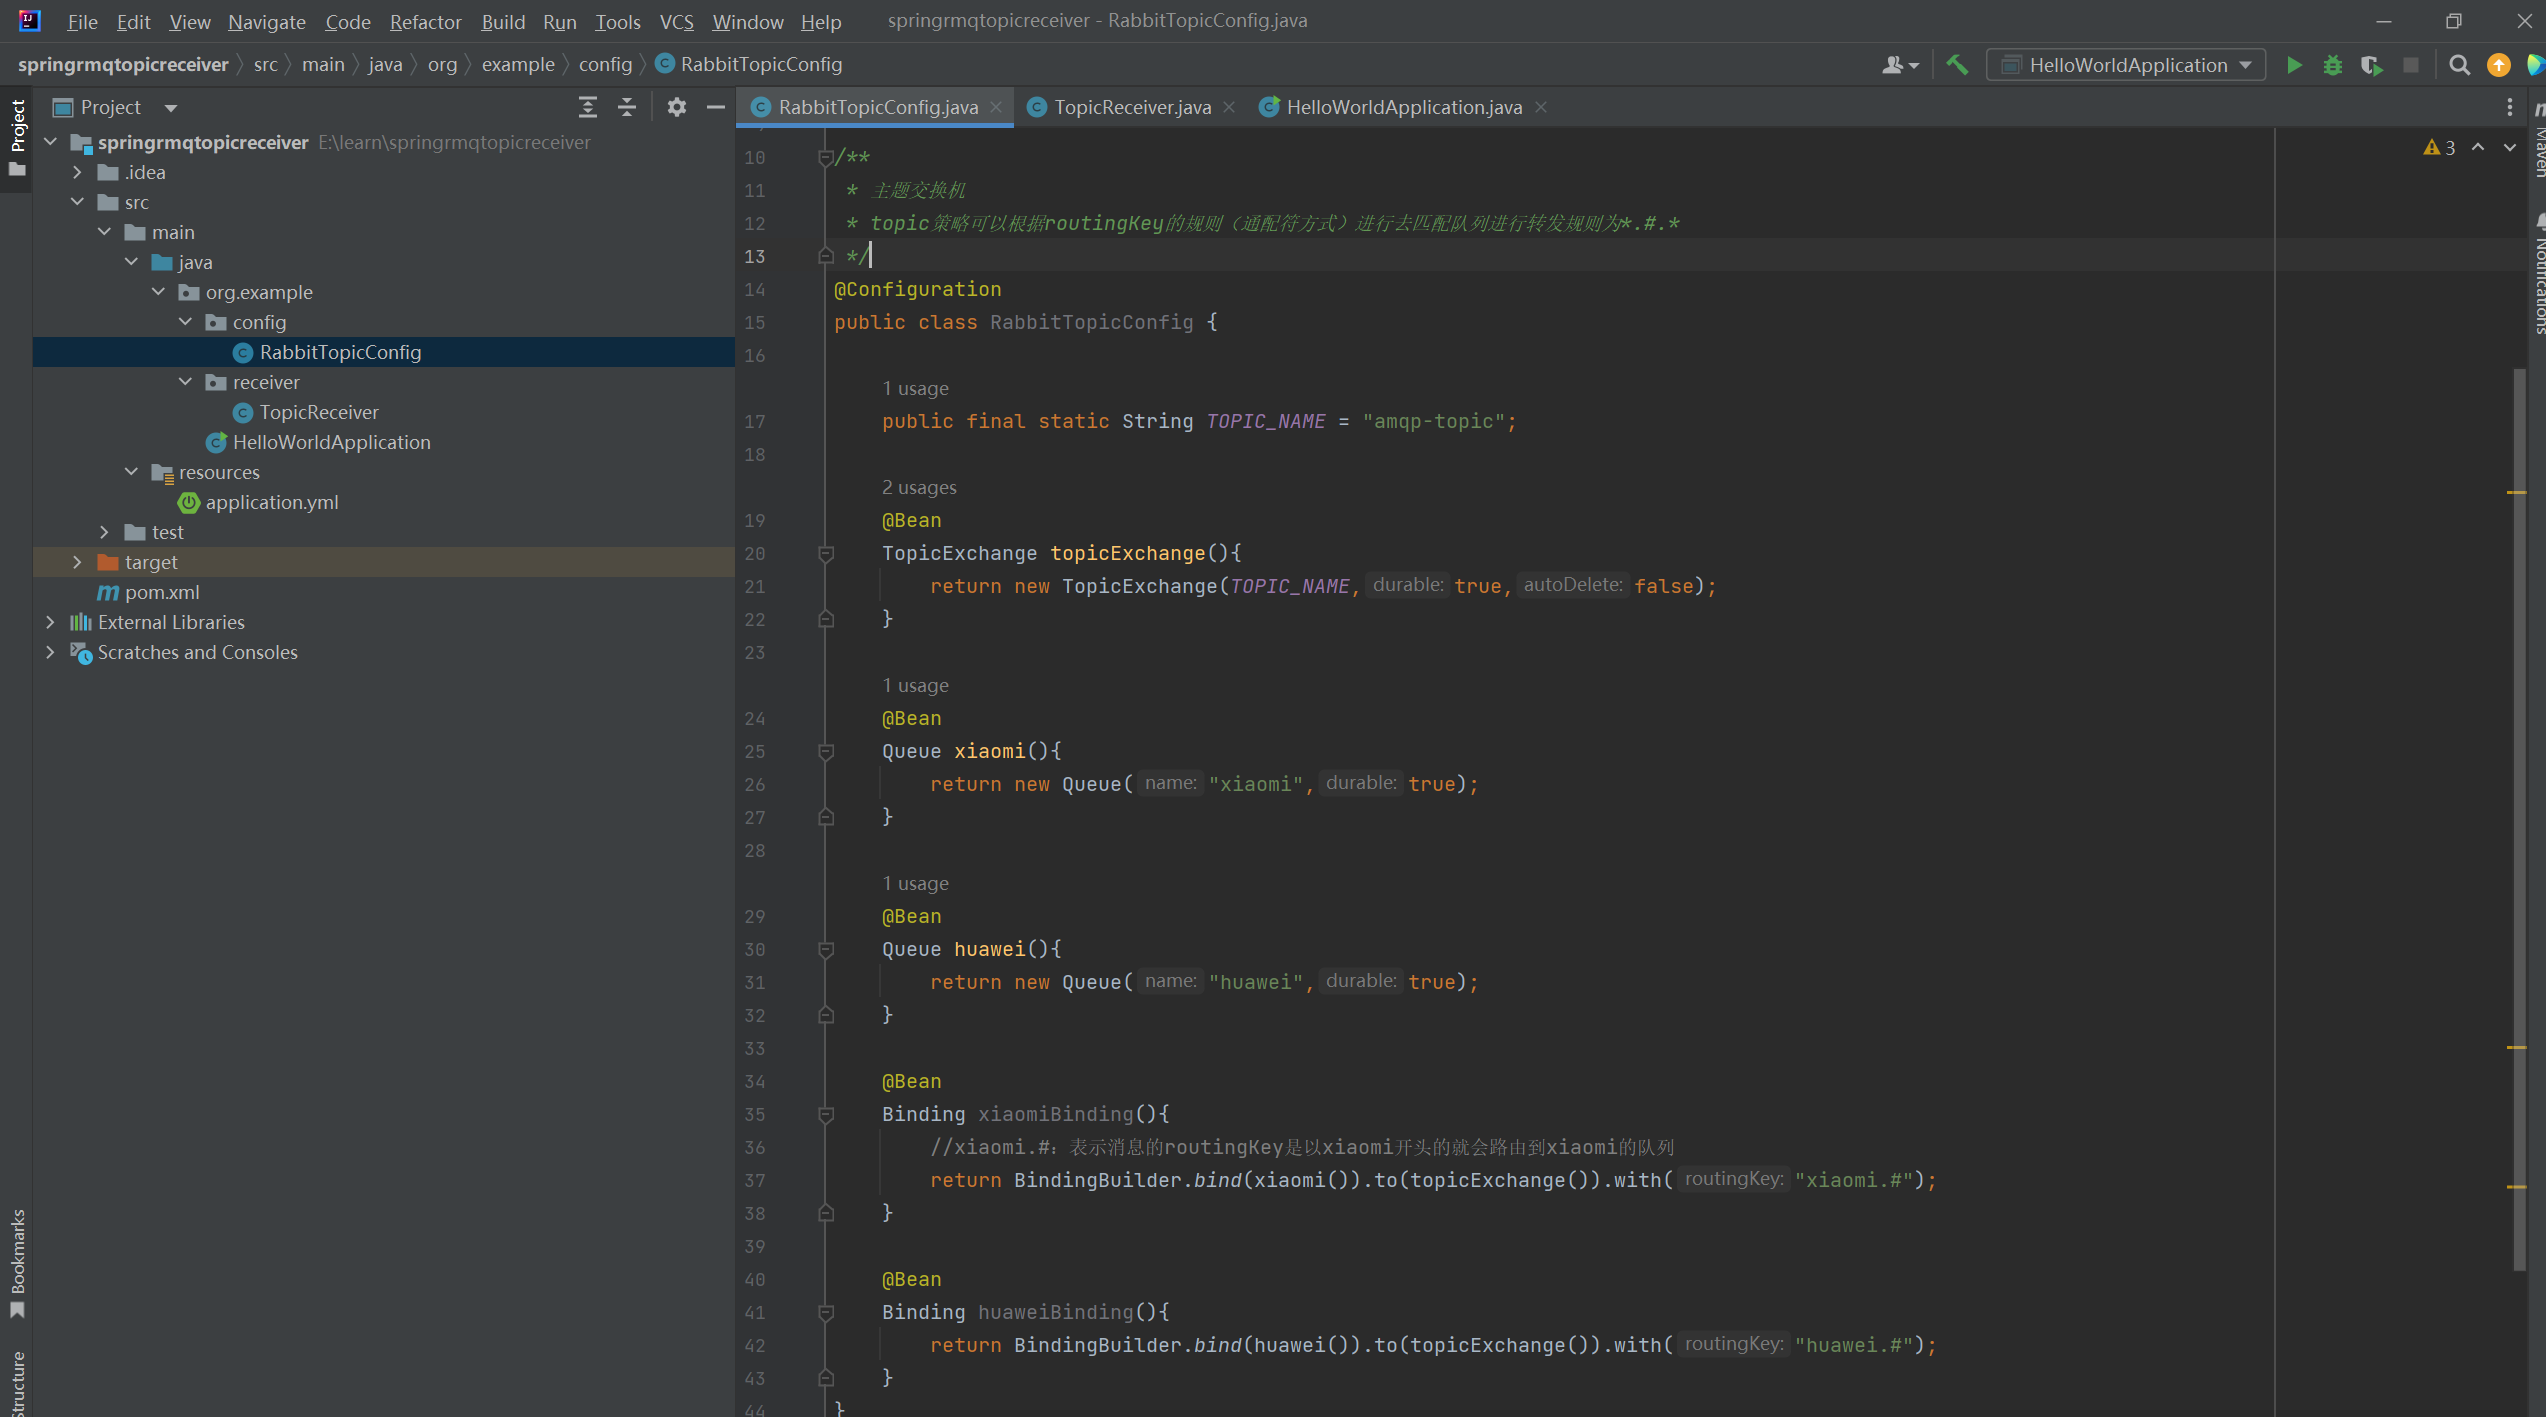
package org.example.config;import org.springframework.amqp.core.Binding;import org.springframework.amqp.core.BindingBuilder;import org.springframework.amqp.core.Queue;import org.springframework.amqp.core.TopicExchange;import org.springframework.context.annotation.Bean;import org.springframework.context.annotation.Configuration;/*** 主题交换机* topic策略可以根据routingKey的规则(通配符方式)进行去匹配队列进行转发规则为*.#.**/@Configurationpublic class RabbitTopicConfig {public final static String TOPIC_NAME = "amqp-topic";@BeanTopicExchange topicExchange(){return new TopicExchange(TOPIC_NAME,true,false);}@BeanQueue xiaomi(){return new Queue("xiaomi",true);}@BeanQueue huawei(){return new Queue("huawei",true);}@BeanBinding xiaomiBinding(){//xiaomi.#:表示消息的routingKey是以xiaomi开头的就会路由到xiaomi的队列return BindingBuilder.bind(xiaomi()).to(topicExchange()).with("xiaomi.#");}@BeanBinding huaweiBinding(){return BindingBuilder.bind(huawei()).to(topicExchange()).with("huawei.#");}}
接收消息:
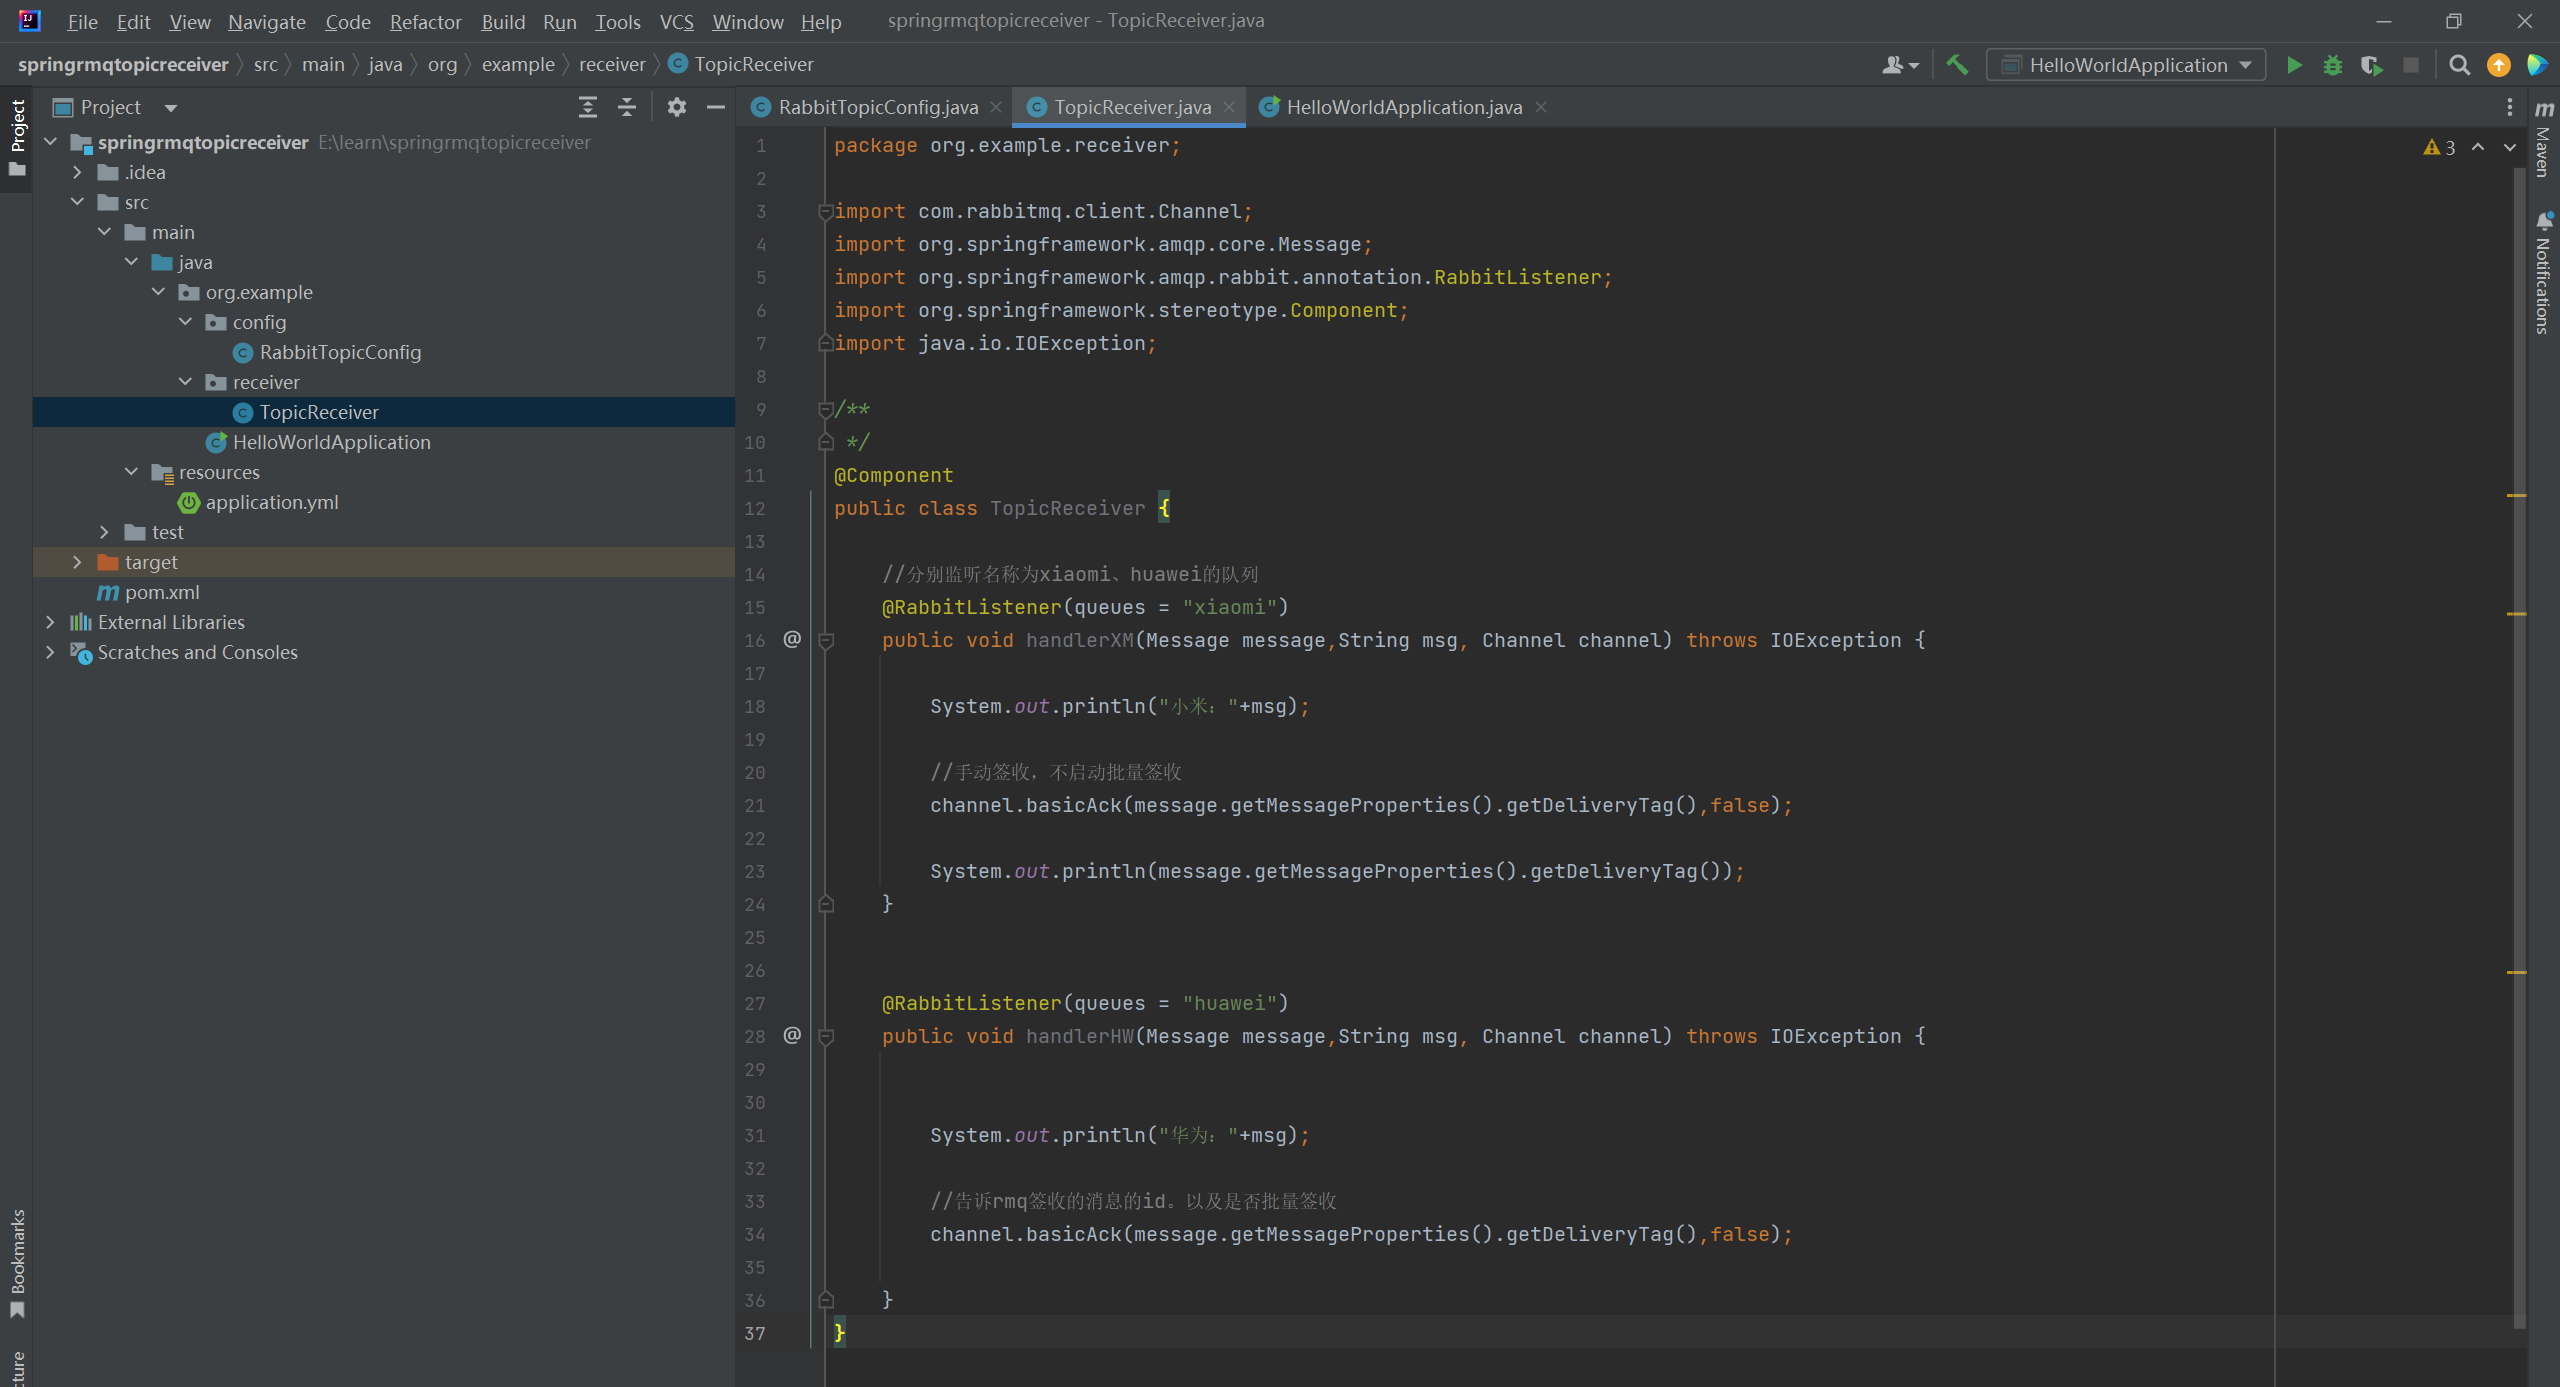
package org.example.receiver;import com.rabbitmq.client.Channel;import org.springframework.amqp.core.Message;import org.springframework.amqp.rabbit.annotation.RabbitListener;import org.springframework.stereotype.Component;import java.io.IOException;/***/@Componentpublic class TopicReceiver {//分别监听名称为xiaomi、huawei的队列@RabbitListener(queues = "xiaomi")public void handlerXM(Message message,String msg, Channel channel) throws IOException {System.out.println("小米:"+msg);//手动签收,不启动批量签收channel.basicAck(message.getMessageProperties().getDeliveryTag(),false);System.out.println(message.getMessageProperties().getDeliveryTag());}@RabbitListener(queues = "huawei")public void handlerHW(Message message,String msg, Channel channel) throws IOException {System.out.println("华为:"+msg);//告诉rmq签收的消息的id。以及是否批量签收channel.basicAck(message.getMessageProperties().getDeliveryTag(),false);}}
启动服务:
package org.example;import org.springframework.boot.SpringApplication;import org.springframework.boot.autoconfigure.SpringBootApplication;@SpringBootApplicationpublic class HelloWorldApplication{public static void main(String[] args){SpringApplication.run(HelloWorldApplication.class, args);}}




还没有评论,来说两句吧...