Spring源码:Spring源码阅读环境搭建
本篇内容包括:Mac 环境下 gradle 的安装和配置、源码克隆、新建测试类,测试Spring源码 等内容!
第一步:Mac 环境下 gradle 的安装和配置
1、下载安装包
# 到 GitHub 的 Spring 仓库选定 Spring 版本,查看对应版本 Spring 编译需要的 gradle 版本号
# 进入Spring 的 GitHub仓库
# 我们选择 5.2.x 分支的源码,所以查看 5.2.x 编译所需 gradle
# 进入 /gradle/wrapper 目录,打开 gradle-wrapper.properties 查看所需 gradle 版本为 5.6.4
# 使用 gradle-wrapper.properties 中 distributionUrl 链接下载 gradle-5.6.4 到电脑目标位置并解压
Ps:确认对应版本很重要,不然很大概率会有问题
2、配置环境变量
在终端输入
open -e .bash_profile
在.bash_profile文件中输入
GRADLE_HOME=/安装位置/gradle-7.3.3export GRADLE_HOMEexport PATH=$PATH:$GRADLE_HOME/bin
保存文件,让配置的环境变量生效
source ~/.bash_profile
3、查看 gradle 的版本
gradle -version
第二步:源码克隆
直接从 GitHub 拉取代码比较慢,我们这里现将 GitHub 代码同步到 Gitee 码云仓库然后在进行同步,为了加速 GitHub 到 Gitee 同步,先将 Spring 源码 fork 到 GitHub 个人仓库
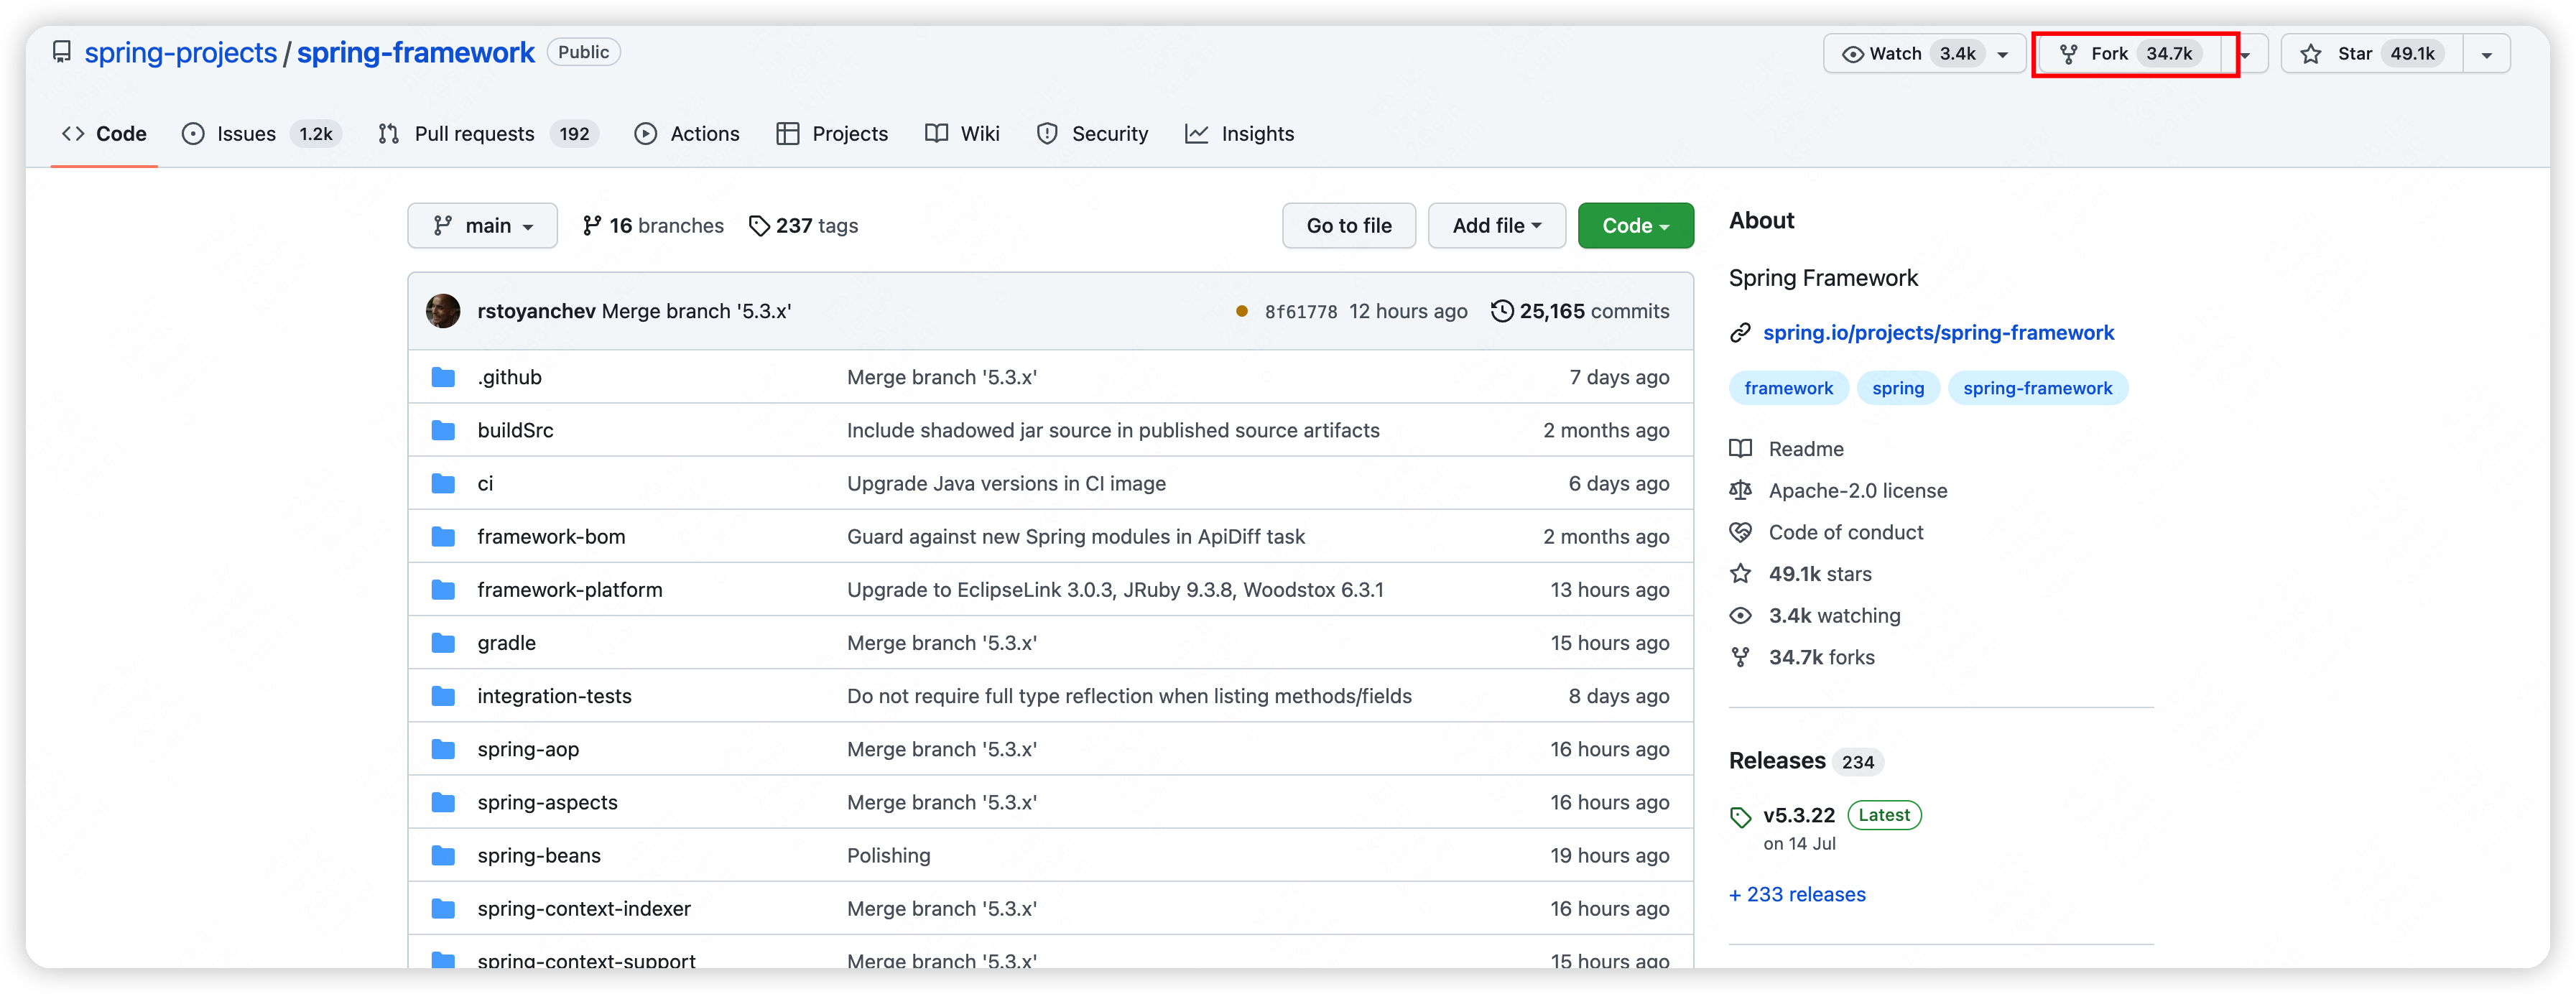
1、Fork GitHub 中的 Spring 官方源码到自己的 GitHub 仓库
# fork源码到个人GitHub仓库
2、同步 GitHub 个人仓库 Spring 源码到 Gitee 个人仓库
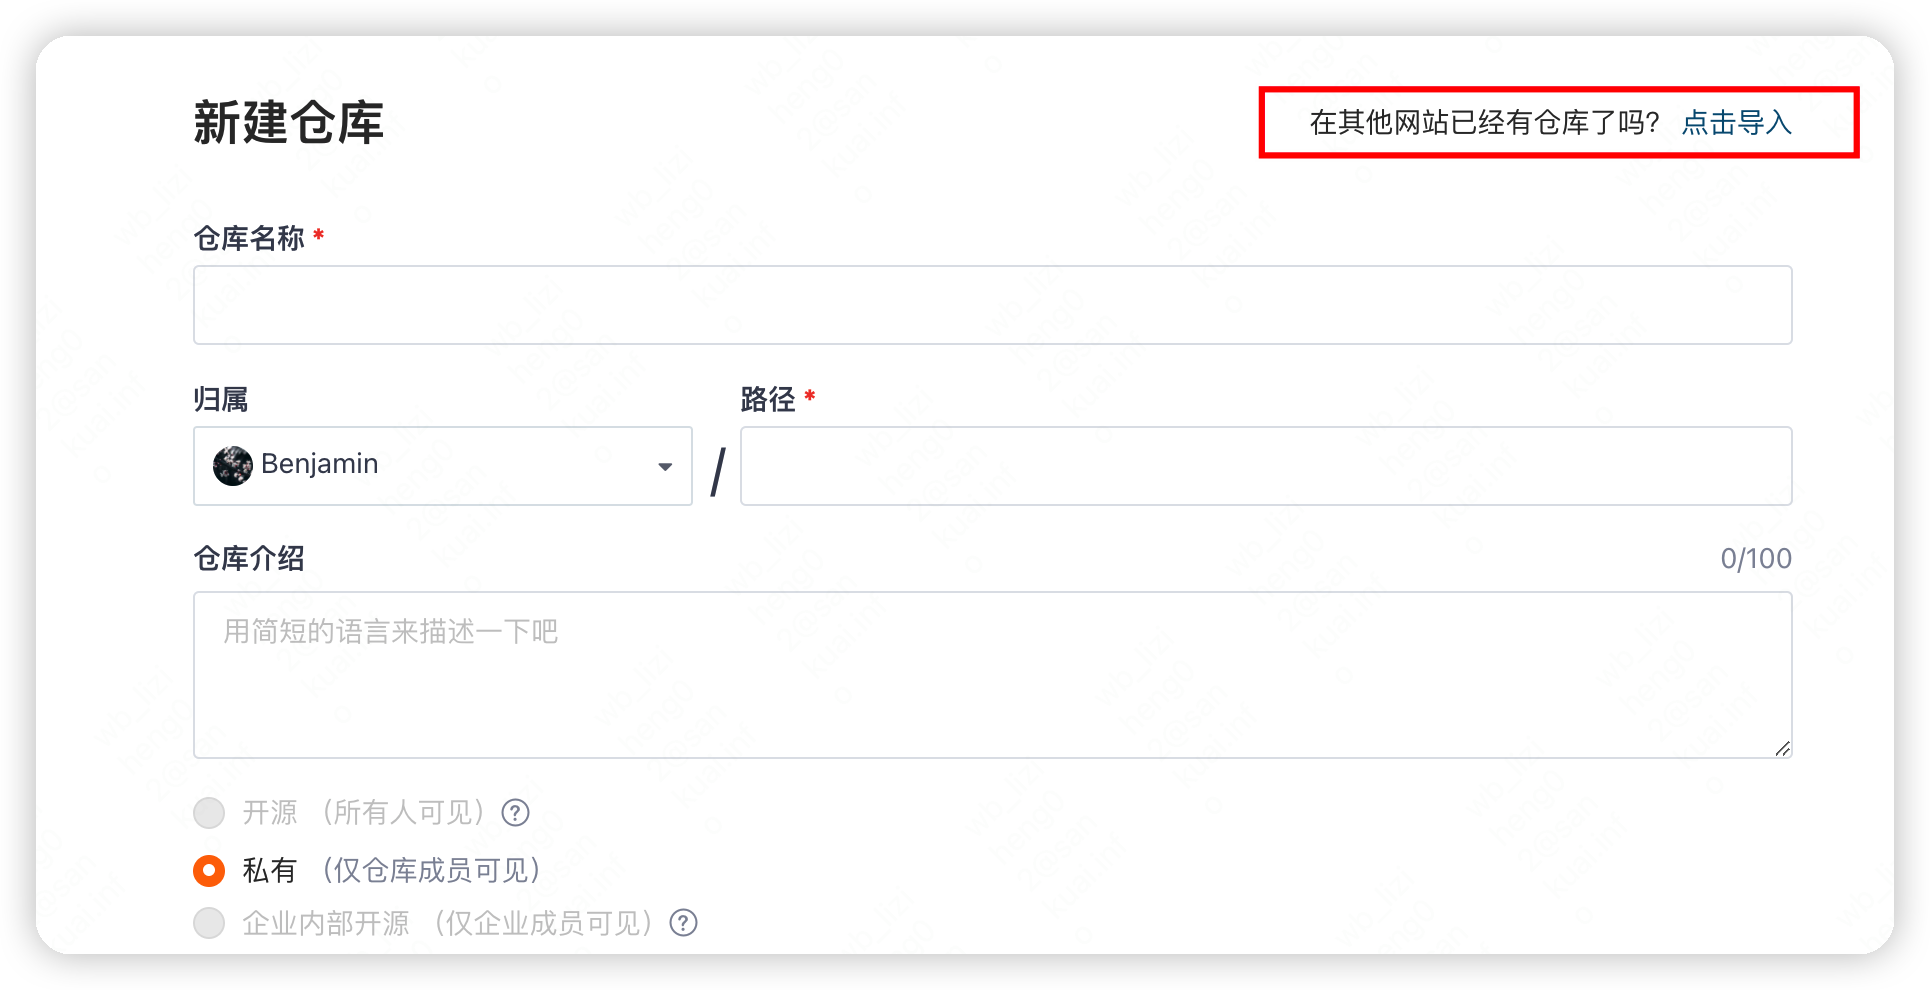
# 打开码云gitee新建仓库,点击从其他网站已有仓库导入
# 输入自己GitHub中Spring源码仓库地址URL创建gitee的Spring个人源码仓库
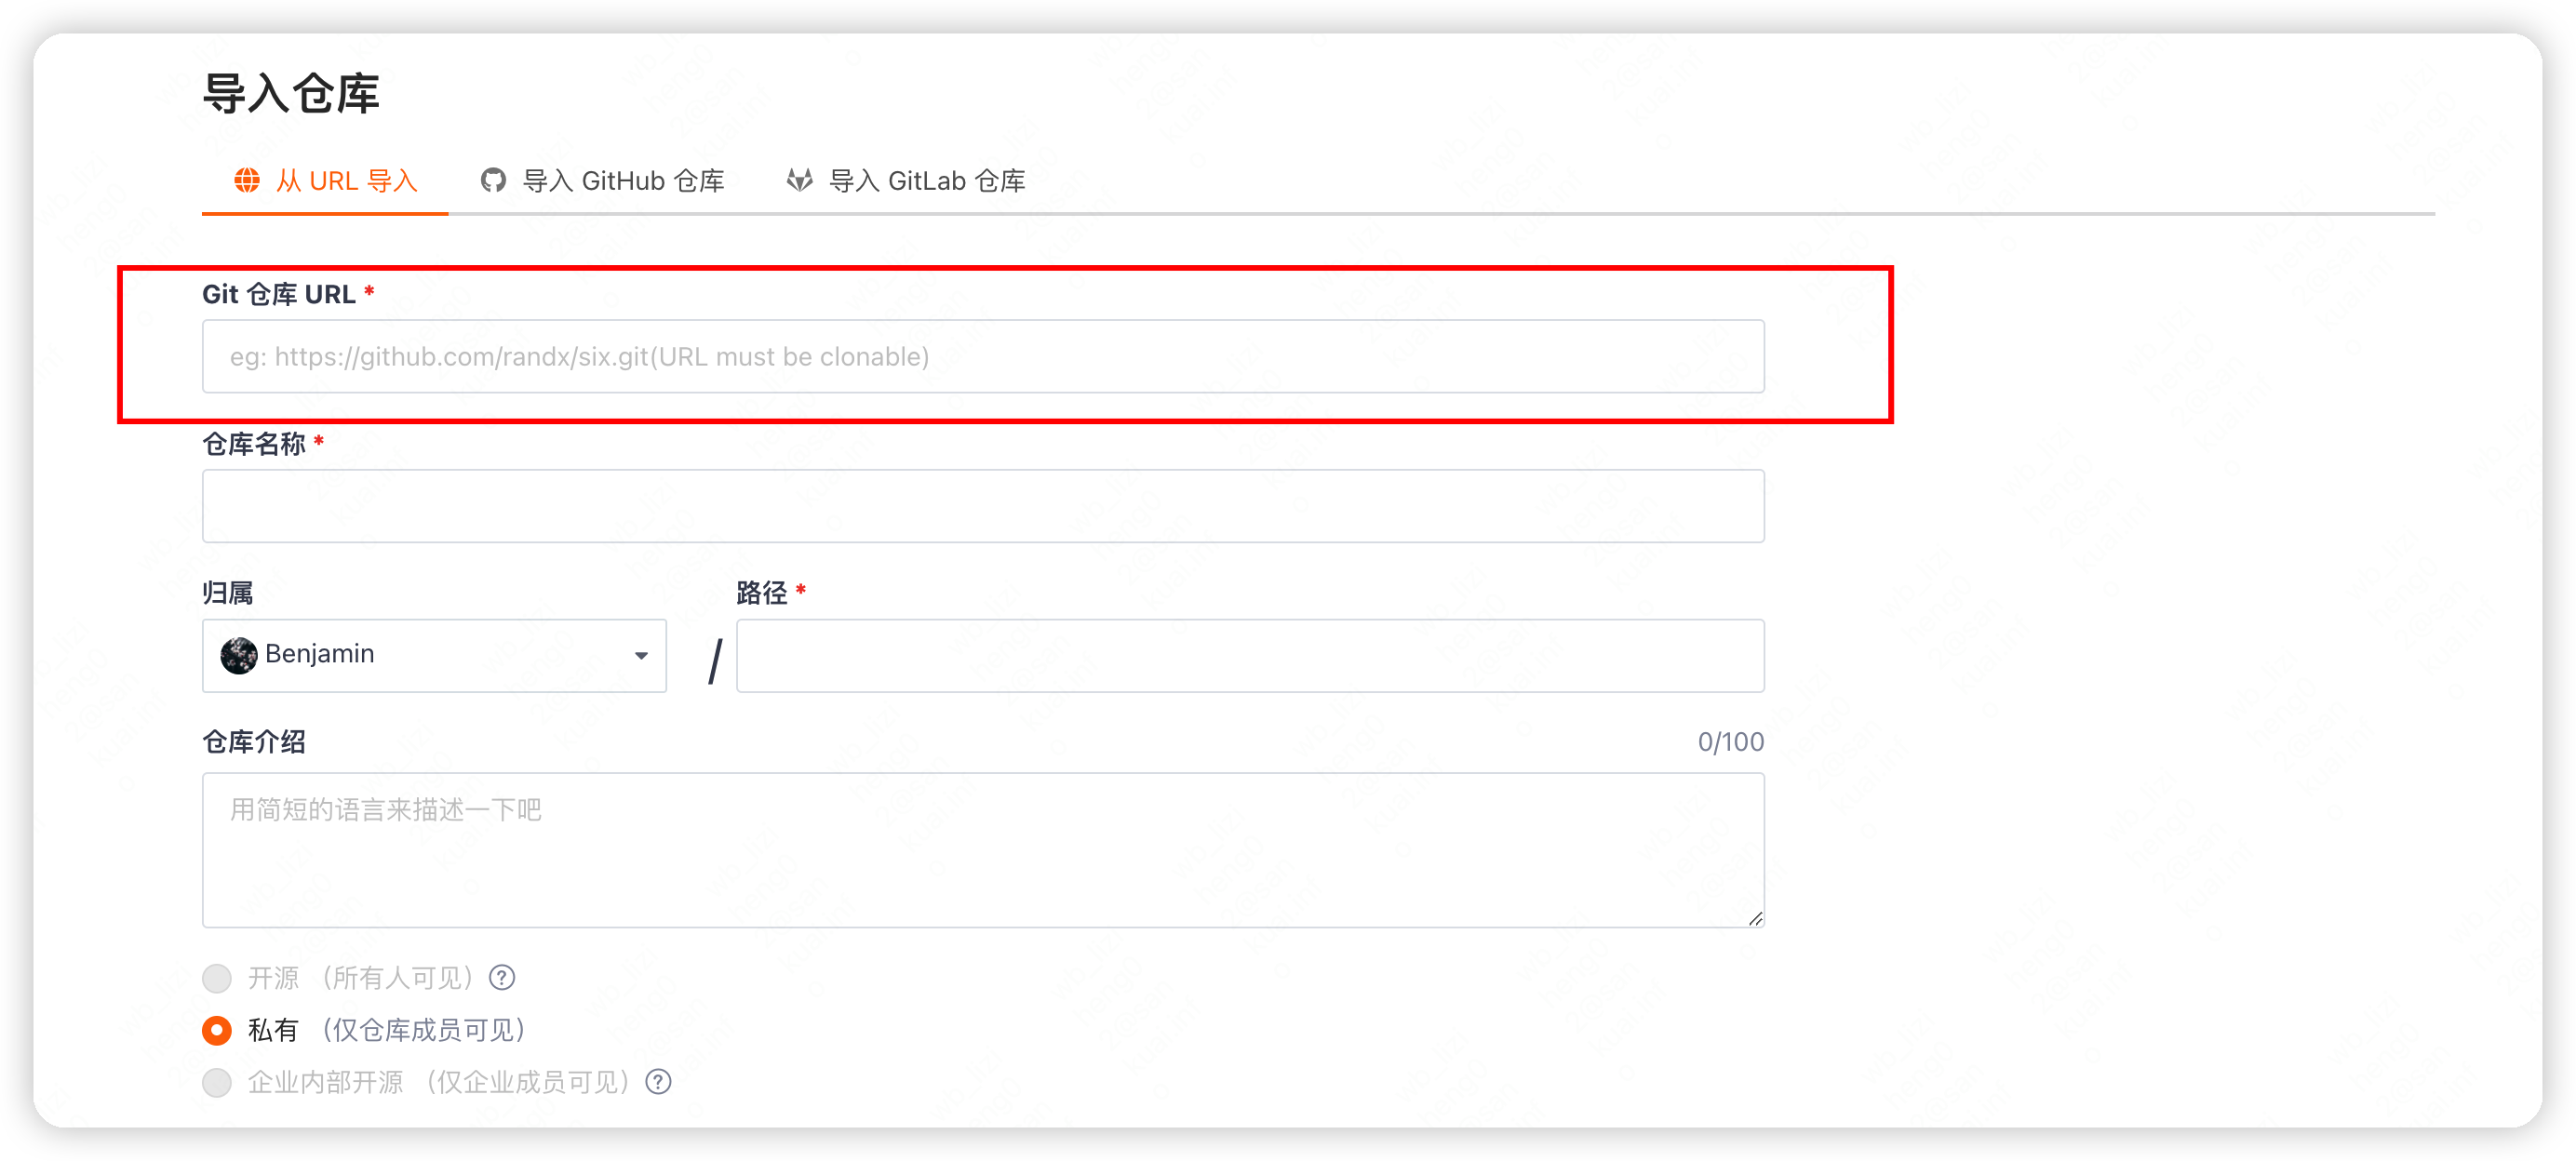
Ps:如果已经配置了 Gitee 与 GitHub 的账户关联,也可以直接选择,GitHub 导入
3、克隆源码到本地
# 使用 Idea 克隆代码到本地
git clone -b 5.2.x https://gitee.com/li_ziheng/spring-framework.git
# 修改源码中 build.gradle 文件 repositories,对应内容(maven部分)修改为
repositories {maven { url 'https://maven.aliyun.com/repository/public/' }maven { url 'https://maven.aliyun.com/repository/spring/'}mavenLocal()mavenCentral()}
4:预编译 spring-oxm
# 预编译spring-oxm
./gradlew :spring-oxm:compileTestJava
5、打开 IDEA 导入 Spring 源码
# 打开 IDEA 选择 File -> New -> Project from Existing Sources -> Navigate to directory -> Select build.gradle,导入源码(依赖下载时间会耗费一定时间)
第三步、新建测试类,测试Spring源码
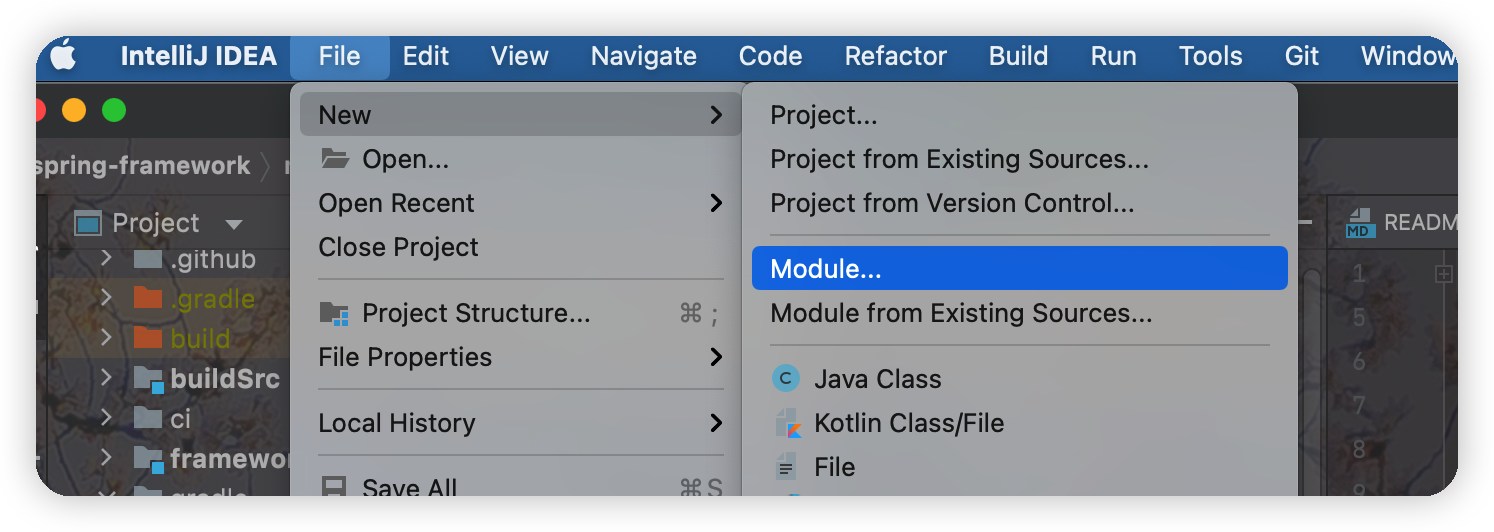
1、新建 my-test 模块进行源码测试
# 新建 module
# module 命名 my-test
2、修改 build.gradle 文件
模块创建好之后只有一个build.gradle文件,可以在里面添加需要调试的模块,如 dependencies 下添加
// ========= 添加调试模块 start ===========compile(project(":spring-beans"))compile(project(":spring-core"))compile(project(":spring-context"))compile(project(":spring-webmvc"))compile(project(":spring-jdbc"))compile(project(":spring-orm"))compile(project(":spring-tx"))compile(project(":spring-web"))
3、新建测试类
# 新建TestBean
public class TestBean {public void helloSpring(){System.out.println("Hello Spring");}}
# resource目录新建config.xml
<?xml version="1.0" encoding="UTF-8"?><beans xmlns="http://www.springframework.org/schema/beans"xmlns:xsi="http://www.w3.org/2001/XMLSchema-instance"xsi:schemaLocation="http://www.springframework.org/schema/beans http://www.springframework.org/schema/beans/spring-beans.xsd"><bean id="testIoc" class="com.test.spring.TestBean"></bean></beans>
# IOC测试类新建
import org.springframework.context.support.ClassPathXmlApplicationContext;public class MyTestAppContext {public static void main(String[] args) {ClassPathXmlApplicationContext context = new ClassPathXmlApplicationContext("config.xml");TestBean testBean = context.getBean(TestBean.class);testBean.helloSpring();}}
4、运行TestIOC测试类
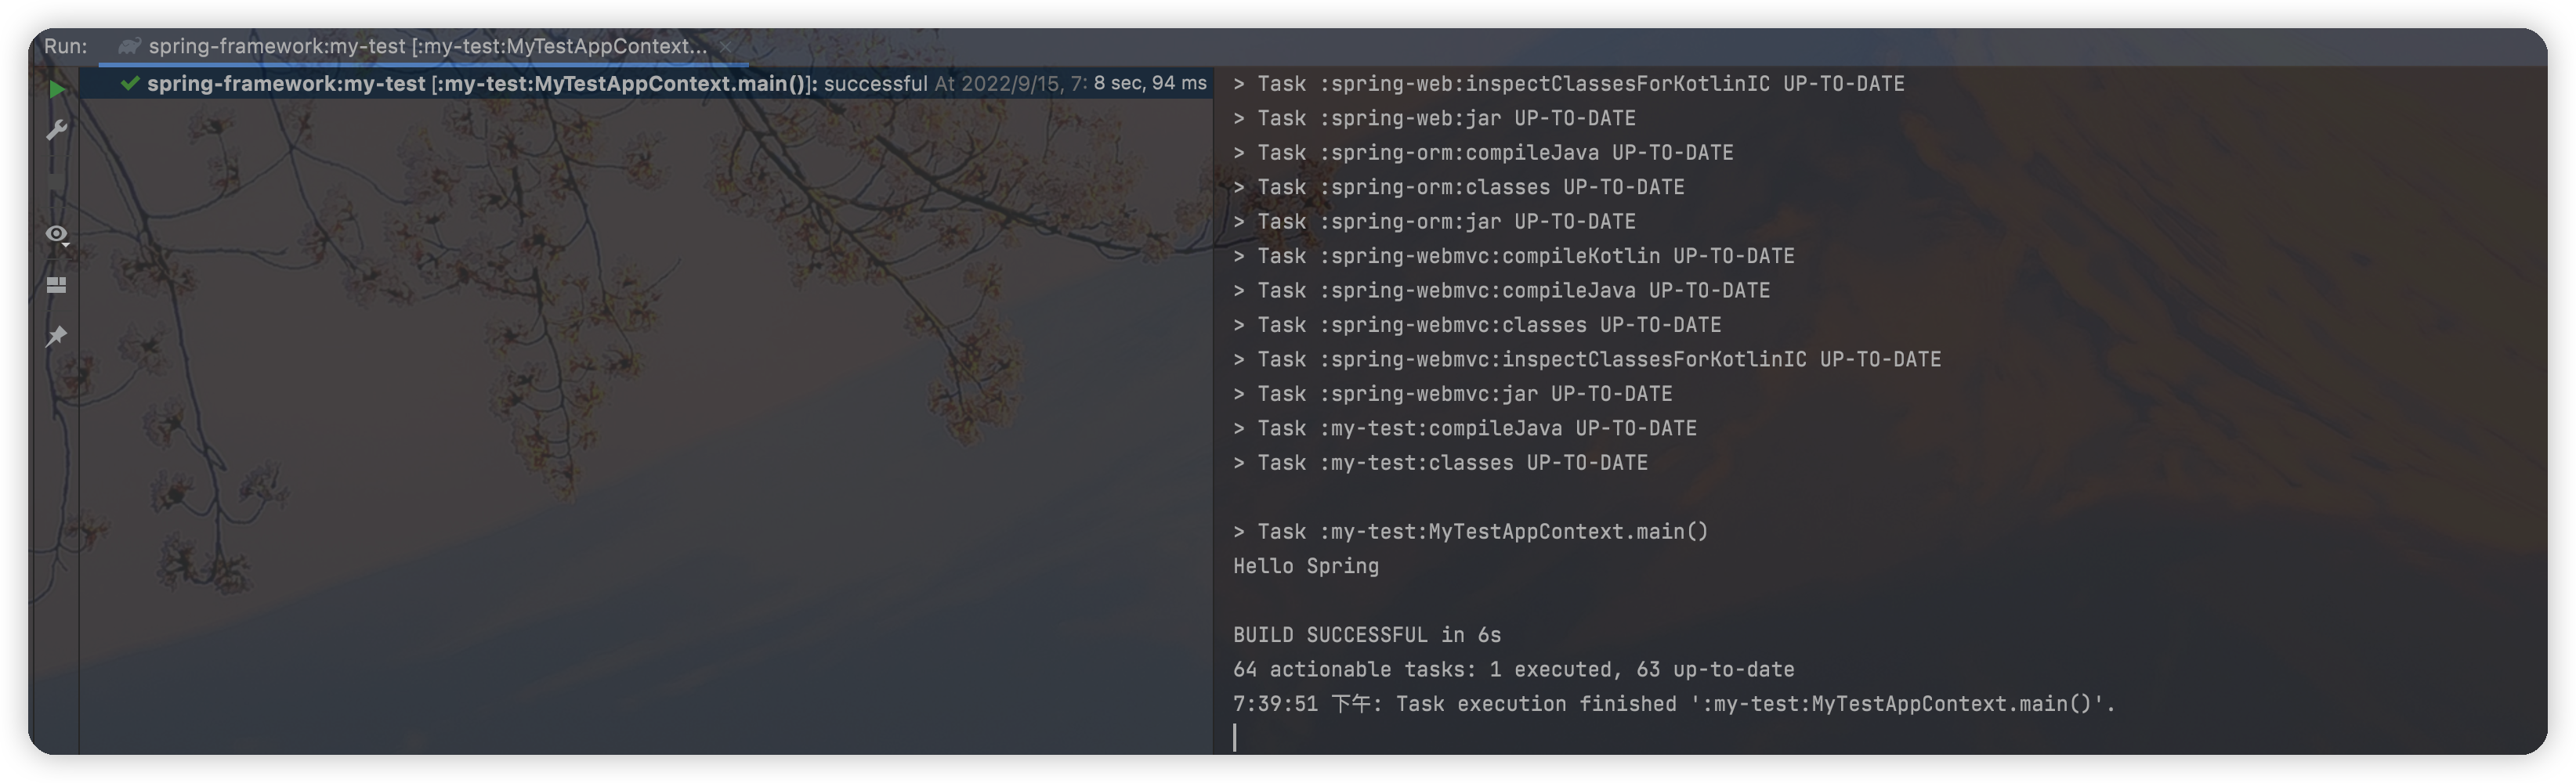
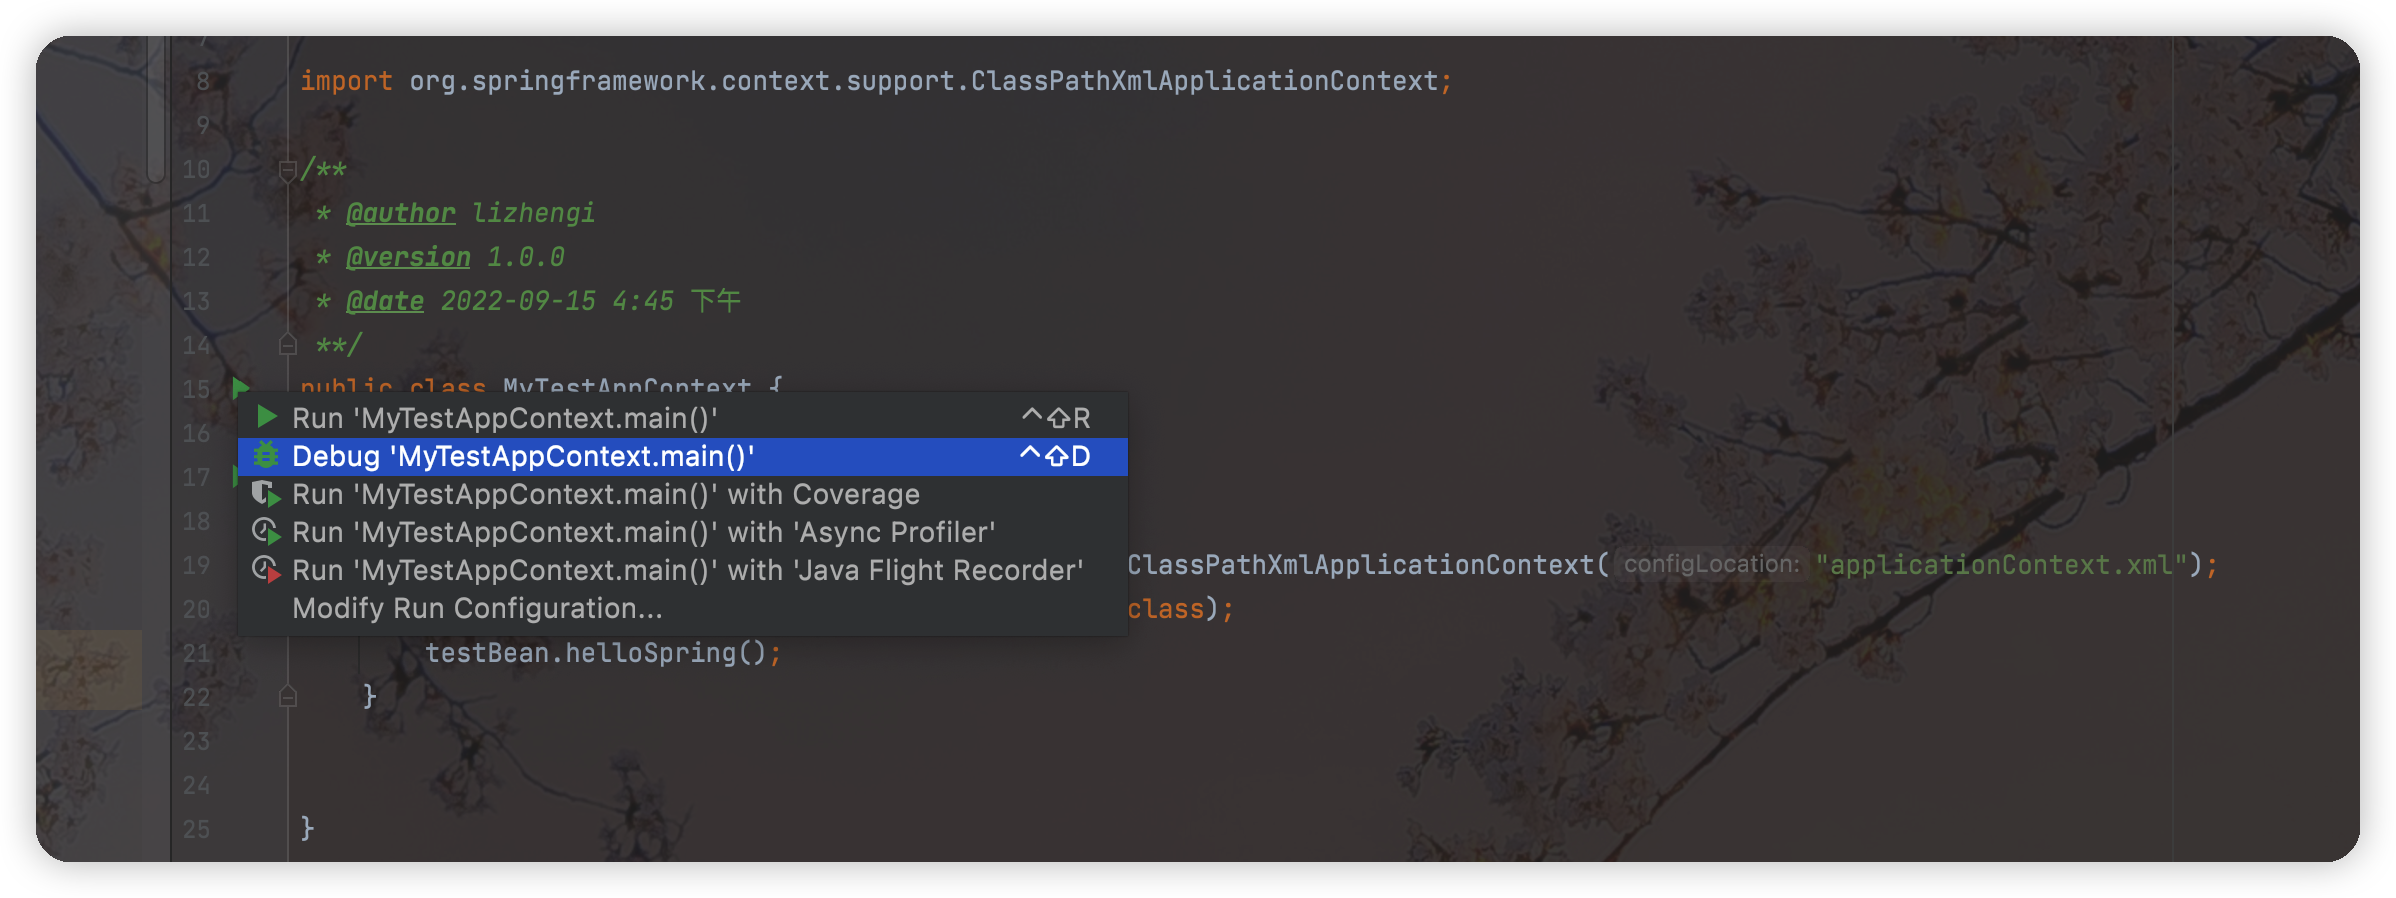
5、debug调试
完成以上步骤其实就已经可以愉快的操练起来了,按下面方式进行 debug,先一睹 spring 的风采吧!


还没有评论,来说两句吧...