Netty(3)-实现客户端与服务端的双向通信
文章目录
- 一.基本思路
- 二.通信流程
- 三.代码实现
一.基本思路
读写逻辑处理均是启动阶段通过给逻辑处理链Pipeline添加逻辑处理器实现连接数据的读写逻辑。
- 客户端连接成功回调逻辑处理器的
channelActive()方法 - 客户端和服务端接收到对方的数据回调用各自逻辑处理器的
channelRead()方法。 - 客户端和服务端向对方写数据调用
writeAndFlush()方法 - 客户端和服务端交互的二进制数据传输载体为
ByteBuf
二.通信流程
![\[外链图片转存失败,源站可能有防盗链机制,建议将图片保存下来直接上传(img-lxx6KkVY-1580725870430)(http://note.youdao.com/yws/res/9840/76DC2AB9464A4D1882346E496B1C9518)\]](https://img-blog.csdnimg.cn/20200203183119747.png?x-oss-process=image/watermark,type_ZmFuZ3poZW5naGVpdGk,shadow_10,text_aHR0cHM6Ly9hcm9uZy5ibG9nLmNzZG4ubmV0,size_16,color_FFFFFF,t_70)
三.代码实现
NIOServer
/* @Auther: ARong @Description: 服务端-客户端双向通信,服务端在接收到客户端信息后向客户端发出响应 /
public class NIOServer {public static void main(String[] args) {ServerBootstrap serverBootstrap = new ServerBootstrap();NioEventLoopGroup bossGroup = new NioEventLoopGroup(); // 监听组NioEventLoopGroup workerGroup = new NioEventLoopGroup(); // 工作组serverBootstrap.group(bossGroup, workerGroup).channel(NioServerSocketChannel.class) //NIO模式.childHandler(new ChannelInitializer<SocketChannel>() {@Override// 初始化channelprotected void initChannel(SocketChannel ch) throws Exception {ch.pipeline().addLast(new FirstServerHandler());}}).bind(8000);}
}
NIOClient
/* @Auther: ARong @Description: 服务端-客户端双向通信,客户端向服务端发送信息 /
public class NIOClient {public static void main(String[] args) throws InterruptedException {Bootstrap bootstrap = new Bootstrap();NioEventLoopGroup group = new NioEventLoopGroup();bootstrap.group(group).channel(NioSocketChannel.class).handler(new ChannelInitializer<SocketChannel>() {@Overrideprotected void initChannel(SocketChannel ch) throws Exception {// 责任链模式,添加第一次连接的客户端处理逻辑ch.pipeline().addLast(new FirstClientHandler());}});Channel channel = bootstrap.connect("127.0.0.1", 8000).channel();String message = String.format("HelloWorld From %s", new SimpleDateFormat("hh ss").format(new Date()));
channel.writeAndFlush(message);}
}
FirstServerHandler
/* @Auther: ARong @Description: 服务端被首次连接的处理逻辑 /
public class FirstServerHandler extends ChannelInboundHandlerAdapter {@Override/* * @Author ARong * @Description 接收到服务端消息时触发 * @Param [ctx, msg] * @return void **/public void channelRead(ChannelHandlerContext ctx, Object msg) throws Exception {ByteBuf byteBuf = (ByteBuf) msg;System.out.println(String.format("服务端读取到数据%s From %s",byteBuf.toString(Charset.forName("utf-8")),getCurTime()));ByteBuf byteBuf1 = getByteBuf(ctx);ctx.channel().writeAndFlush(byteBuf1);}/* * @Author ARong * @Description 获取二进制抽象 ByteBuf * @Param [ctx] * @return io.netty.buffer.ByteBuf **/private ByteBuf getByteBuf(ChannelHandlerContext ctx) {// 获取二进制抽象 ByteBufByteBuf buffer = ctx.alloc().buffer();// 准备数据,指定字符串的字符集为 utf-8String response = String.format("服务端返回HelloWorld From %s", getCurTime());byte[] bytes = response.getBytes(Charset.forName("utf-8"));// 填充数据到 ByteBufbuffer.writeBytes(bytes);return buffer;}private String getCurTime() {return new SimpleDateFormat("hhss").format(new Date());}
}
FirstClientHandler
/* @Auther: ARong @Description: 首次连接的客户端处理逻辑 /
public class FirstClientHandler extends ChannelInboundHandlerAdapter {@Override/* * @Author ARong * @Description 客户端与服务端首次连接的处理逻辑 * @Param [ctx] * @return void **/public void channelActive(ChannelHandlerContext ctx) throws Exception {// 编码数据ByteBuf byteBuf = getByteBuf(ctx);// 写回给服务端ctx.channel().writeAndFlush(byteBuf);}@Override/* * @Author ARong * @Description 接收到服务端消息时触发 * @Param [ctx, msg] * @return void **/public void channelRead(ChannelHandlerContext ctx, Object msg) throws Exception {ByteBuf byteBuf = (ByteBuf) msg;System.out.println(String.format("客户端读取到数据%s From %s",byteBuf.toString(Charset.forName("utf-8")),getCurTime()));}/* * @Author ARong * @Description 获取二进制抽象 ByteBuf * @Param [ctx] * @return io.netty.buffer.ByteBuf **/private ByteBuf getByteBuf(ChannelHandlerContext ctx) {// 获取二进制抽象 ByteBufByteBuf buffer = ctx.alloc().buffer();// 准备数据,指定字符串的字符集为 utf-8String response = String.format("客户端返回HelloWorld From %s", getCurTime());byte[] bytes = response.getBytes(Charset.forName("utf-8"));// 填充数据到 ByteBufbuffer.writeBytes(bytes);return buffer;}private String getCurTime() {return new SimpleDateFormat("hhss").format(new Date());}
}
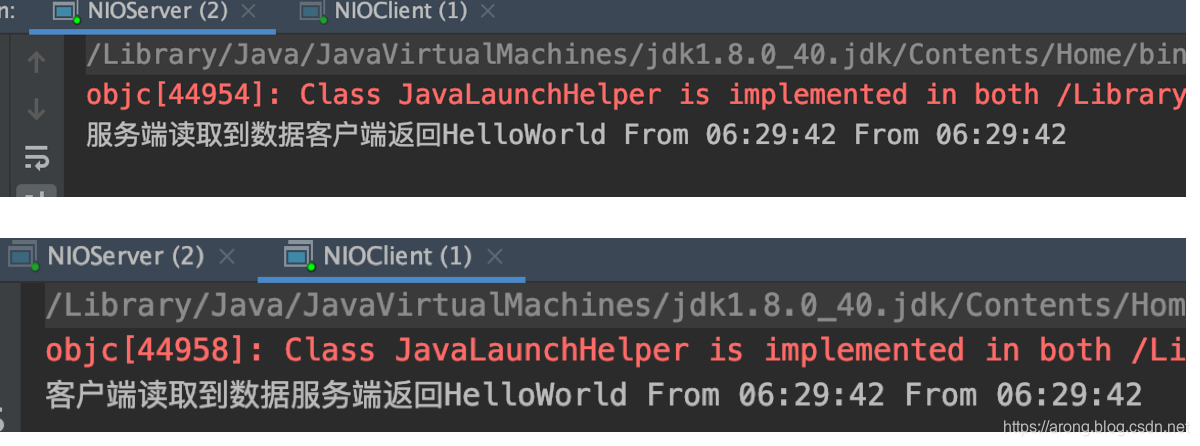
依次启动客户端和服务端,实现双向通信:


")


还没有评论,来说两句吧...