多线程学习笔记(二)多线程之线程通信
引言
对于一个人而言,一生中会经历生、老、病、死等不同的状态,正所谓水无常形,兵无常势,反观线程启动后亦会有不同状态,线程所经历的状态比较固定,共有六种状态,一个线程从从创建到死亡过程,可能会经历中间的四种状态,也可能朝生夕死,线程的生命周期示意图如下所示。
线程与其状态
下文是有关线程在计算机中的六种状态,当一个线程加载如计算机中时,通常会有六种状态:new、terminated、timed waiting、running、blocked、wait,这六种状态的关系如下: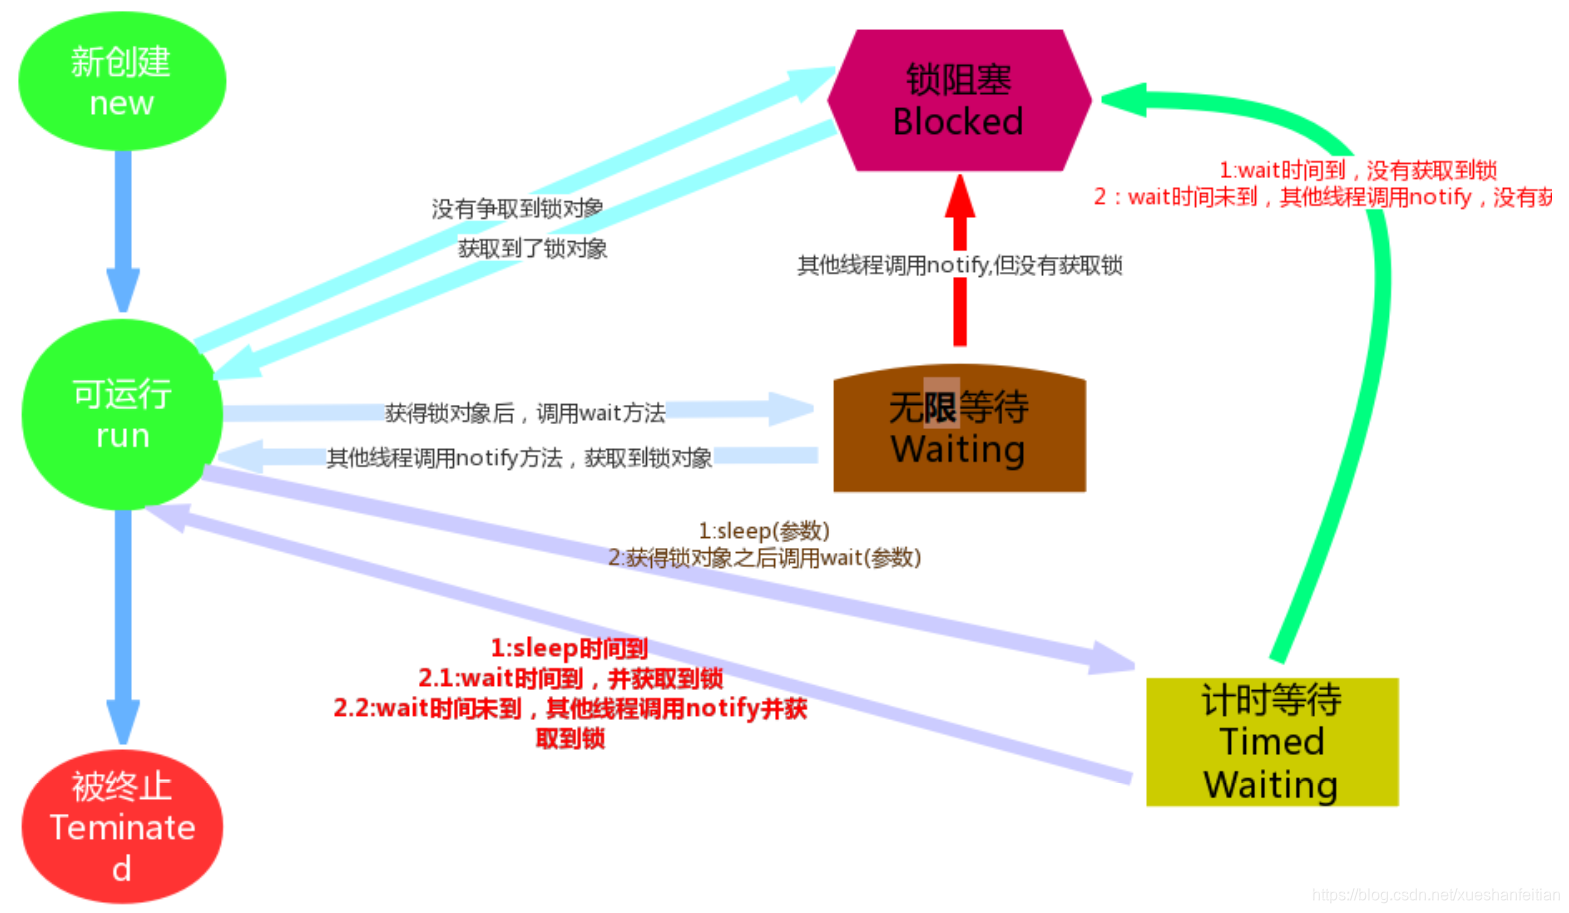
线程的创建和消亡以及运行状态就不再赘述。
timed waiting
timed waiting状态为 计时等待状态,当我们调用Thread.sleep(xxx)时就可以进入计时等待状态例如Thread.sleep(20)表示该线程进入20ms的休眠等待状态,等20ms结束后,该线程就自动唤醒并争夺锁对象(即争夺cpu资源拥有权),如果争夺失败则会进入阻塞状态,等待下一轮争夺。
对于如何进入timedwaiting 具体的例子如下所示。
public class SleepTest {public static int j=200;public static Object lock=new Object();;public static void main(String[] args) throws InterruptedException {//Object lock = new Object();new Thread(){@Overridepublic void run() {super.setName("赵丽颖");synchronized (lock){for (int i = 0; i < 50; i++) {j--;System.out.println("这是第:"+i+"--个"+Thread.currentThread().getName()+"线程"+":"+j);}}try {Thread.sleep(10);} catch (InterruptedException e) {e.printStackTrace();}}}.start();new Thread(new Runnable() {@Overridepublic void run() {synchronized (lock){for (int i = 0; i < 50; i++) {j++;System.out.println("这是第:"+i+"--个"+Thread.currentThread().getName()+"线程"+":"+j);}}try {Thread.sleep(100);} catch (InterruptedException e) {e.printStackTrace();}}},"地里热巴").start();Thread.sleep(100);System.out.println("----------"+Thread.currentThread().getName()+":----------");}}
运行结果如下: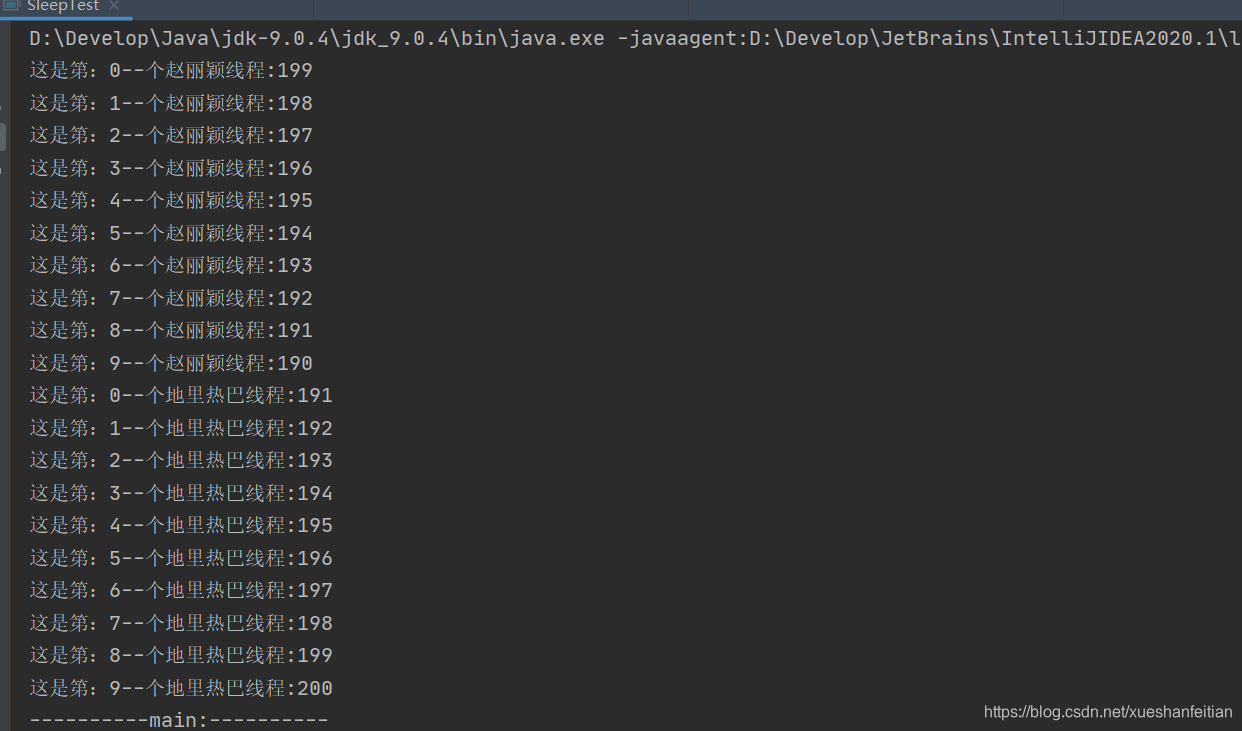
上述例子分别采用了”实现”Runnable接口和继承Thread类来实现多线程程序,并在其中使用同步代码块作为同步技术,简单的解决了线程安全的问题。
waiting
无限等待状态即waiting,waiting状态并不是一个线程的操作,它体现的是多个线程间之间的通信,可以理解为多个线程之间的协作关系,多个线程会争取锁,同时相互之间又存在协作关系。当多个线程协作时,如A,B线程,如果A线程在Runnable(可运行)状态中调用了wait()方法那么A线程就进入
了Waiting(无限等待)状态,同时失去了同步锁。假如这个时候B线程获取到了同步锁,在运行状态中调用了notify()方法,那么就会将无限等待的A线程唤醒。注意是唤醒,如果获取到锁对象,那么A线程唤醒后就进入Runnable(可运行)状态;如果没有获取锁对象,那么就进入到Blocked(锁阻塞状态)。
blocked
对于blocked而言,多个线程中竞争锁对象失败者都会进入阻塞状态并等待新一轮抢夺cpu资源的机会。
线程之间的相互通信
对于线程之间的相互通信,这个问题比较宽泛,多线程之间通信总体来说能分为 共享内存机制和消息通信机制,下文先介绍多线程的内存共享性通讯机制(以java为例)。
内存共享机制
内存共享性顾名思义就是两个线程共享某一块内存区域,通过共享内存区域的内容达到线程通信的目的。共享内存这种方式比较常见,我们经常会设置一个共享变量。然后多个线程去操作同一个共享变量。从而达到线程通讯的目的。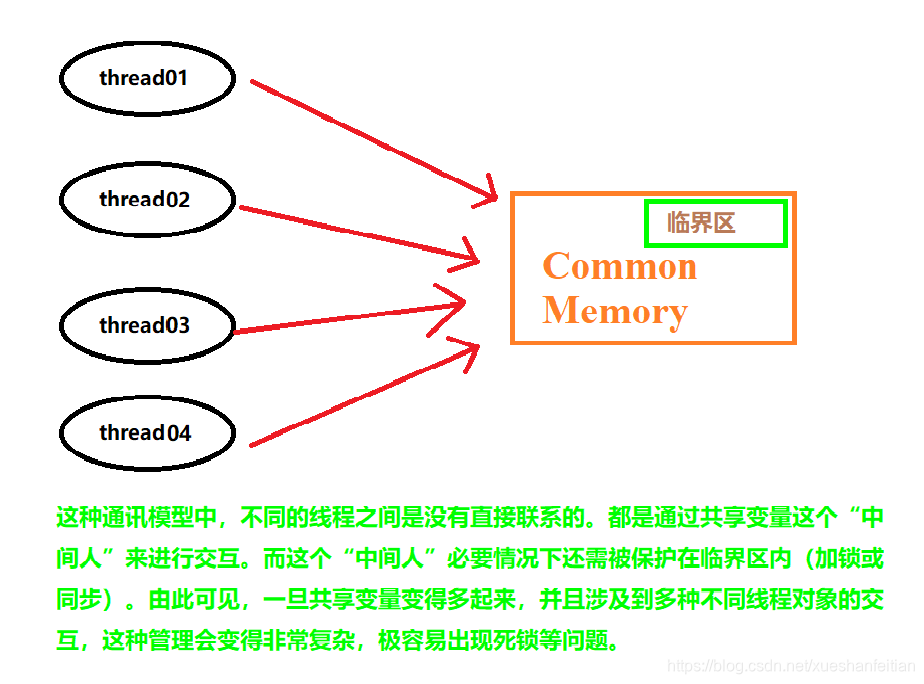
在内存共享机制中常见的有 轮询模式和同步模式。
轮询模式
首先来探讨一下第一种内存共享性通讯机制轮询模式,轮询模式比较简单,如有A,B两个线程,我们的需求是先让程序A执行完毕后触发标志位,如果标志位符合条件再让线程B执行,这就要求线程B不断轮询表示位是否符合条件,如果符合条件则开始执行B线程的程序,否则不执行,这样就简单的实现了线程之间的信号传递,下面给出小猿的案例,假定线程A每计数5次就让flag变为true,线程B不断轮询标志位,当符合条件时再触发B线程中的程序。
定义的标志类:
package com.itheima.demo01.polling;public class MyFlag {private boolean flag ;public MyFlag(boolean flag) {this.flag = flag;}public MyFlag() {}public boolean isFlag() {return flag;}public void setFlag(boolean flag) {this.flag = flag;}}
线程A类实现了runnable接口,显然实现了接口中的run方法。
public class MyThreadA implements Runnable{private volatile MyFlag flag = new MyFlag();public MyThreadA(MyFlag flag) {this.flag = flag;}public MyFlag getFlag() {return flag;}public void setFlag(MyFlag flag) {this.flag = flag;}@Overridepublic void run() {System.out.println("-----------"+Thread.currentThread().getName()+"正在执行------------------");while (true){if(!flag.isFlag()){for (int i = 1; i < 20; i++) {System.out.println("----------------"+i+"-----------------");if(i%5==0){flag.setFlag(true);System.out.println(flag.isFlag());}else {flag.setFlag(false);System.out.println(flag.isFlag());}try {Thread.sleep(500);} catch (InterruptedException e) {e.printStackTrace();}}}}// flag.setFlag(true);// System.out.println("-----------"+Thread.currentThread().getName()+"要退出了------------------");}}
线程B类实现了继承了Thread类,重写了父类中的run方法。
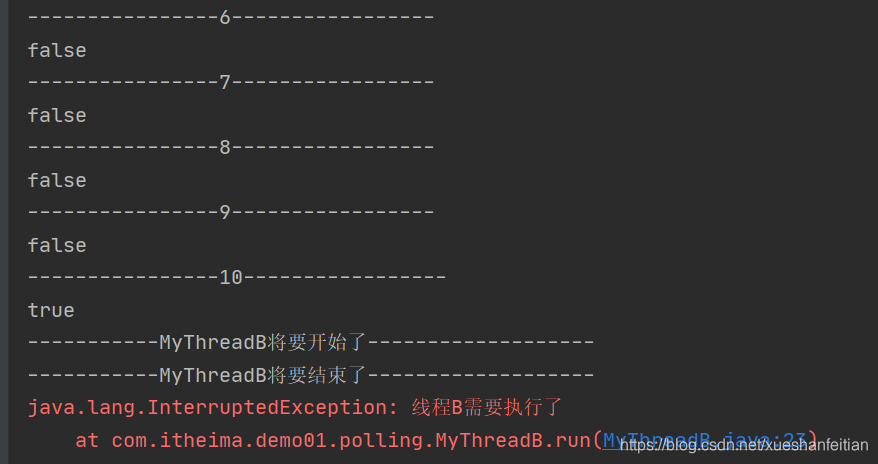
public class MyThreadB extends Thread {private volatile MyFlag flag;public MyFlag getFlag() {return flag;}public void setFlag(MyFlag flag) {this.flag = flag;}public MyThreadB(MyFlag flag) {this.flag = flag;}@Overridepublic void run() {super.setName("MyThreadB");while (true){if(flag.isFlag()){System.out.println("-----------"+Thread.currentThread().getName()+"将要开始了-------------------");try {throw new InterruptedException("线程B需要执行了");} catch (InterruptedException e) {e.printStackTrace();}finally {System.out.println("-----------"+Thread.currentThread().getName()+"将要结束了-------------------");}try {Thread.sleep(1000);} catch (InterruptedException e) {e.printStackTrace();}}}}}
最后给出测试类
public class DemoTestPolling {public static void main(String[] args) {MyFlag flag = new MyFlag(false);new Thread(new MyThreadA(flag),"MyThreadA").start();new MyThreadB(flag).start();}}
此处要注意 MyFlag 定义的flag 一定要用 volatile关键字修饰,这一点是非常关键的,否则就达不到我们想要的效果,其中的原因是Java内存模型规定所有的变量都是存在主存当中,每个线程都有自己的工作内存。线程对变量的所有操作都必须在工作内存中进行,而不能直接对主存进行操作。并且每个线程不能访问其他线程的工作内存。变量的值何时从线程的工作内存写回主存,但是假如线程A没有及时更新主内存,那么线程B 就会产生脏读现象,所以为了保证内存操作的原子性,就必须用volatile关键字修饰,保证线程内存和主内存的数据同步。
最后小猿运行的结果如下:
同步机制
同步机制也是内存共享中的一种,目前已被广泛应用于解决线程安全问题,同步机制包含同步代码块,同步方法和lock锁机制。首先,小猿来介绍一下同步代码块的用法。
同步代码块
直接上案例,
定义买票线程类
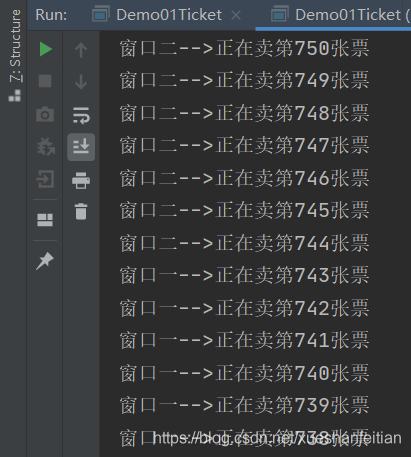
public class RunnableImpl implements Runnable{//定义一个多个线程共享的票源private int ticket = 1000;//创建一个锁对象Object obj = new Object();//设置线程任务:卖票@Overridepublic void run() {//使用死循环,让卖票操作重复执行while(true){//同步代码块synchronized (obj){//先判断票是否存在if(ticket>0){//提高安全问题出现的概率,让程序睡眠try {Thread.sleep(10);} catch (InterruptedException e) {e.printStackTrace();}//票存在,卖票 ticket--System.out.println(Thread.currentThread().getName()+"-->正在卖第"+ticket+"张票");ticket--;}}}}}
测试类
public class Demo01Ticket {public static void main(String[] args) {//创建Runnable接口的实现类对象RunnableImpl runnable = new RunnableImpl();Thread thread1 = new Thread(runnable,"窗口一");Thread thread2 = new Thread(runnable,"窗口二");Thread thread3 = new Thread(runnable,"窗口三");thread1.start();thread2.start();thread3.start();}}
测试结果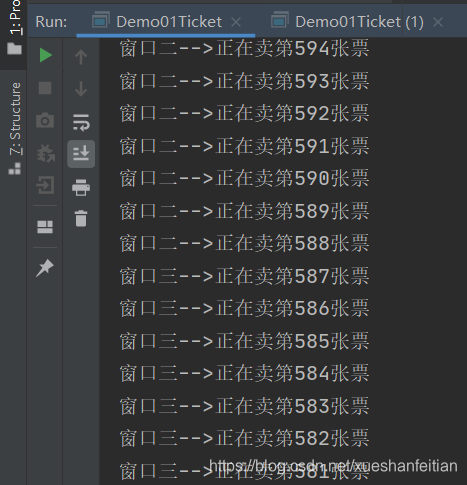

上述案例中同步代码块的锁采用的线程自定义的obj类并解决了多个线程访问ticket而产生的线程的安全问题,
同步方法
案例还是不同窗口买票,这次采用的同步方法来解决线程安全问题
定义的线程类
public class RunnableImpl implements Runnable{//定义一个多个线程共享的票源private static int ticket = 50;private int ticket2=50;//设置线程任务:卖票@Overridepublic void run() {System.out.println("this:"+this);//使用死循环,让卖票操作重复执行while(true){payTicketStatic();//payTicket();}}/*静态的同步方法锁对象是谁?不能是thisthis是创建对象之后产生的,静态方法优先于对象静态方法的锁对象是本类的class属性-->class文件对象(反射)*//* public static *//*synchronized*//* void payTicketStatic(){synchronized (RunnableImpl.class){//先判断票是否存在if(ticket>0){//提高安全问题出现的概率,让程序睡眠try {Thread.sleep(100);} catch (InterruptedException e) {e.printStackTrace();}//票存在,卖票 ticket--System.out.println(Thread.currentThread().getName()+"-->正在卖第"+ticket+"张票");ticket--;}}}*/public static synchronized void payTicketStatic() {//先判断票是否存在if (ticket > 0) {//票存在,卖票 ticket--System.out.println(Thread.currentThread().getName() + "-->正在卖第" + ticket + "张票");ticket--;//提高安全问题出现的概率,让程序睡眠try {Thread.sleep(10);} catch (InterruptedException e) {e.printStackTrace();}}}/*定义一个同步方法同步方法也会把方法内部的代码锁住只让一个线程执行同步方法的锁对象是谁?就是实现类对象 new RunnableImpl()也是就是this*//*public *//*synchronized*//* void payTicket(){synchronized (this){//先判断票是否存在if(ticket>0){//提高安全问题出现的概率,让程序睡眠try {Thread.sleep(10);} catch (InterruptedException e) {e.printStackTrace();}//票存在,卖票 ticket--System.out.println(Thread.currentThread().getName()+"-->正在卖第"+ticket+"张票");ticket--;}}}*/public synchronized void payTicket() {//先判断票是否存在if (ticket2 > 0) {//提高安全问题出现的概率,让程序睡眠//票存在,卖票 ticket--System.out.println(Thread.currentThread().getName() + "-->正在卖第" + ticket2 + "张票");ticket2--;try {Thread.sleep(20);} catch (InterruptedException e) {e.printStackTrace();}}}}
测试类
public class Demo01Ticket {public static void main(String[] args) {// Runnable runnable=new RunnableImpl();//创建Thread类对象,构造方法中传递Runnable接口的实现类对象Thread t0 = new Thread(new RunnableImpl(),"窗口一");Thread t1 = new Thread(new RunnableImpl(),"窗口二");Thread t2 = new Thread(new RunnableImpl(),"窗口三");//调用start方法开启多线程t0.start();t1.start();t2.start();}}
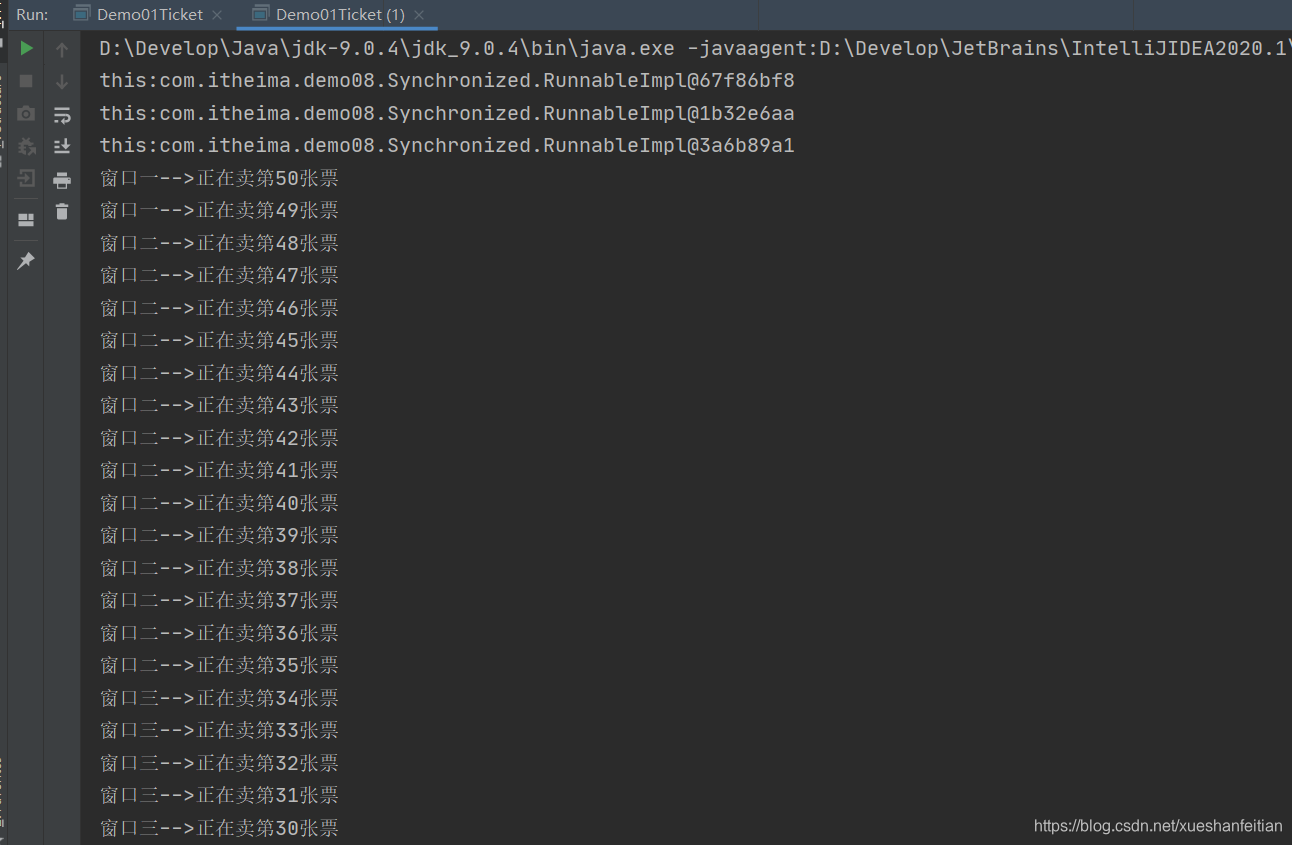
此处需要说明的是 同步方法中静态方法的锁对象是该类(即RunnableImpl.class),而普通同步方法的锁对象就是该对象自己 。下面图解一下这两者的区别。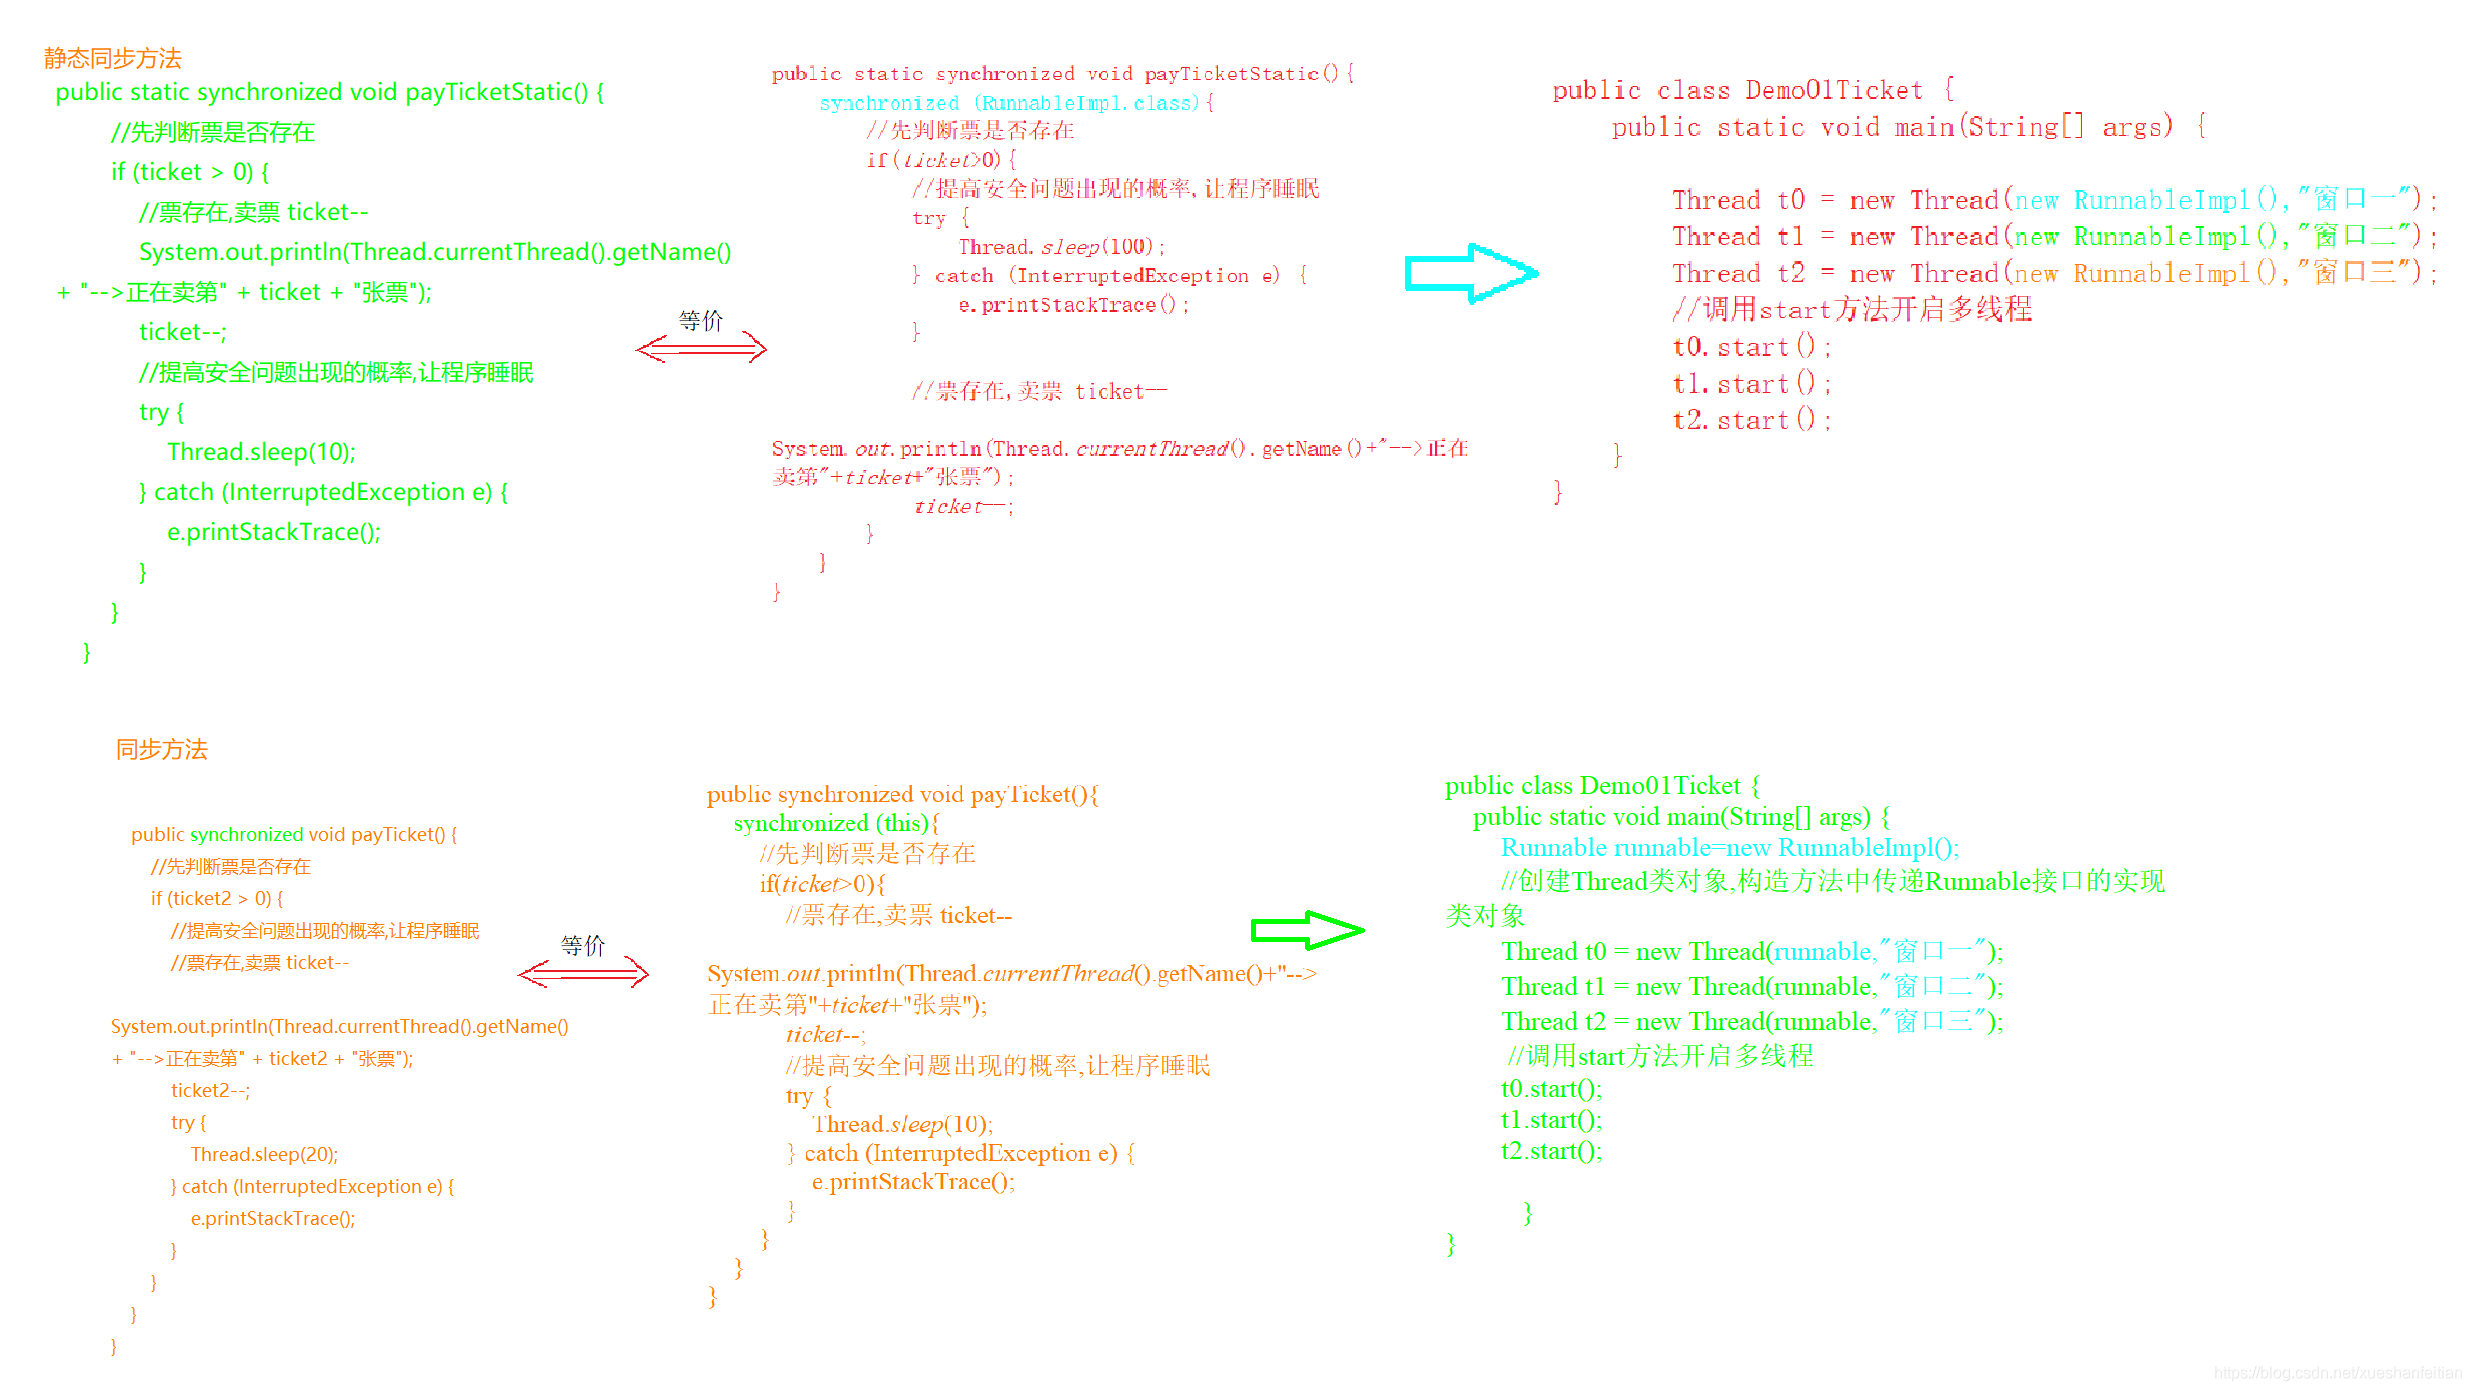
从上图中可以反映出静态同步方法和同步方法之间的区别。
lock锁
lock锁是另外一种重要的同步机制之一,采用lock所,首先需要穿件Lock锁对象 new ReentrantLock(),然后采用lock对象的成员方法lock()和unlock()夹住代码,从而解决被夹代码的线程安全问题,
public class RunnableImpl implements Runnable{//定义一个多个线程共享的票源private int ticket = 1000;//1.在成员位置创建一个ReentrantLock对象Lock l = new ReentrantLock();//设置线程任务:卖票@Overridepublic void run() {//使用死循环,让卖票操作重复执行while(true){//2.在可能会出现安全问题的代码前调用Lock接口中的方法lock获取锁l.lock();//先判断票是否存在if(ticket>0){//提高安全问题出现的概率,让程序睡眠try {Thread.sleep(10);//票存在,卖票 ticket--System.out.println(Thread.currentThread().getName()+"-->正在卖第"+ticket+"张票");ticket--;} catch (InterruptedException e) {e.printStackTrace();}finally {//3.在可能会出现安全问题的代码后调用Lock接口中的方法unlock释放锁l.unlock();//无论程序是否异常,都会把锁释放}}}}/*//设置线程任务:卖票@Overridepublic void run() {//使用死循环,让卖票操作重复执行while(true){//2.在可能会出现安全问题的代码前调用Lock接口中的方法lock获取锁l.lock();//先判断票是否存在if(ticket>0){//提高安全问题出现的概率,让程序睡眠try {Thread.sleep(10);} catch (InterruptedException e) {e.printStackTrace();}//票存在,卖票 ticket--System.out.println(Thread.currentThread().getName()+"-->正在卖第"+ticket+"张票");ticket--;}//3.在可能会出现安全问题的代码后调用Lock接口中的方法unlock释放锁l.unlock();}}*/}
测试类
public class Demo01Ticket {public static void main(String[] args) {//创建Runnable接口的实现类对象RunnableImpl run = new RunnableImpl();//创建Thread类对象,构造方法中传递Runnable接口的实现类对象Thread t0 = new Thread(run);Thread t1 = new Thread(run);Thread t2 = new Thread(run);//调用start方法开启多线程t0.start();t1.start();t2.start();}}
运行结果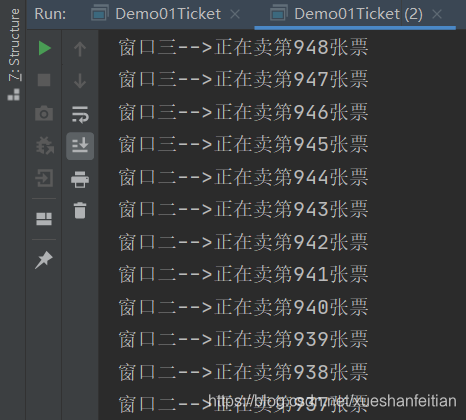
运行达到案例预期效果。
消息通信机制
消息传递方式采取的是线程之间的直接通信,不同的线程之间通过显式的发送消息来达到交互目的。消息传递最有名的方式应该是actor模型了。在这种模型下,一切都是actor,所有的actor之间的通信都必须通过传递消息才能达到。每个actor都有一个收件箱(消息队列)用来保存收到其他actor传递来的消息。actor自己也可以给自己发送消息,当然这种情况是比较特殊的,比价少见。

等待/通知机制
在java中,Wait/Notify(NotifyAll)是一个非常常见的消息通信机制,这种机制有点像嵌入式中的中断机制,下文就着重探讨案例,案例要求如下:现有有个中断、中断处理器,CPU三个角色,当中断发起时,首先经过中断处理器处理,若是不可屏蔽中断则直接交由cpu处理,若是可屏蔽中断则现先由断处理器处理,然后再交由cpu处理,需要用代码简单的模拟一下这个过程,案例代码如下。
中断类
public class Interruption {private String interruptType;private String treatment;private boolean interruptFlag=false;public Interruption(String interruptType, String treatment, boolean interruptFlag) {this.interruptType = interruptType;this.treatment = treatment;this.interruptFlag = interruptFlag;}public Interruption(String interruptType) {this.interruptType = interruptType;}public Interruption() {}public String getInterruptType() {return interruptType;}public void setInterruptType(String interruptType) {this.interruptType = interruptType;}public String getTreatment() {return treatment;}public void setTreatment(String treatment) {this.treatment = treatment;}public boolean isInterruptFlag() {return interruptFlag;}public void setInterruptFlag(boolean interruptFlag) {this.interruptFlag = interruptFlag;}@Overridepublic String toString() {return "Interruption{" +"interruptType='" + interruptType + '\'' +", treatment='" + treatment + '\'' +", interruptFlag=" + interruptFlag +'}';}}
中断处理器类
//extends threadpublic class InterruptHandler extends Thread{private Interruption interruption;public InterruptHandler(Interruption interruption,String name) {super(name);this.interruption = interruption;}public InterruptHandler(Interruption interruption) {this.interruption = interruption;}@Overridepublic void run(){int count =0;//模拟总中断开关寄存器相关动作while (true){synchronized (interruption){//now there are some interrupt message in interruptHandlerif(interruption.isInterruptFlag()){try {interruption.wait();} catch (InterruptedException e) {e.printStackTrace();}}//interruptHandler is emptySystem.out.println("interruptHandler is empty,start produce some interrupt");if(count%2==0){interruption.setInterruptType("MI interruption");interruption.setTreatment("response delay");}else {interruption.setInterruptType("NMI interruption");interruption.setTreatment("response immediately");}count++;System.out.println(interruption.getInterruptType()+"is readyCPU processing should be :" +interruption.getTreatment());try {Thread.sleep(2000);} catch (InterruptedException e) {e.printStackTrace();}interruption.setInterruptFlag(true);interruption.notify();}}}}
CPU类
public class CPU implements Runnable{private Interruption interruption;private String threadName;public CPU(Interruption interruption, String threadName) {this.interruption = interruption;this.threadName = threadName;}public CPU(Interruption interruption) {this.interruption = interruption;}@Overridepublic void run() {while (true){synchronized (interruption){if(!interruption.isInterruptFlag()){try {interruption.wait();} catch (InterruptedException e) {e.printStackTrace();}}System.out.println("CPU is processing"+interruption.getInterruptType()+"and will"+interruption.getTreatment());try {Thread.sleep(1000);} catch (InterruptedException e) {e.printStackTrace();}System.out.println("finished");System.out.println("----------------------------------------");interruption.setInterruptFlag(false);interruption.notify();}}}}
测试类
public class DemoTest {public static void main(String[] args) {Interruption interruption = new Interruption();InterruptHandler interruptHandler = new InterruptHandler(interruption,"interruptionHandler");interruptHandler.start();CPU cpu = new CPU(interruption);new Thread(cpu,"cpu").start();}}
运行结果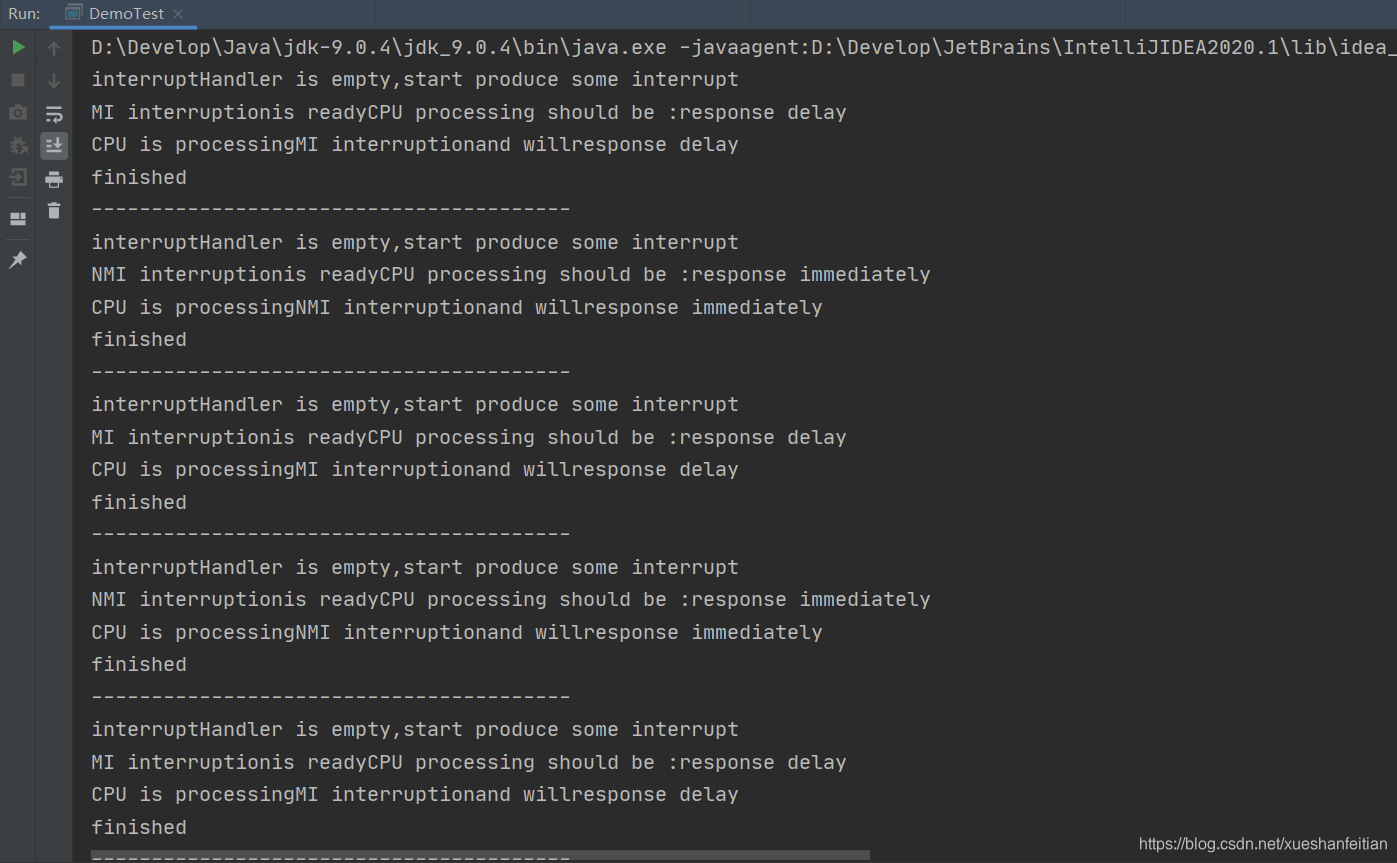
运行达到案例预期效果。
管道通信机制
案例
消息制造者A则需要产生消息且将消息放入管道队列中,然后打印放入队列中的消息,消息消费者提取管道队里中的消息,并将提取的消息打印到控制台。
方法一
通过PipedInputStream和PipedOutputStream来实现线程之间的通信,手先由ThreadWrite线程产生消息放入队列中,然后又ThreadRead线程来消费消息,直接上代码。
WriteData类
public class WriteData {public void writeMethod(PipedOutputStream out){try {System.out.println("write :");int maxSize =50;StringBuffer outData1=new StringBuffer();String outData =null;for(int i=0;i<maxSize;i++){outData=""+(i+1);out.write(outData.getBytes());if(i==0){outData1.append("["+(i+1)+",");}else if(i==maxSize-1){outData1.append(i+1+ "]"+"\n");}else {if((i+1)%5==0){outData1.append(i+1+"]"+"\n");outData1.append("[");}else {outData1.append(i+1+ ",");}}}String s = outData1.toString();System.out.println(s);System.out.println();out.close();} catch (Exception e) {// TODO: handle exception}}}
ReadData类
public class ReadData {public void readMethod(PipedInputStream inputStream){try {System.out.println("read:");byte[] byteArray=new byte[128];int readLength = inputStream.read(byteArray);while (readLength != -1){String newData = new String(byteArray, 0, readLength);System.out.println(newData);readLength=inputStream.read(byteArray);}System.out.println();inputStream.close();} catch (IOException e) {e.printStackTrace();}}}
ThreadWrite类
public class ThreadWrite implements Runnable{WriteData writeData;PipedOutputStream outputStream;public ThreadWrite(WriteData writeData,PipedOutputStream outputStream){this.writeData = writeData;this.outputStream = outputStream;}@Overridepublic void run() {writeData.writeMethod(outputStream);}}
ThreadRead
public class ThreadRead extends Thread{ReadData readData;PipedInputStream inputStream;public ThreadRead(ReadData readData, PipedInputStream inputStream) {this.readData = readData;this.inputStream = inputStream;}@Overridepublic void run() {readData.readMethod(inputStream);}}
测试类
public class TestDemo1 {public static void main(String[] args) {try {WriteData writeData=new WriteData();ReadData readData=new ReadData();PipedInputStream input=new PipedInputStream();PipedOutputStream out=new PipedOutputStream();out.connect(input);ThreadRead threadRead=new ThreadRead(readData, input);threadRead.start();Thread.sleep(2000);ThreadWrite threadWriteImpl=new ThreadWrite(writeData, out);Thread threadWrite = new Thread(threadWriteImpl,"threadWrite");threadWrite.start();} catch (Exception e) {e.printStackTrace();}}}
测试结果
测试结果非常完美。
方法二
案例二则采用PipedReader和PipedWriter类做管道通讯,方法二与方法本质的区别就是InputStream、OutputStrean和Reader、Writer的区别,代码实现如下.
WriteData类
public class WriteData {public void writeData(PipedWriter writer){int maxSize =50;String outData=null;StringBuffer outData1= new StringBuffer();System.out.println("write:");try {for (int i = 0; i < maxSize; i++) {outData=""+(i+1);writer.write(outData);if(i==0){outData1.append("["+(i+1)+",");}else if(i==maxSize-1){outData1.append(i+1+"]"+"\n");}else {if((i+1)%5==0){outData1.append(i+1+"]"+"\n");}else {outData1.append(i+1+",");}}}String s = outData1.toString();System.out.println(s);writer.close();}catch (IOException e){e.printStackTrace();}}}
ReadData类
public class ReadData {public void readMethod(PipedReader read){try {char [] byteArray = new char[64];int readLength = read.read(byteArray);System.out.println("read:");while (readLength !=-1){String newData = new String(byteArray, 0, readLength);System.out.print(newData);readLength = read.read(byteArray);}System.out.println();read.close();} catch (IOException e) {e.printStackTrace();}}}
ThreadWriter类
public class ThreadWriter extends Thread {WriteData out;PipedWriter writer;public ThreadWriter(WriteData out, PipedWriter writer) {this.out = out;this.writer = writer;}@Overridepublic void run() {out.writeData(writer);}}
测试类
public class DemoTest2 {public static void main(String[] args) {try {WriteData writeData = new WriteData();ReadData readData = new ReadData();PipedWriter pipedWriter = new PipedWriter();PipedReader pipedReader = new PipedReader();pipedWriter.connect(pipedReader);ThreadWriter threadWriter = new ThreadWriter(writeData,pipedWriter);threadWriter.start();Thread.sleep(2000);ThreadReader threadReader = new ThreadReader(readData, pipedReader);Thread threadReader1 = new Thread(threadReader, "threadReader");threadReader1.start();} catch (InterruptedException | IOException e) {e.printStackTrace();}}}
通过方法一和方法二的对比,发现两种方法都基本一致,最大的区别在于消息生产者将消息放入管道队列的方式,结果如下。
PipeOutputStream写入管道队列之前需要先将写入对象转换成二进制,而PipedWriter则不需要转换,直接写入即可。
测试结果: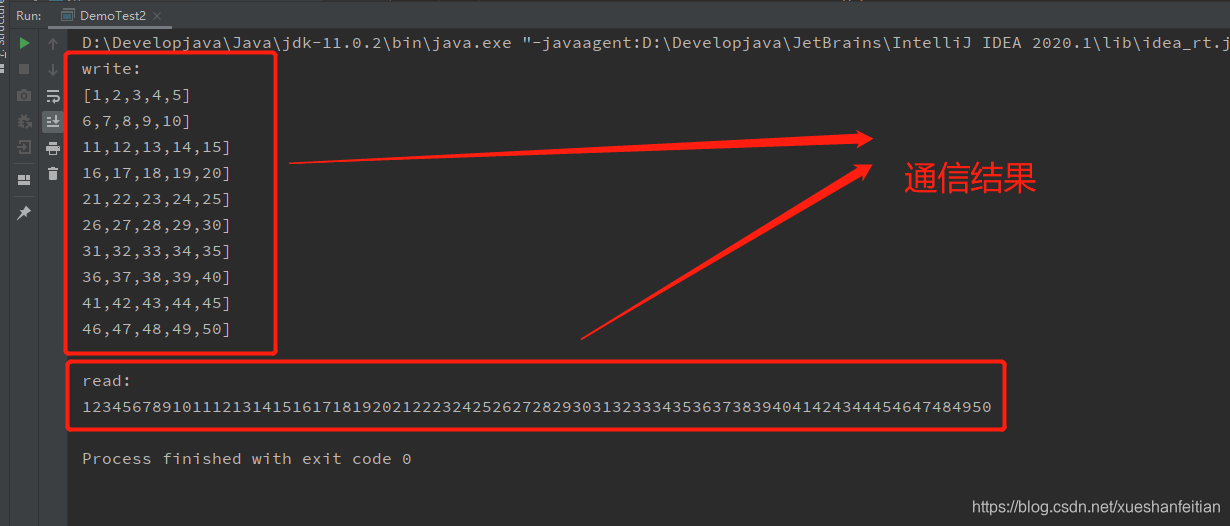
总结
总之多线程之间的通信方式可以分为两种机制,内存共享机制和消息传递机制,其中内存共享机制中,常见的有同步机制和轮询机制,而同步机制中常见有同步方法,同步代码块,lock锁;而消息传递机制中常见的有等待/通知机制和管道机制,这些通信方式有各自的应用场合,从而使得多线程通信更加丰富多姿,更加完善,小猿在此恳请各位同学指正批评。


还没有评论,来说两句吧...