Spring Boot 发送邮件
第一步:引入Spring Boot整合邮件的依赖
<dependency><groupId>org.springframework.boot</groupId><artifactId>spring-boot-starter-mail</artifactId><version>2.2.6.RELEASE</version></dependency>
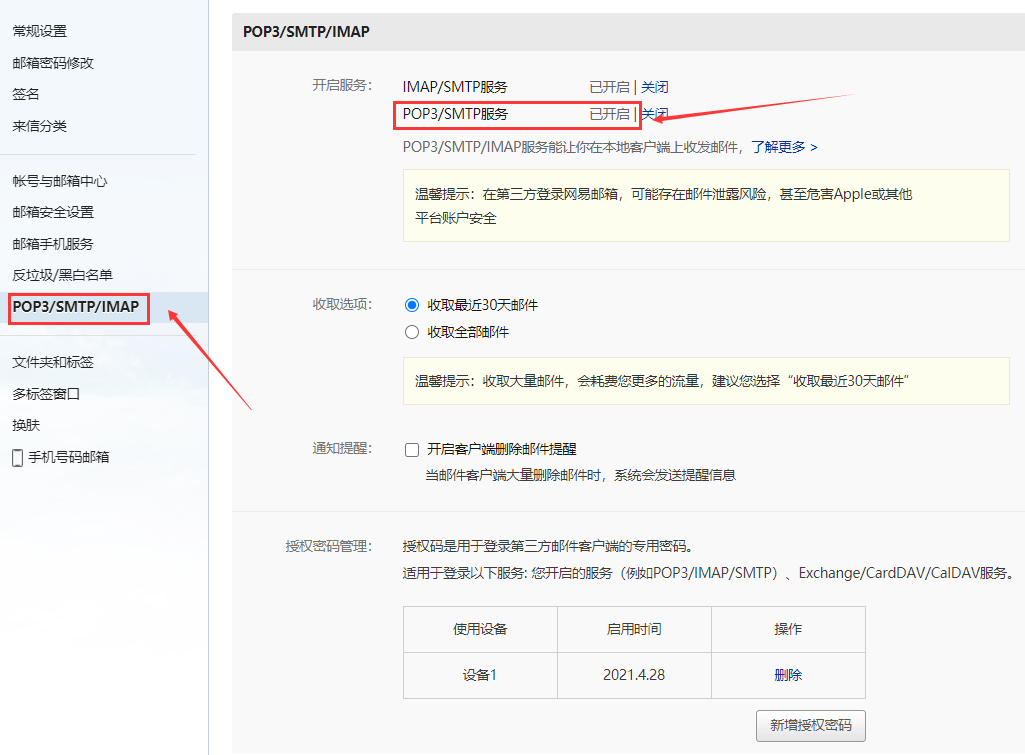
第二步:例如以网易云邮箱为例,在设置中开通pop3服务并获取一个授权码
第三步:yml配置文件中添加下述配置
spring:mail:host: smtp.163.comport: 25username: 邮箱账号password: 生成的授权码default-encoding: utf-8properties:mail:smtp:auth: truestarttls:enable: truerequired: true
第四步:构建实体类
import lombok.Data;@Datapublic class MailDTO {//接受邮件的邮箱账户private String mailAccount;//邮箱标题private String title;//要发送的内容private String content;}
第五步:构建发送邮件的实现
import com.bc.work.dto.MailDTO;import com.bc.work.service.MailService;import org.springframework.mail.MailSender;import org.springframework.mail.SimpleMailMessage;import javax.annotation.Resource;/*** 邮箱发送实现类*/@Service@Componentpublic class MailServiceImpl implements MailService {@Resourceprivate MailSender mailSender;@Overridepublic void send(MailDTO mailDTO) {MailDTO mailDTO=new MailDTO();mailDTO.setMailAccount("xxxx@163.com");mailDTO.setTitle("主题");mailDTO.setContent("内容");//new 一个简单邮件消息对象SimpleMailMessage message = new SimpleMailMessage();//和配置文件中的的username相同,相当于发送方message.setFrom("xxxx@163.com");//收件人邮箱message.setTo(mailDTO.getMailAccount());//标题message.setSubject(mailDTO.getTitle());//正文message.setText(mailDTO.getContent());//发送mailSender.send(message);}}


- 找指定长度的目标子串+哈希")
")


还没有评论,来说两句吧...