Windows环境搭建Zookeeper伪集群
文章目录
- Windows环境搭建Zookeeper伪集群
- 一、准备Java环境
- 二、准备zk安装包
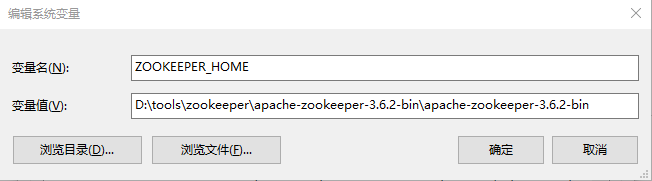
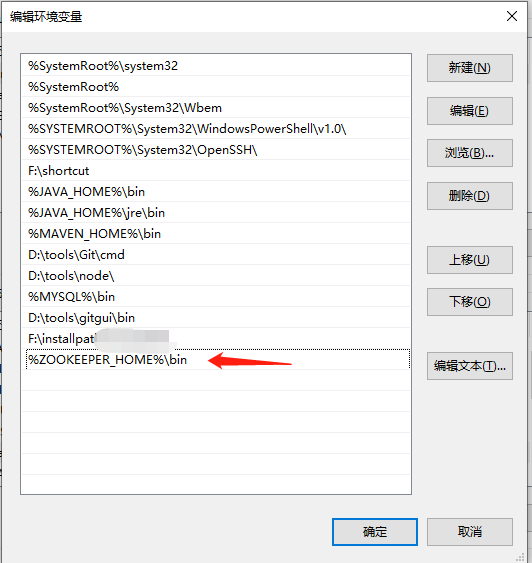
- 三、配置环境变量
- 四、修改config
- 五、启动
- 六、伪集群改造
- 1、tips
- 2、改造方案1
- 3、改造方案2
- A 复制多份zkServer
- B 复制多份zkCli
- C 复制多份zoo.cfg
- D 复制多份data目录并指定myId
- E 复制多份log目录
- 七、伪集群启动
- 八、真集群怎么搞
Windows环境搭建Zookeeper伪集群
部署zk首先要有java环境【因为zk是用java编写的,zk的运行需要依赖于Java环境】。
一、准备Java环境
传送门:
Win10配置JDK环境变量
Java开发—环境搭建之JDK安装
同一台电脑安装多个版本的JDK及其注意事项
参考以上三篇就可以了。
二、准备zk安装包
传送门:
zk下载传送门
zk3.6.2下载传送门
下载后解压释放
三、配置环境变量
1、配置zk环境变量
2、配置Path环境变量
四、修改config
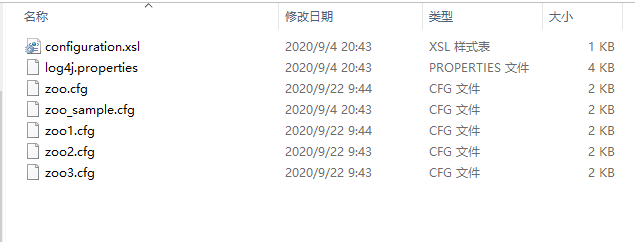
将 zoo_sample.cfg 复制一份改名为 zoo.cfg
然后添加一下内容:
# 指定data目录dataDir=D:/tools/zookeeper/apache-zookeeper-3.6.2-bin/apache-zookeeper-3.6.2-bin/data/data1# 指定log目录dataLogDir=D:/tools/zookeeper/apache-zookeeper-3.6.2-bin/apache-zookeeper-3.6.2-bin/logs/log1
五、启动
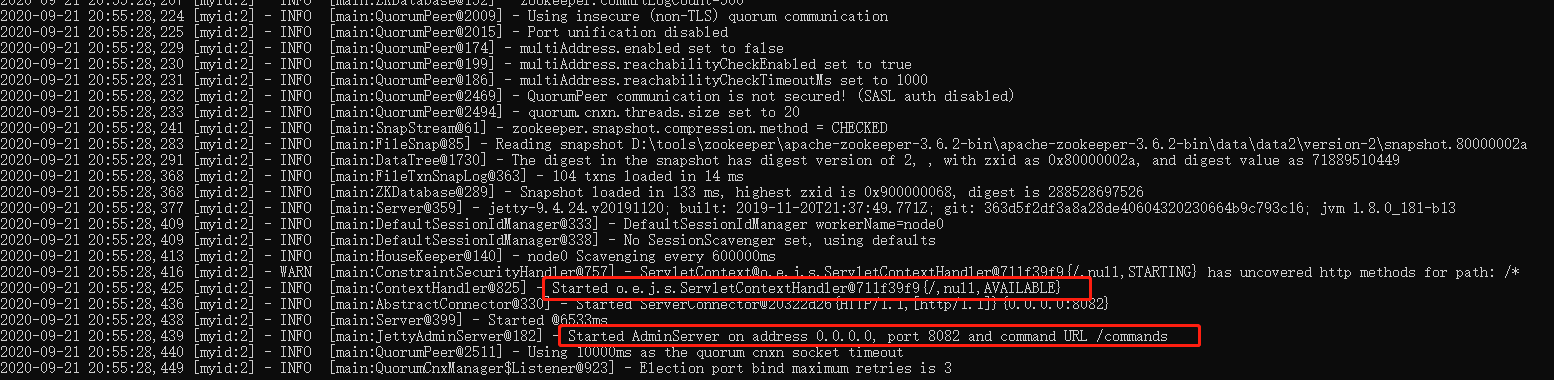
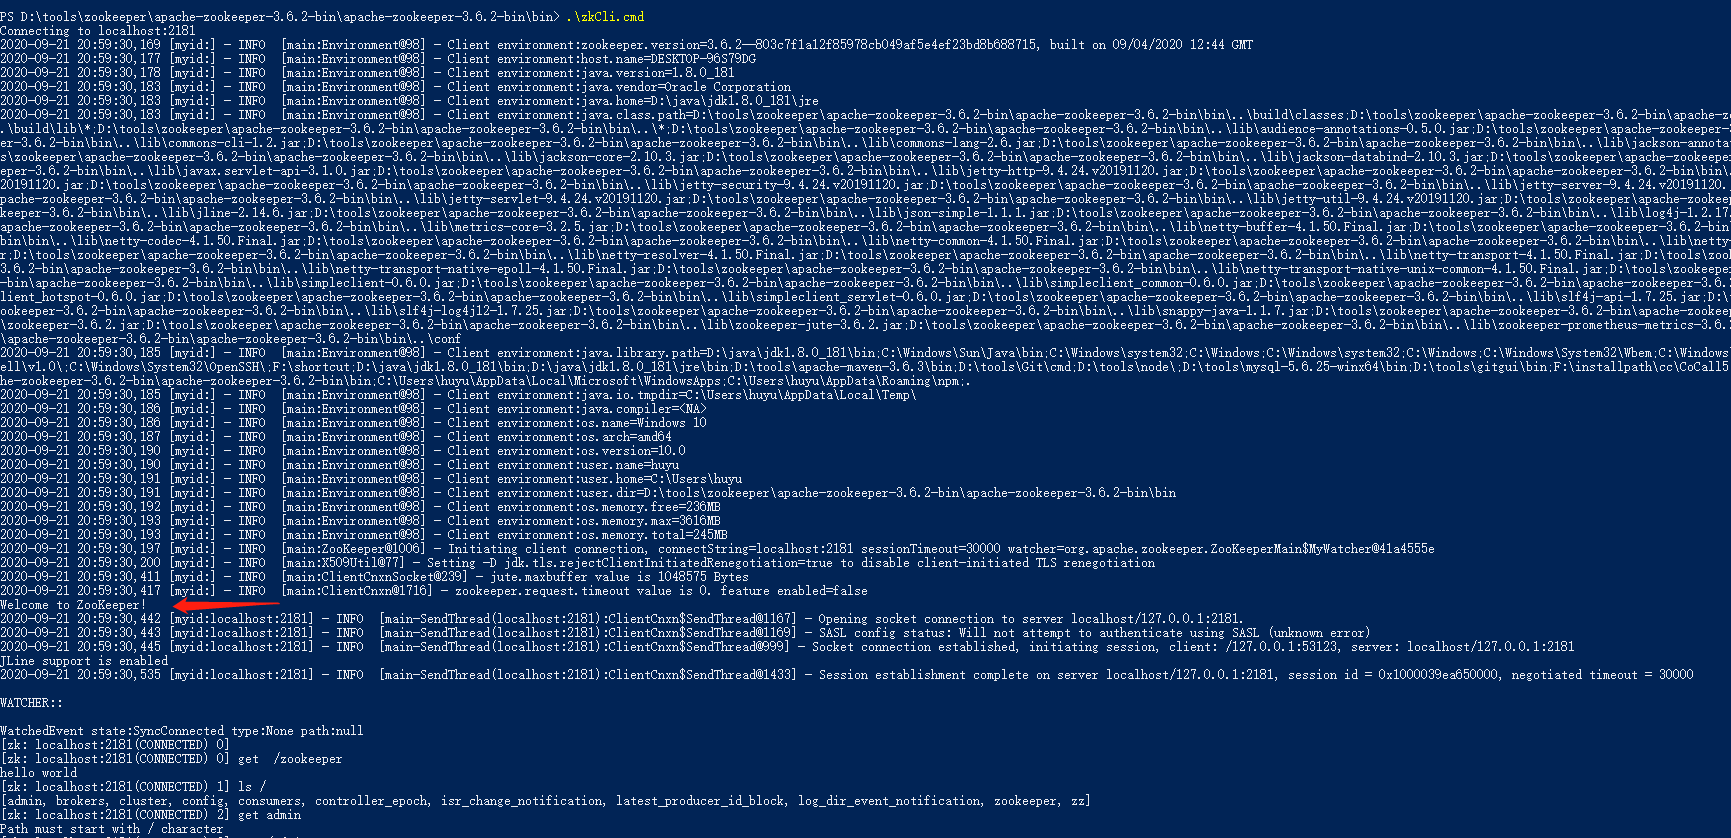
先启动 zkServer.cmd 确认启动成功后 启动 zkCli.cmd
确认服务端启动成功
和springboot项目一样 启动后 会输出zookeeper的banner ,然后注意上图两个就可以了确认客户端启动成功
- 至此单机单节点的zk部署完毕,下面开始改造伪集群。
六、伪集群改造
1、tips
首先我们要知道zk的选举机制,以及至少需要三个节点才可以高可用【因为如果只有两个节点虽然也可以用,但是一个宕掉全盘皆输,高可用的zk集群需要2N+1个节点】。
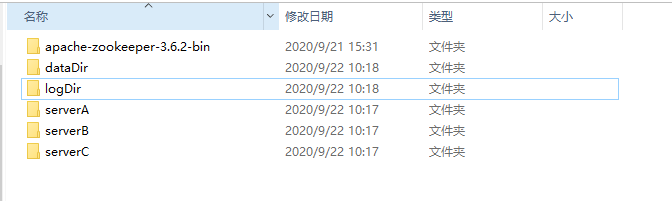
伪集群就是一台机器部署多个zk实例
2、改造方案1
思路:将解压后的文件复制多分【至少三份】如下serverA、serverB、serverC,指定data和log目录
然后在修改配置文件等,这个需要复制的有点多直接用方案2吧,当然这种方式也行。
3、改造方案2
没必要复制那么多,当然了那样看着比较清晰。
思路:复制多份zkServer、复制多份zkCli、复制多份zoo.cfg、复制多份data目录【在data目录下添加myId文件并指定serverId】、复制多份log。
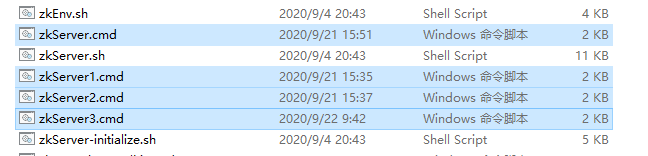
A 复制多份zkServer

@echo offREM Licensed to the Apache Software Foundation (ASF) under one or moreREM contributor license agreements. See the NOTICE file distributed withREM this work for additional information regarding copyright ownership.REM The ASF licenses this file to You under the Apache License, Version 2.0REM (the "License"); you may not use this file except in compliance withREM the License. You may obtain a copy of the License atREMREM http://www.apache.org/licenses/LICENSE-2.0REMREM Unless required by applicable law or agreed to in writing, softwareREM distributed under the License is distributed on an "AS IS" BASIS,REM WITHOUT WARRANTIES OR CONDITIONS OF ANY KIND, either express or implied.REM See the License for the specific language governing permissions andREM limitations under the License.setlocalcall "%~dp0zkEnv.cmd"set ZOOMAIN=org.apache.zookeeper.server.quorum.QuorumPeerMainset ZOO_LOG_FILE=zookeeper-%USERNAME%-server-%COMPUTERNAME%.logset ZOOCFG=..\conf\zoo1.cfgecho oncall %JAVA% "-Dzookeeper.log.dir=%ZOO_LOG_DIR%" "-Dzookeeper.root.logger=%ZOO_LOG4J_PROP%" "-Dzookeeper.log.file=%ZOO_LOG_FILE%" "-XX:+HeapDumpOnOutOfMemoryError" "-XX:OnOutOfMemoryError=cmd /c taskkill /pid %%%%p /t /f" -cp "%CLASSPATH%" %ZOOMAIN% "%ZOOCFG%" %*pauseendlocal
添加 set ZOOCFG=…\conf\zoo1.cfg 指定配置文件的位置
B 复制多份zkCli

@echo offREM Licensed to the Apache Software Foundation (ASF) under one or moreREM contributor license agreements. See the NOTICE file distributed withREM this work for additional information regarding copyright ownership.REM The ASF licenses this file to You under the Apache License, Version 2.0REM (the "License"); you may not use this file except in compliance withREM the License. You may obtain a copy of the License atREMREM http://www.apache.org/licenses/LICENSE-2.0REMREM Unless required by applicable law or agreed to in writing, softwareREM distributed under the License is distributed on an "AS IS" BASIS,REM WITHOUT WARRANTIES OR CONDITIONS OF ANY KIND, either express or implied.REM See the License for the specific language governing permissions andREM limitations under the License.setlocalcall "%~dp0zkEnv.cmd"set ZOO_LOG_FILE=zookeeper-%USERNAME%-cli-%COMPUTERNAME%.logset ZOOCFG=..\conf\zoo1.cfgset ZOOMAIN=org.apache.zookeeper.ZooKeeperMaincall %JAVA% "-Dzookeeper.log.dir=%ZOO_LOG_DIR%" "-Dzookeeper.root.logger=%ZOO_LOG4J_PROP%" "-Dzookeeper.log.file=%ZOO_LOG_FILE%" -cp "%CLASSPATH%" %ZOOMAIN% %*endlocal
添加 set ZOOCFG=…\conf\zoo1.cfg
C 复制多份zoo.cfg
# The number of milliseconds of each ticktickTime=2000# The number of ticks that the initial# synchronization phase can takeinitLimit=10# The number of ticks that can pass between# sending a request and getting an acknowledgementsyncLimit=5# the directory where the snapshot is stored.# do not use /tmp for storage, /tmp here is just# example sakes.dataDir=D:/tools/zookeeper/apache-zookeeper-3.6.2-bin/apache-zookeeper-3.6.2-bin/data/data2dataLogDir=D:/tools/zookeeper/apache-zookeeper-3.6.2-bin/apache-zookeeper-3.6.2-bin/logs/log2# the port at which the clients will connectclientPort=2182admin.serverPort=8082server.1=localhost:2887:3887server.2=localhost:2888:3888server.3=localhost:2889:3889server.4=localhost:2890:3890# the maximum number of client connections.# increase this if you need to handle more clients#maxClientCnxns=60## Be sure to read the maintenance section of the# administrator guide before turning on autopurge.## http://zookeeper.apache.org/doc/current/zookeeperAdmin.html#sc_maintenance## The number of snapshots to retain in dataDir#autopurge.snapRetainCount=3# Purge task interval in hours# Set to "0" to disable auto purge feature#autopurge.purgeInterval=1## Metrics Providers## https://prometheus.io Metrics Exporter#metricsProvider.className=org.apache.zookeeper.metrics.prometheus.PrometheusMetricsProvider#metricsProvider.httpPort=7000#metricsProvider.exportJvmInfo=true
#实例暴露端口一个实例分配一个
clientPort=2182
#admin需要的端口一个实例指定一个,否则端口占用启动失败
admin.serverPort=8082
#server.A=B.C.D
#A:myId对应的值即serverid、B:实例所在机器的IP、C:表示与 Leader 服务器交换信息的端口;D 表示的是进行选举时的通信端口。
server.1=localhost3887
server.2=localhost3888
server.3=localhost3889
server.4=localhost3890
D 复制多份data目录并指定myId
多个目录
指定myid


1
内容就是serverId如:1、2、3、4、5、6、7、8、9…
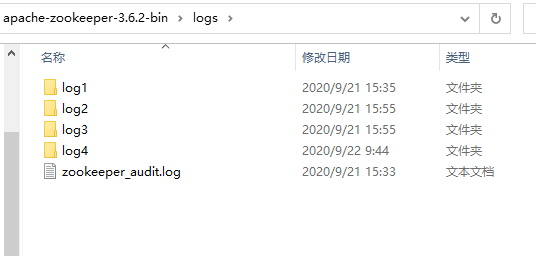
E 复制多份log目录
多层log
七、伪集群启动
选中图中的这些 然后直接回车启动即可,我们能看到下面这样
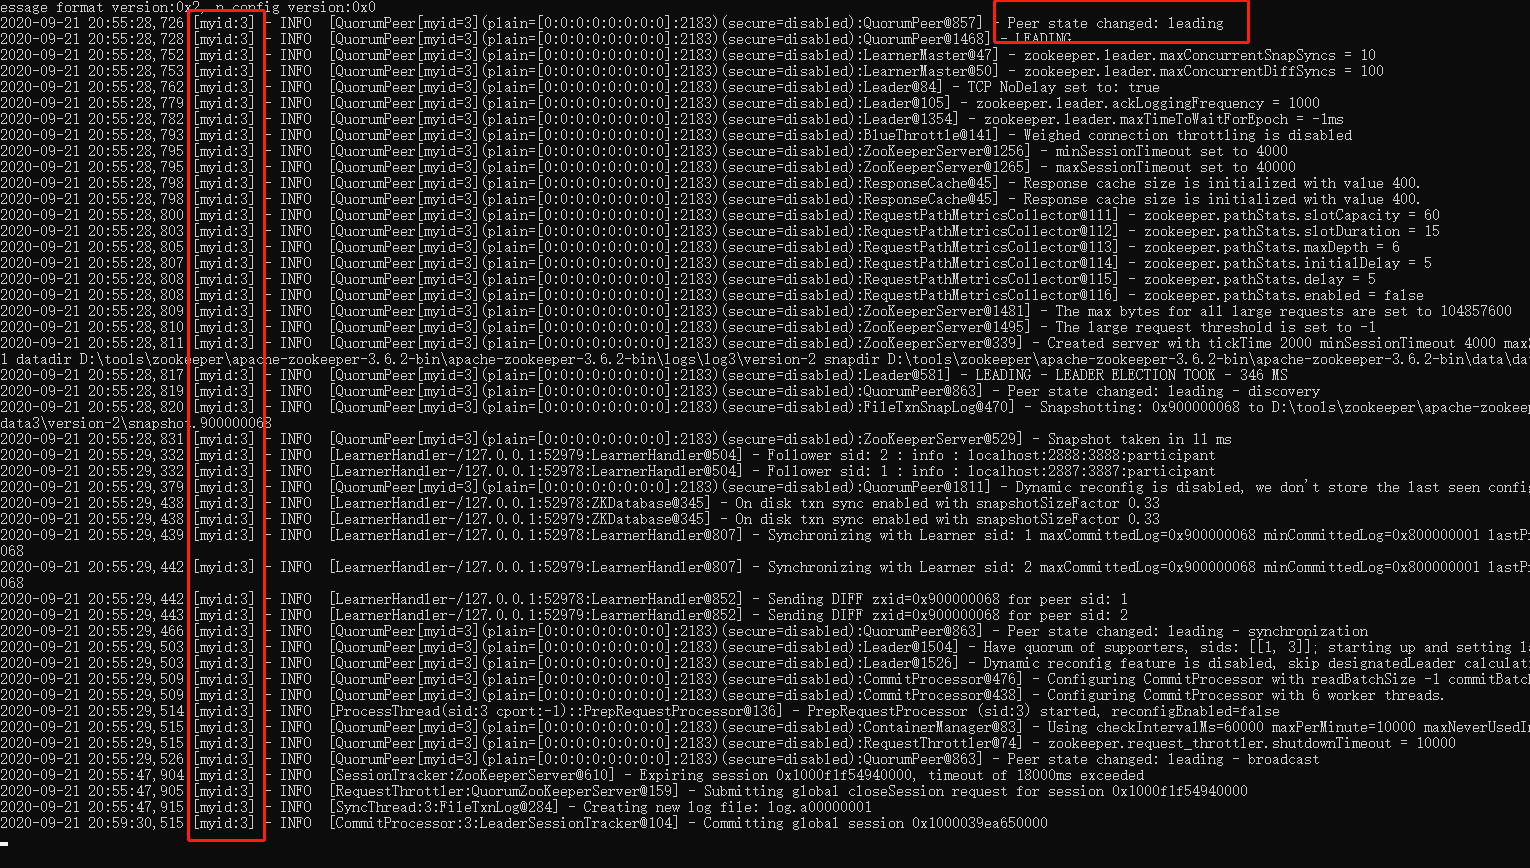
节点3
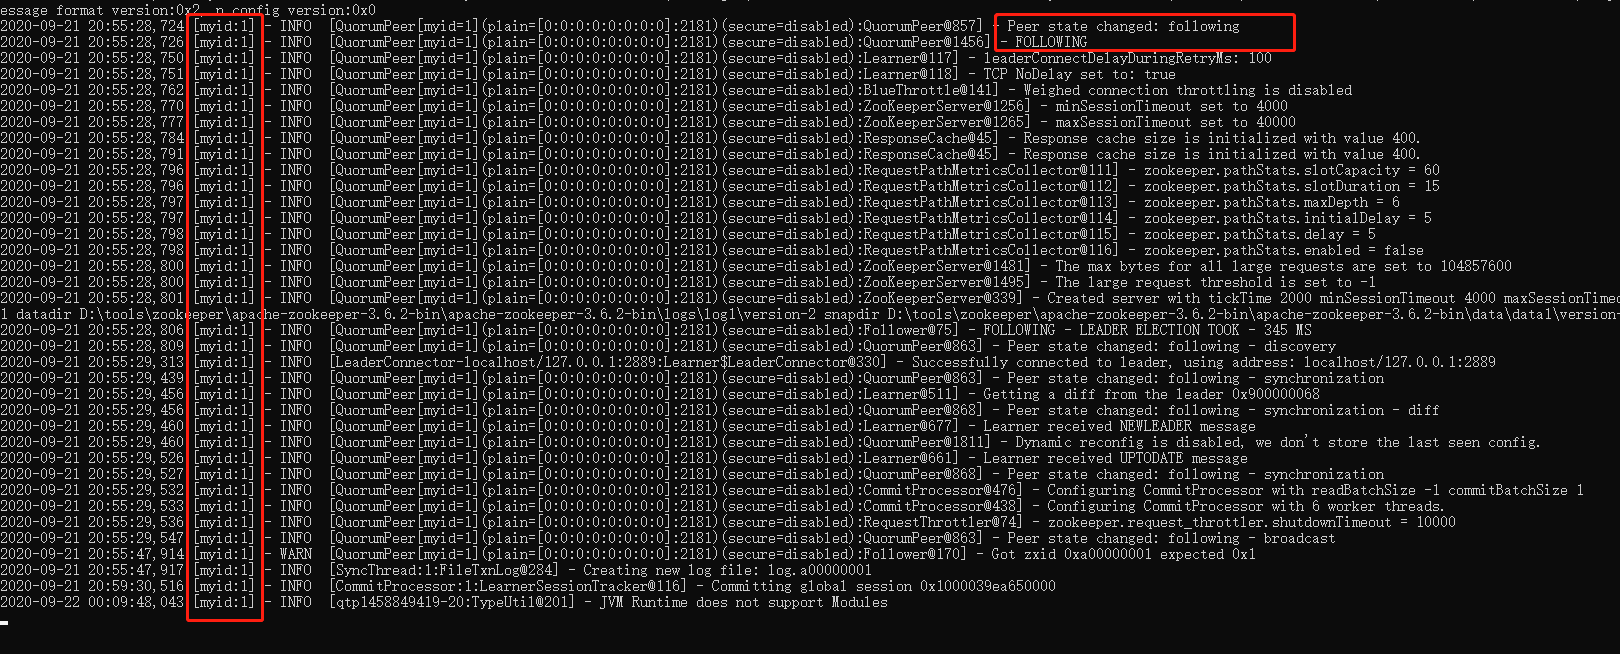
节点1
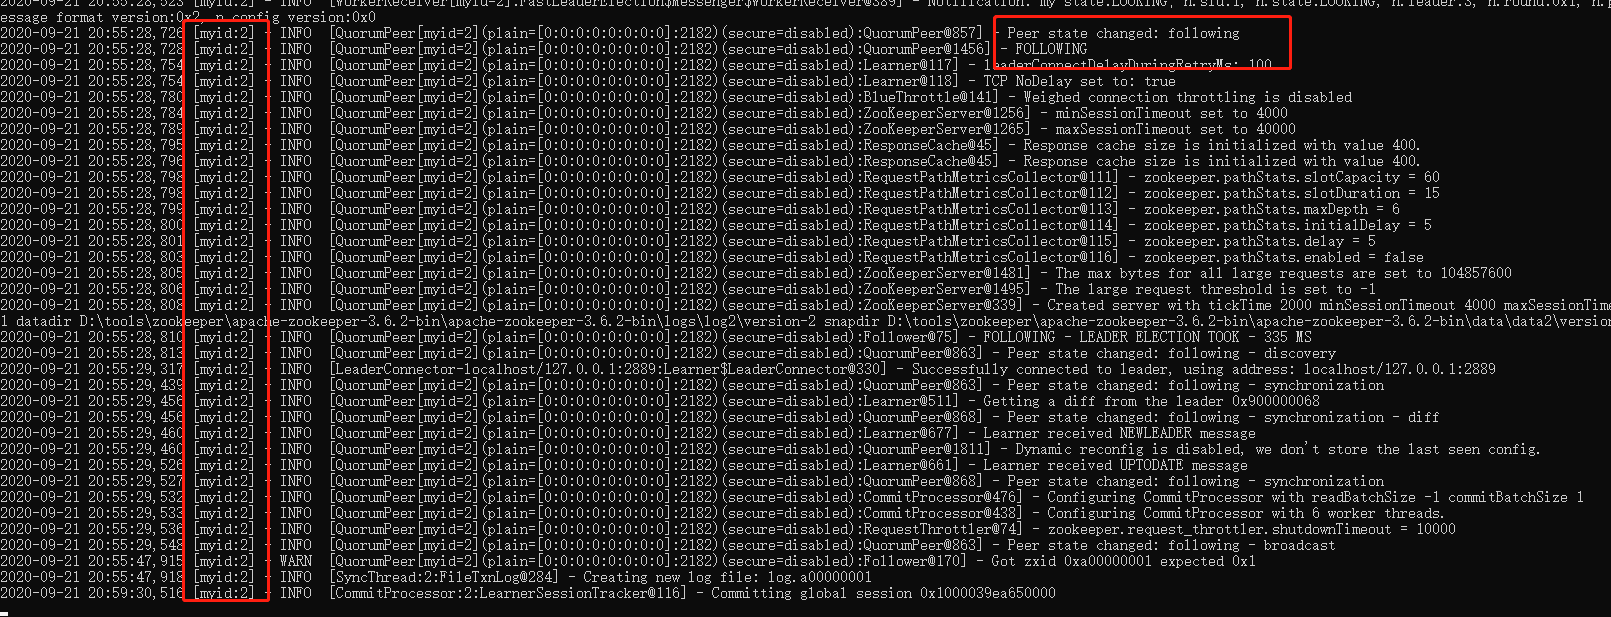
节点2
然后启动客户端验证即可。
八、真集群怎么搞
真集群就很好办了,直接一台机器复制一份zk就可以了。


盒子模型,边框,内外边距,盒子模型布局,ps基本操作,列表样式,圆角边框,盒子阴影")


还没有评论,来说两句吧...