【hexo】搭建hexo博客
准备工作
github上创建仓库
用户名+ github.io
比如我的:HappyTeemo7569.github.io
安装环境
- git
- Node.js
https://nodejs.org/en/download/ - cmder(非必须) ,我是连同laragon一起安装的
安装hexo
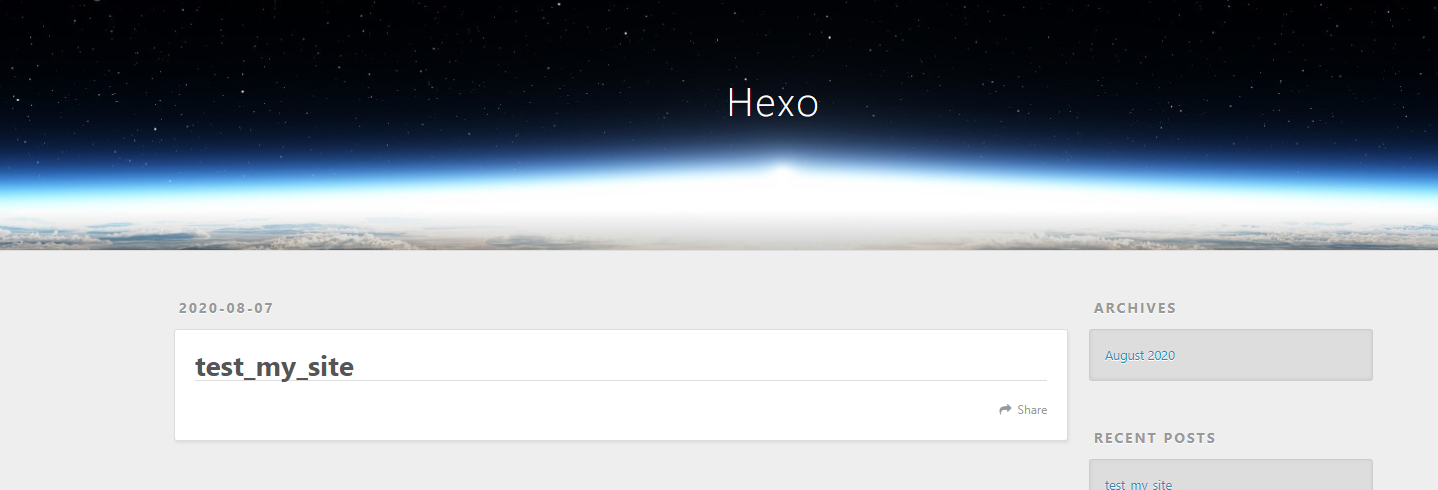
npm install -g hexo-clihexo init blogcd bloghexo new test_my_site //创建测试文章hexo ghexo s
打开
localhost:4000
部署
配置文件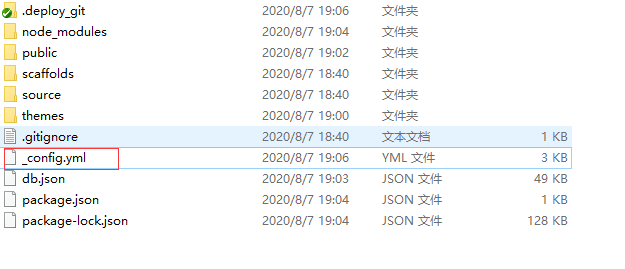
最下面编辑
deploy:type: gitrepo: https://github.com/HappyTeemo7569/HappyTeemo7569.github.io.gitbranch: master
安装工具
npm install hexo-deployer-git --save
报错
这是warning错误,是因为mac下需要 fsevents,在windows或linux环境下,请忽略这个错误。
然后
hexo cleanhexo ghexo d
看git历史,会有提交应该。
其实打包好的放在: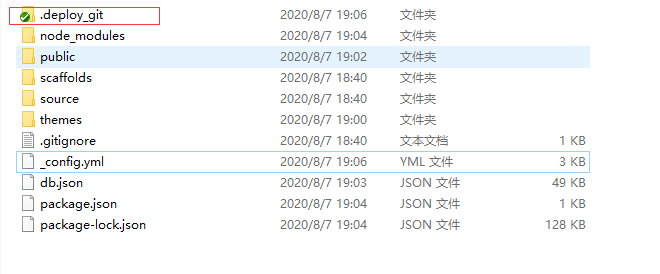
自己提交都可以。
小结
hexo命令
Commands:clean Remove generated files and cache. 清理config Get or set configurations.deploy Deploy your website. 发布generate Generate static files. 生成静态文件help Get help on a command.init Create a new Hexo folder. 初始化项目list List the information of the sitemigrate Migrate your site from other system to Hexo.new Create a new post. 创建新文章publish Moves a draft post from _drafts to _posts folder.render Render files with renderer plugins.server Start the server. 本地部署version Display version information.
每次部署的步骤,可按以下三步来进行。
hexo cleanhexo ghexo d
换主题
我喜欢的https://github.com/bujige/hexo-theme-yulia
3.1 安装使用终端命令,切换到 hexo 博客的根目录,然后执行下面的命令$ git clone https://github.com/bujige/hexo-theme-yulia.git themes/yulia3.2 配置修改 hexo 根目录下的 _config.yml : theme: yulia3.3 更新cd themes/yuliagit pull
OK


还没有评论,来说两句吧...