spring cloud篇-(高可用注册中心Eureka集群搭建)
SpringCloud开发高可用注册中心Eureka集群
- 项目初始化构建
- 初始化EurekaServer
- 开发product和consumer端
- product实现
- Consumer端
- 为EurekaServer添加认证功能
- 配置EurekaServer高可用集群
项目初始化构建
项目使用Idea开发,下面使用Spring Initializr初始化spring cloud项目
1.选择Sprign Initializr,点击右下角的Next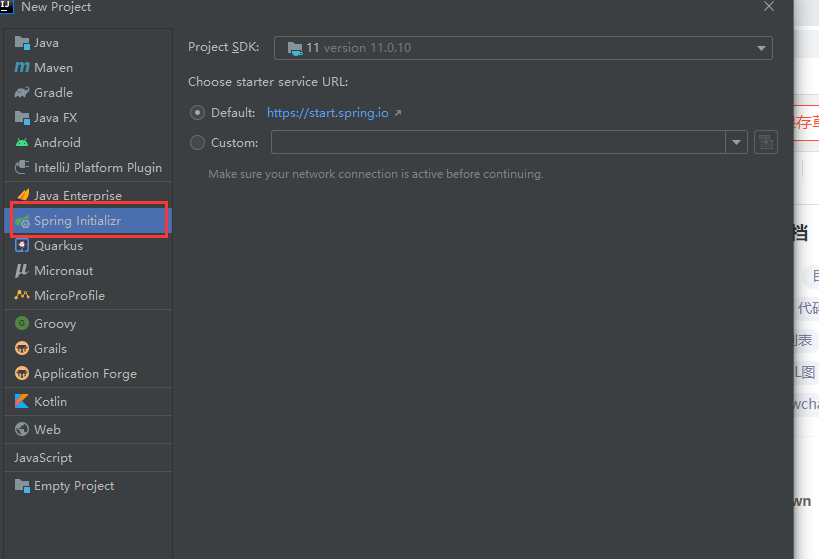
2.修改项目构建信息,点击Next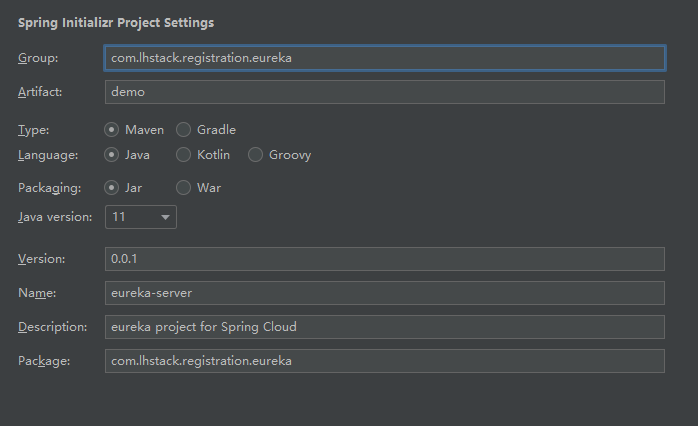
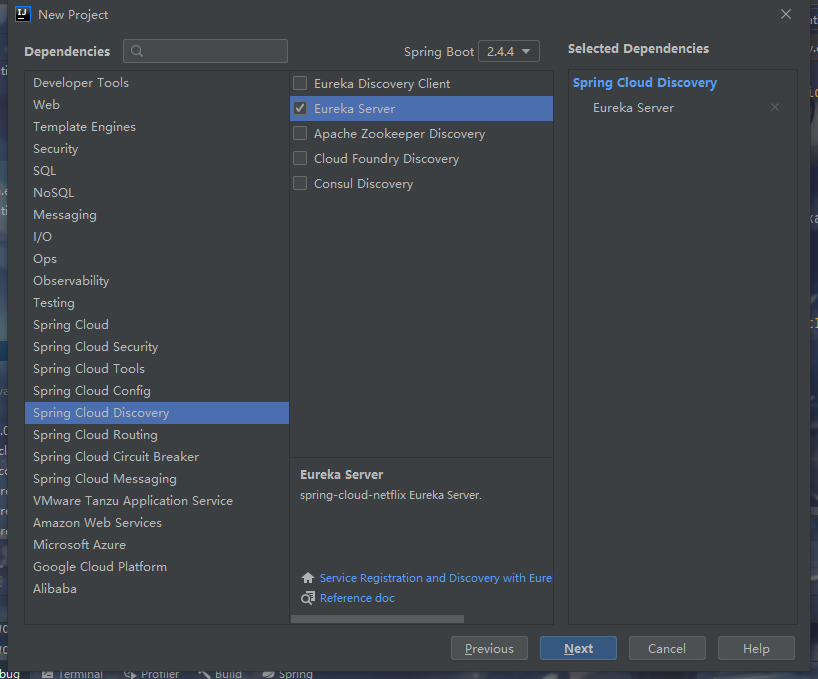
3.选择Spring Cloud Discovery下面的Eureka Server,然后点击Next注意,这里使用的是Spring Boot 2.4.4版本
4.选择项目名称,目录,然后点击Finish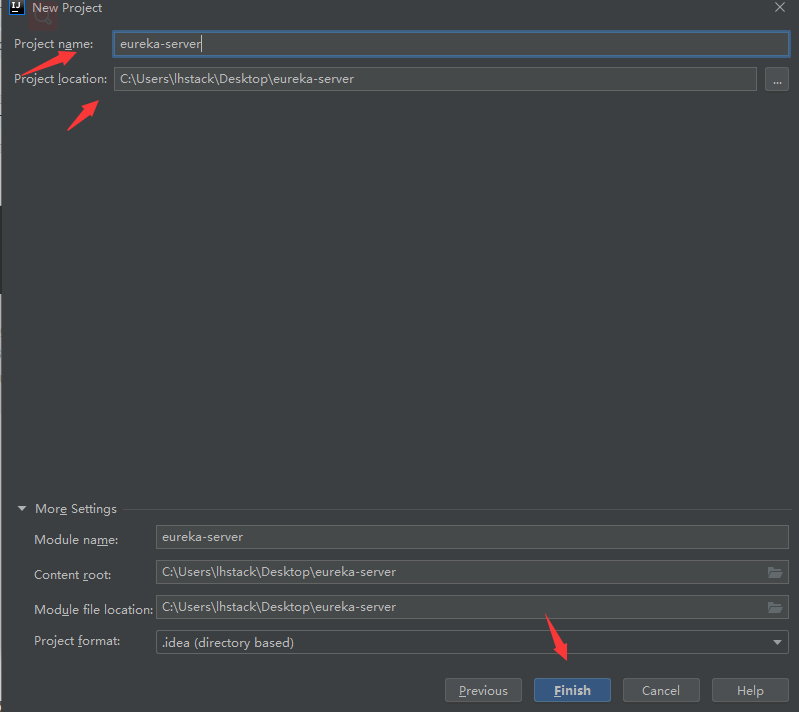
初始化EurekaServer
初始化完成之后,项目结构如下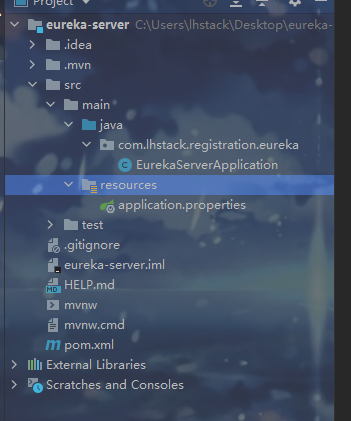
1.在resources目录下面创建application.yaml文件,并在里面写入eureka server的配置信息
server:port: 8761eureka:server:eviction-interval-timer-in-ms: 60000 #驱逐下线服务的间隔时间enable-self-preservation: ${ EUREKA_ENABLE_SELF_PRESERVATION:false} #关闭eureka服务自我保护机制,使eviction-interval-timer-in-ms配置生效instance:health-check-url-path: /actuator/health #健康检查地址prefer-ip-address: true #显示ip地址hostname: ${ EUREKA_HOSTNAME:localhost}client:fetch-registry: false #注册中心不需要拉取服务register-with-eureka: false #使用高可用集群搭建,设置为false即可service-url:defaultZone: ${ EUREKA_SERVER_LIST:http://localhost:8761/eureka} #注册中心地址spring:application:name: eureka-server
2.在EurekaServerApplication类上加上@EnableEurekaServer注解,标识这是Eureka注册中心服务端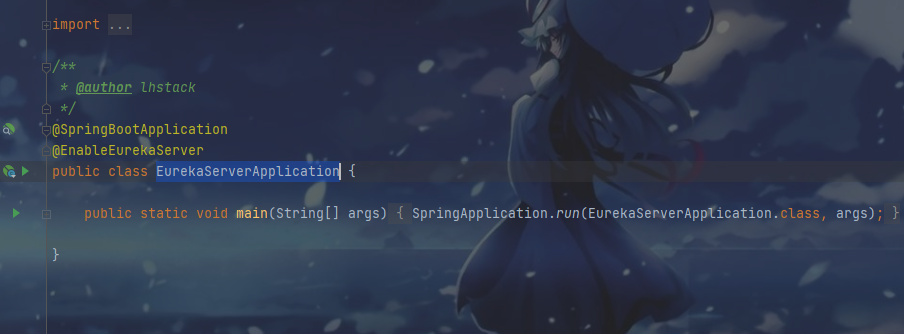
3.启动项目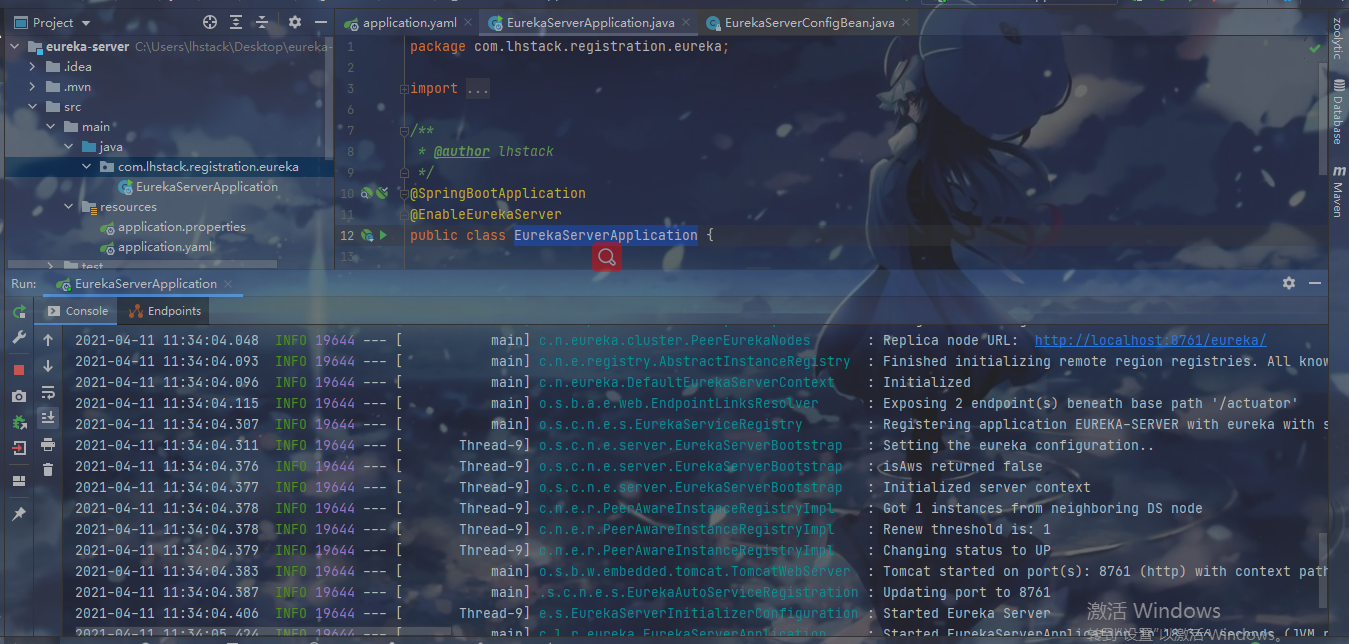
4.访问http://localhost:8761查看eureka dashboard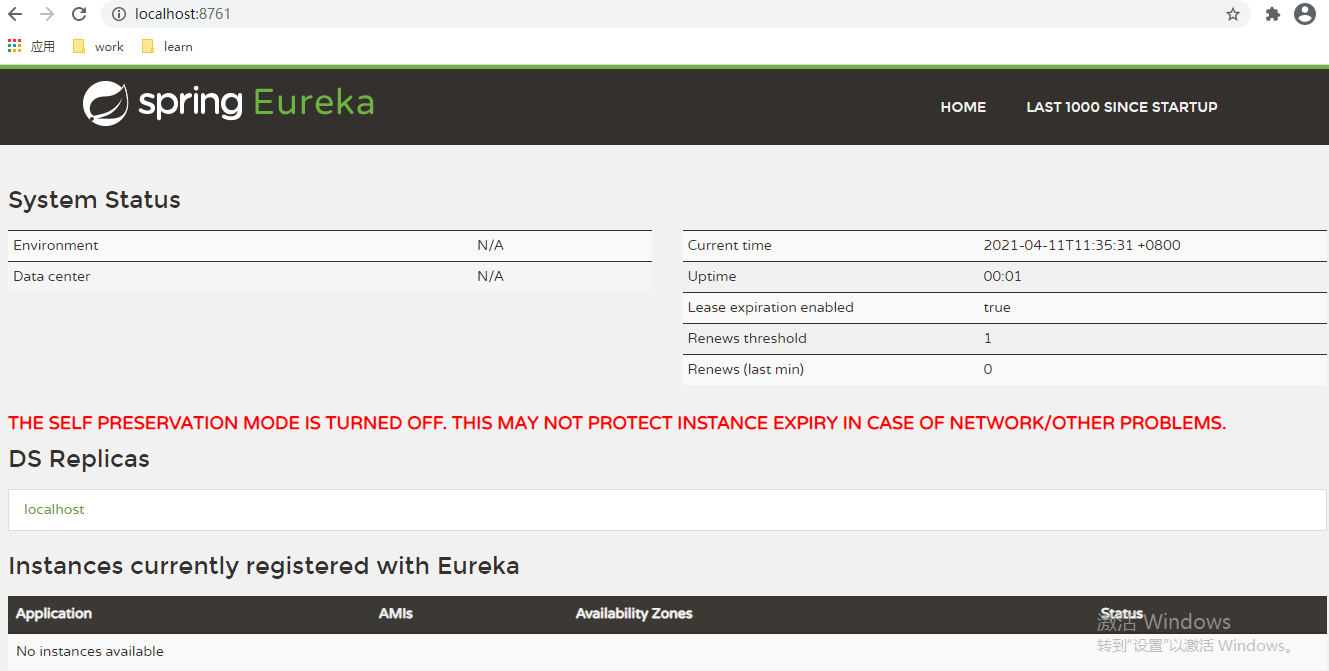
开发product和consumer端
product实现
1.项目依赖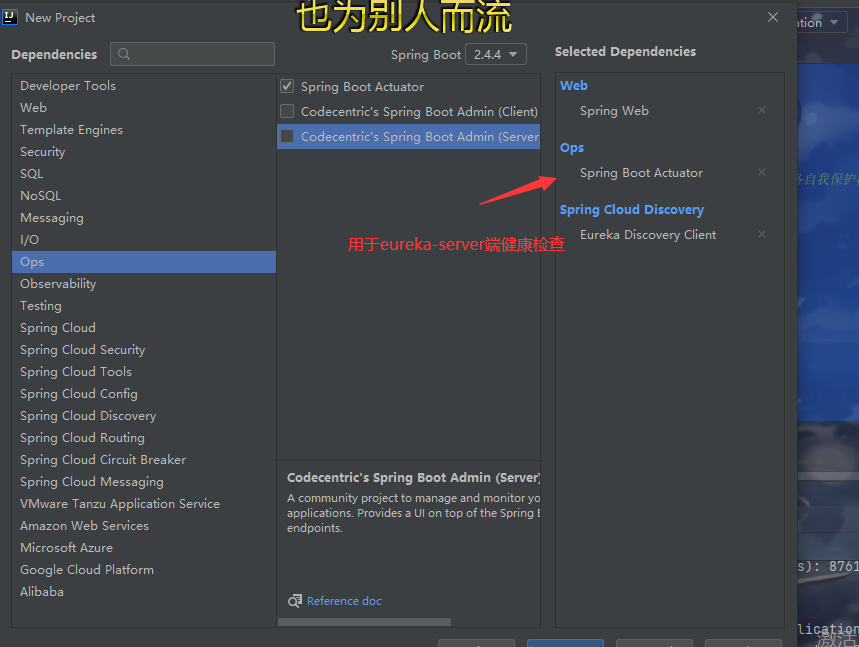
2.resources目录创建application.yaml,并添加如下信息到application.yml
spring:application:name: Producteureka:instance:prefer-ip-address: truehealth-check-url-path: /actuator/healthclient:register-with-eureka: truefetch-registry: false #生产端不需要拉取服务service-url:defaultZone: http://localhost:8761/eureka #注册中心地址server:port: 9090
3.查看eureka-server的web界面,生产者已经注册到eureka上了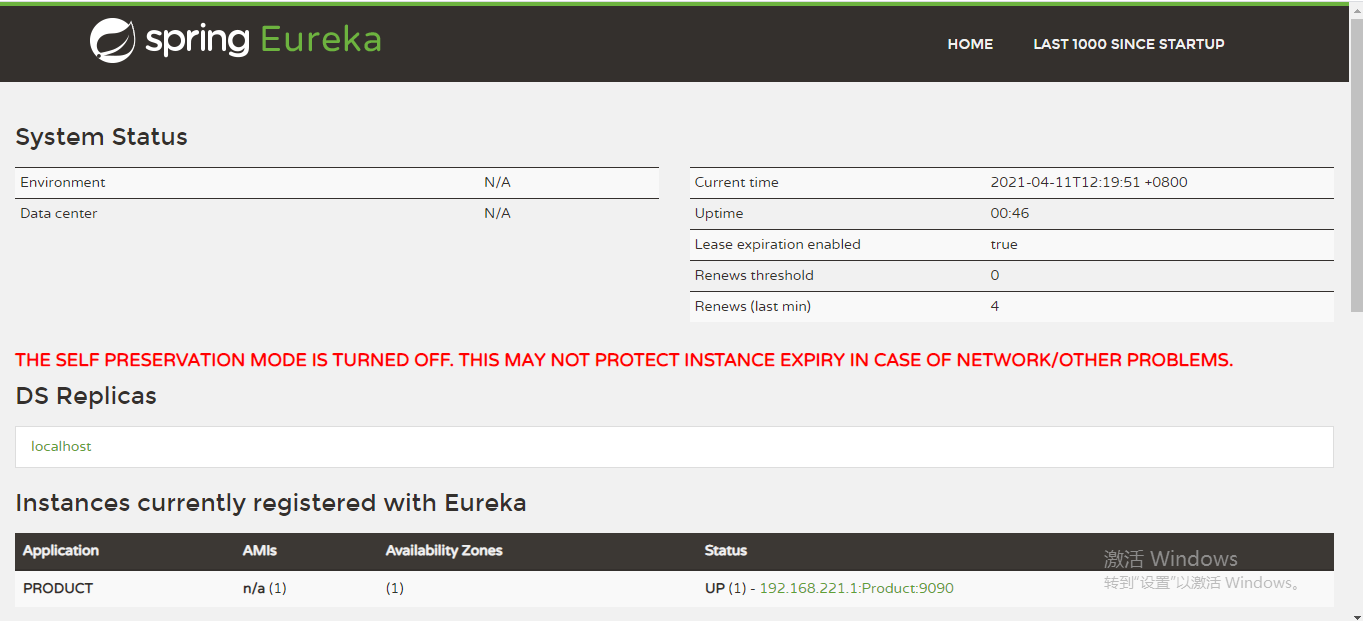
4.编写controler,为consumer提供服务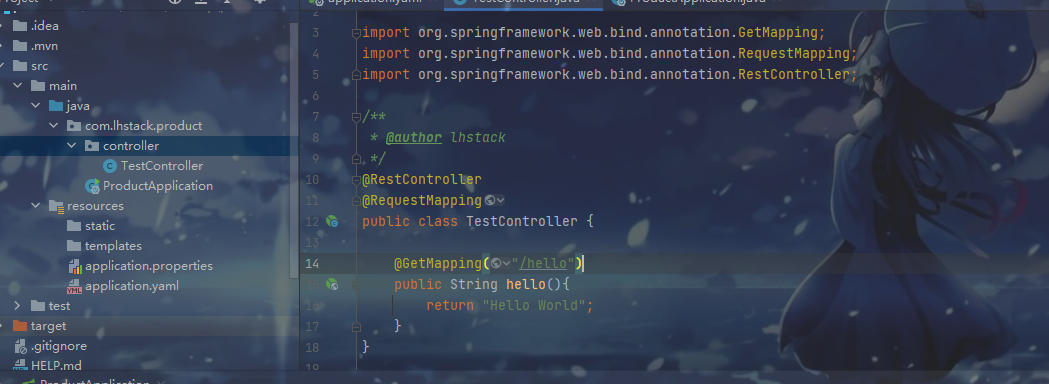
package com.lhstack.product.controller;import org.springframework.web.bind.annotation.GetMapping;import org.springframework.web.bind.annotation.RequestMapping;import org.springframework.web.bind.annotation.RestController;/** * @author lhstack */@RestController@RequestMappingpublic class TestController {@GetMapping("/hello")public String hello(){return "Hello World";}}
Consumer端
1.项目依赖
2.application.yml
spring:application:name: Consumereureka:instance:prefer-ip-address: truehealth-check-url-path: /actuator/healthclient:register-with-eureka: truefetch-registry: true #消费端需要发现服务service-url:defaultZone: http://localhost:8761/eureka #注册中心地址server:port: 8080
3.在启动类加上@EnableDiscoveryClient,标识需要发现服务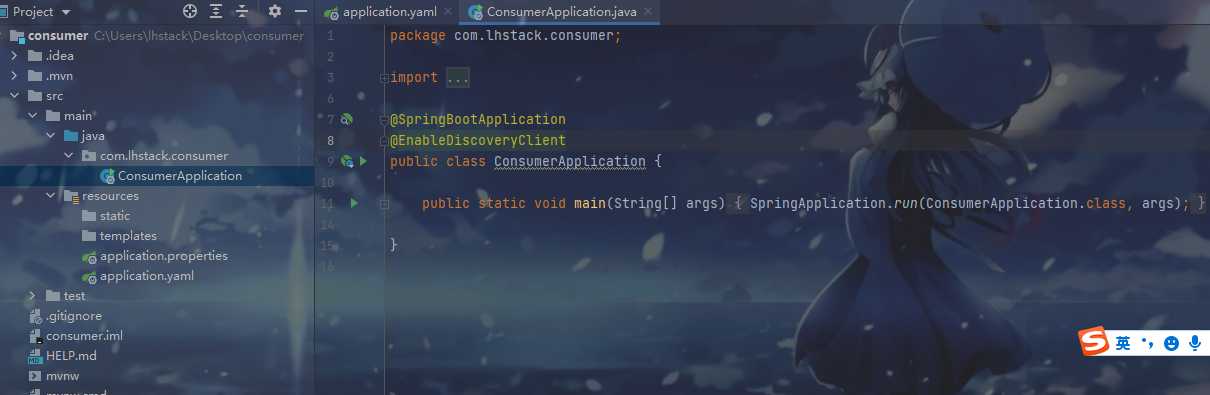
4.编写controller,并调用Product暴露的服务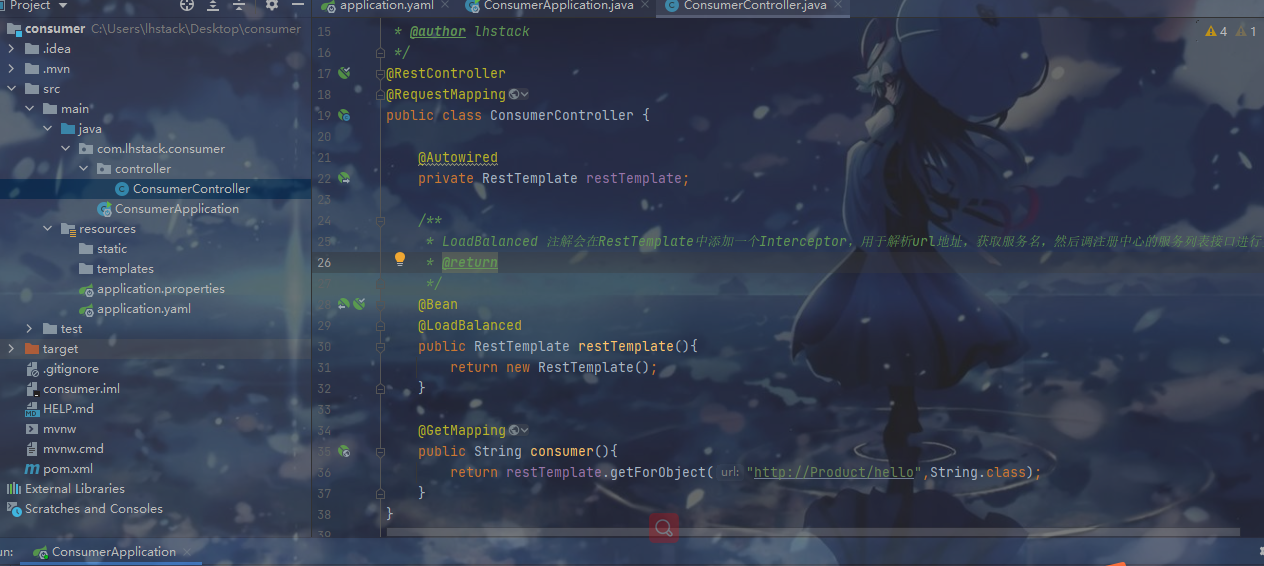
package com.lhstack.consumer.controller;import org.springframework.beans.factory.annotation.Autowired;import org.springframework.boot.web.client.RestTemplateBuilder;import org.springframework.cloud.client.loadbalancer.LoadBalanced;import org.springframework.cloud.loadbalancer.annotation.LoadBalancerClient;import org.springframework.context.annotation.Bean;import org.springframework.web.bind.annotation.GetMapping;import org.springframework.web.bind.annotation.RequestBody;import org.springframework.web.bind.annotation.RequestMapping;import org.springframework.web.bind.annotation.RestController;import org.springframework.web.client.RestTemplate;/** * @author lhstack */@RestController@RequestMappingpublic class ConsumerController {@Autowiredprivate RestTemplate restTemplate;/** * LoadBalanced 注解会在RestTemplate中添加一个Interceptor,用于解析url地址,获取服务名,然后调注册中心的服务列表接口进行负载均衡 * @return */@Bean@LoadBalancedpublic RestTemplate restTemplate(){return new RestTemplate();}@GetMappingpublic String consumer(){return restTemplate.getForObject("http://Product/hello",String.class);}}
5.启动服务,访问接口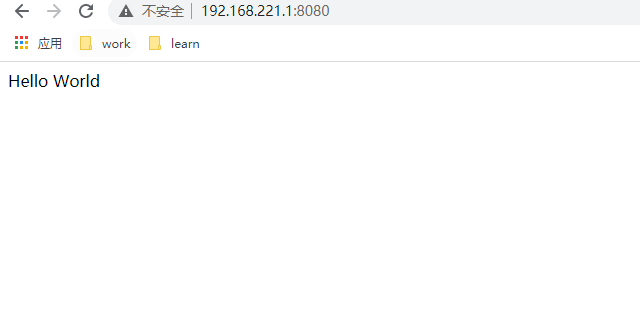
为EurekaServer添加认证功能
1.eureka-server项目的pom.xml添加spring-security依赖
<dependency><groupId>org.springframework.boot</groupId><artifactId>spring-boot-starter-security</artifactId></dependency>
2.编写Security的配置类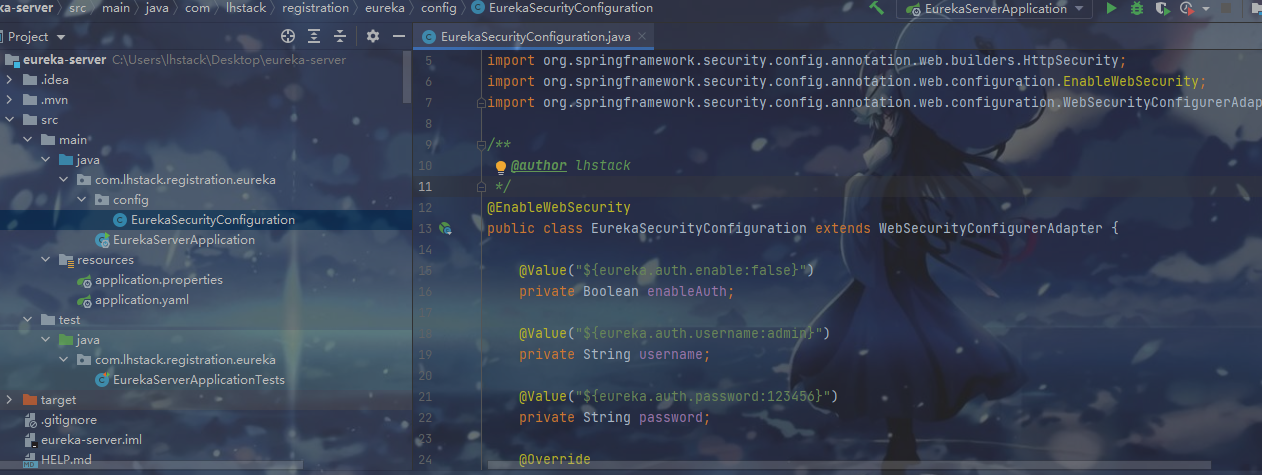
package com.lhstack.registration.eureka.config;import org.springframework.beans.factory.annotation.Value;import org.springframework.security.config.annotation.authentication.builders.AuthenticationManagerBuilder;import org.springframework.security.config.annotation.web.builders.HttpSecurity;import org.springframework.security.config.annotation.web.configuration.EnableWebSecurity;import org.springframework.security.config.annotation.web.configuration.WebSecurityConfigurerAdapter;/** * @author lhstack */@EnableWebSecuritypublic class EurekaSecurityConfiguration extends WebSecurityConfigurerAdapter {@Value("${eureka.auth.enable:false}")private Boolean enableAuth;@Value("${eureka.auth.username:admin}")private String username;@Value("${eureka.auth.password:123456}")private String password;@Overrideprotected void configure(AuthenticationManagerBuilder auth) throws Exception {auth.inMemoryAuthentication().withUser(this.username).password("{noop}" + password).authorities("ADMIN");}@Overrideprotected void configure(HttpSecurity http) throws Exception {if(enableAuth){http.authorizeRequests().antMatchers("/actuator/**").permitAll().anyRequest().authenticated().and().csrf().disable().formLogin().disable().logout().disable().httpBasic(); //开启basic认证}else {http.authorizeRequests().anyRequest().permitAll();}}}
3.在application.yaml文件中开启eureka-server的授权认证
server:port: 8761eureka:auth:enable: true #开启认证username: root #设置认证用户名password: 123456 #设置认证密码server:eviction-interval-timer-in-ms: 60000 #驱逐下线服务的间隔时间enable-self-preservation: ${ EUREKA_ENABLE_SELF_PRESERVATION:false} #关闭eureka服务自我保护机制,使eviction-interval-timer-in-ms配置生效instance:health-check-url-path: /actuator/health #健康检查地址prefer-ip-address: true #显示ip地址hostname: ${ EUREKA_HOSTNAME:localhost}client:fetch-registry: false #注册中心不需要拉取服务register-with-eureka: false #使用高可用集群搭建,设置为false即可service-url:defaultZone: ${ EUREKA_SERVER_LIST:http://localhost:8761/eureka} #注册中心地址spring:application:name: eureka-server
4.启动Eureka-Server并访问其web页面
然后需要我们输入用户名和密码,这里输入配置文件里面些的root 123456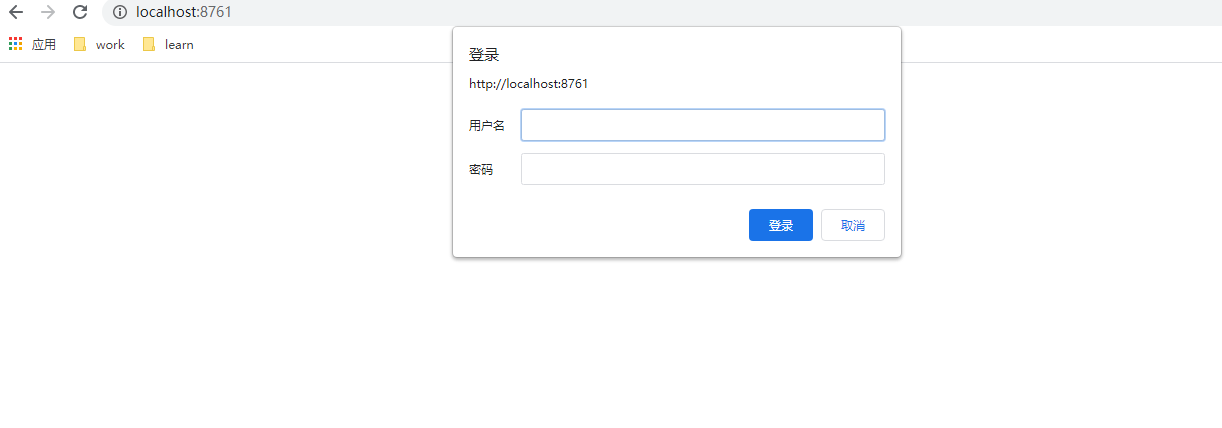
登录成功之后,成功进入页面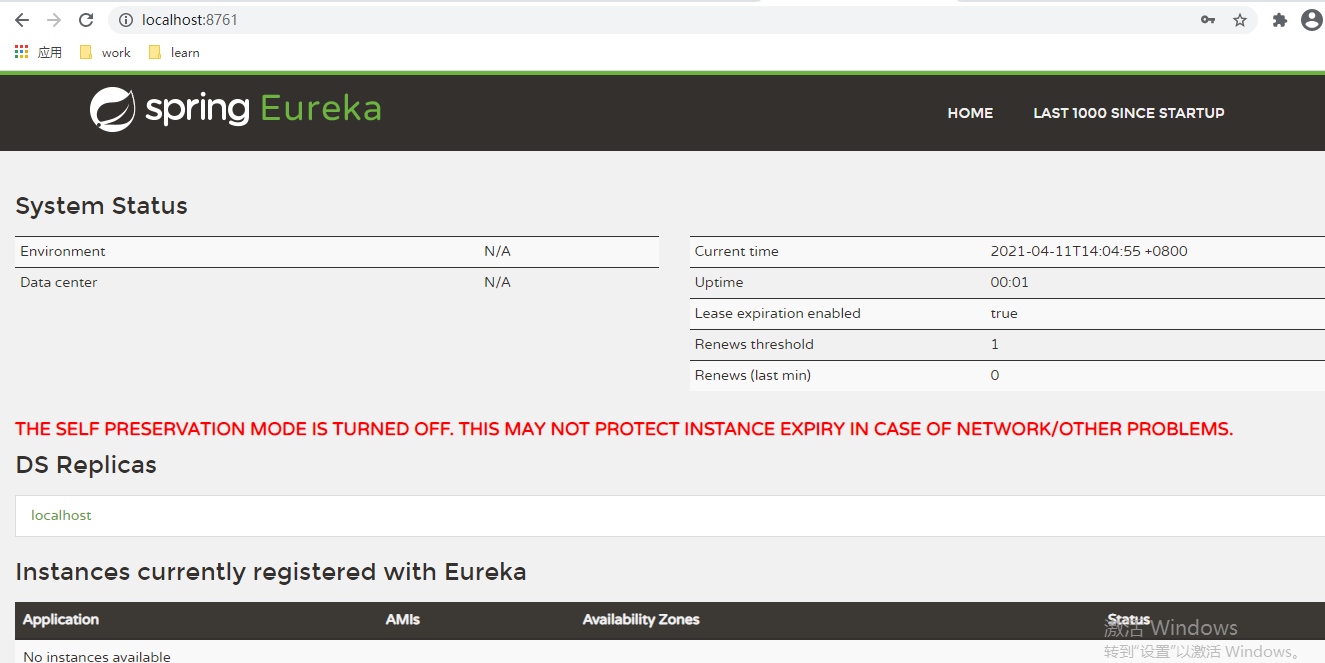
5.修改之前的product和consumer项目的application.yaml,添加basic认证
将原本的defaultZone后面的url修改为http://root:123456@localhost:8761/eureka
然后分别启动product和consumer项目
服务成功注册到eureka-server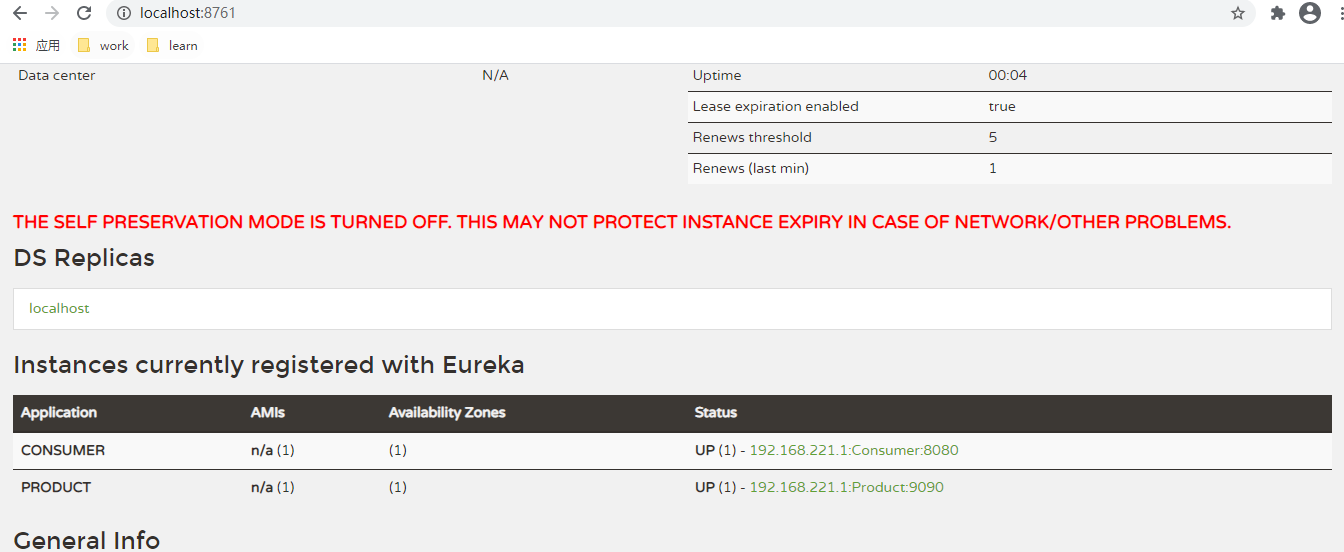
6.请求consumer的接口,查看是否能调用product暴露的服务
配置EurekaServer高可用集群
1.修改eureka-server项目下的application.yaml
server:port: 8761 #这里对应也要设置成对应端口 8761,8762,8763eureka:auth:enable: trueusername: rootpassword: 123456server:eviction-interval-timer-in-ms: 60000 #驱逐下线服务的间隔时间enable-self-preservation: ${ EUREKA_ENABLE_SELF_PRESERVATION:false} #关闭eureka服务自我保护机制,使eviction-interval-timer-in-ms配置生效instance:health-check-url-path: /actuator/health #健康检查地址prefer-ip-address: true #显示ip地址hostname: ${ EUREKA_HOSTNAME:localhost}client:fetch-registry: false #注册中心不需要拉取服务register-with-eureka: false #使用高可用集群搭建,设置为false即可service-url:defaultZone: ${ EUREKA_SERVER_LIST:http://root:123456@localhost:8761/eureka,http://root:123456@localhost:8762/eureka,http://root:123456@localhost:8763/eureka} #这里设置三个地址,分别启动三台eureka-serverspring:application:name: eureka-server
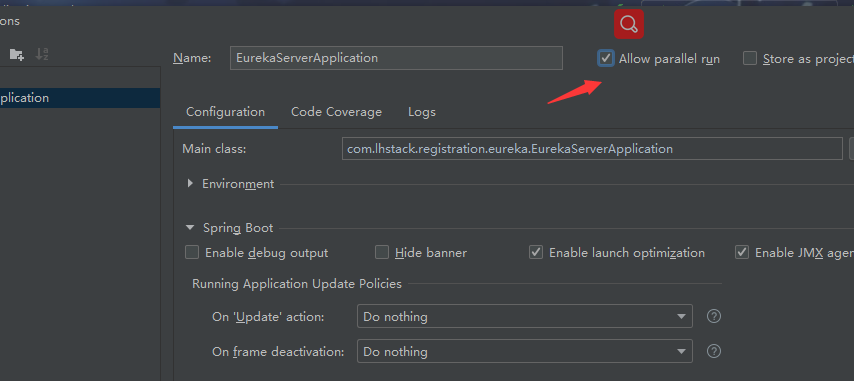
这里使用的是Idea的多开模式,2020.3的设置如下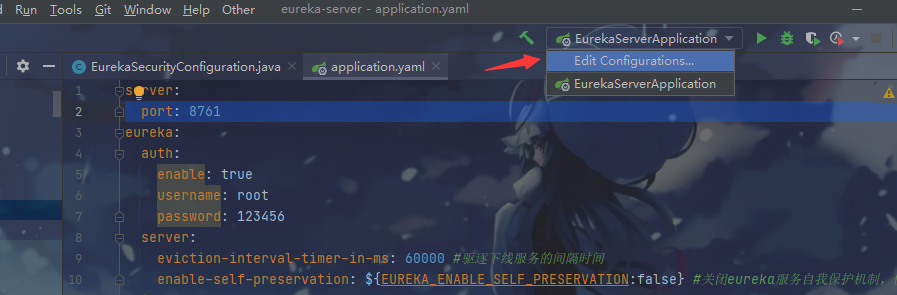
第一台
第二台
第三台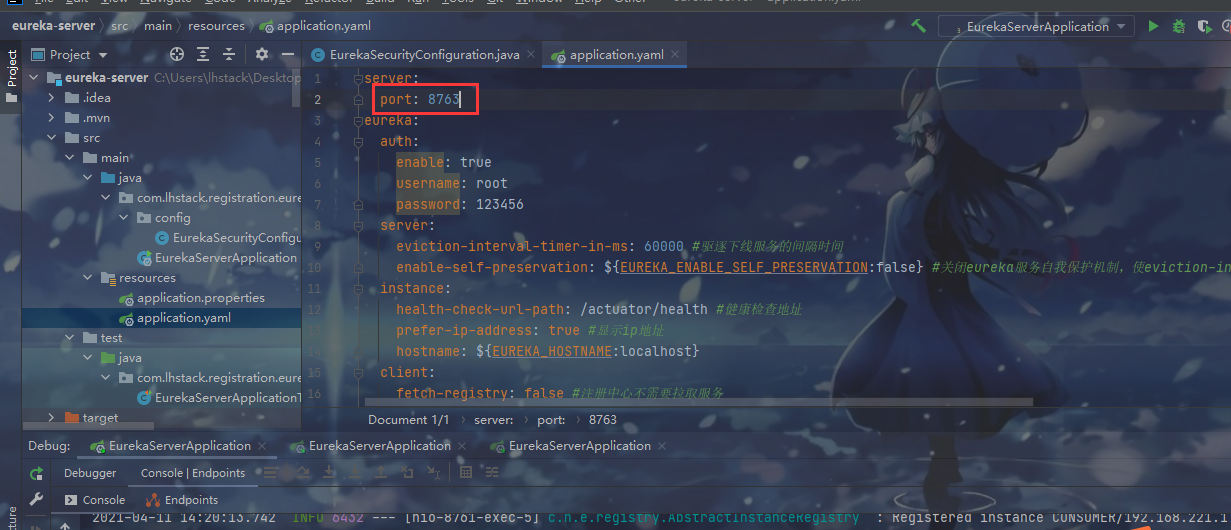
2.分别访问对应页面
第一台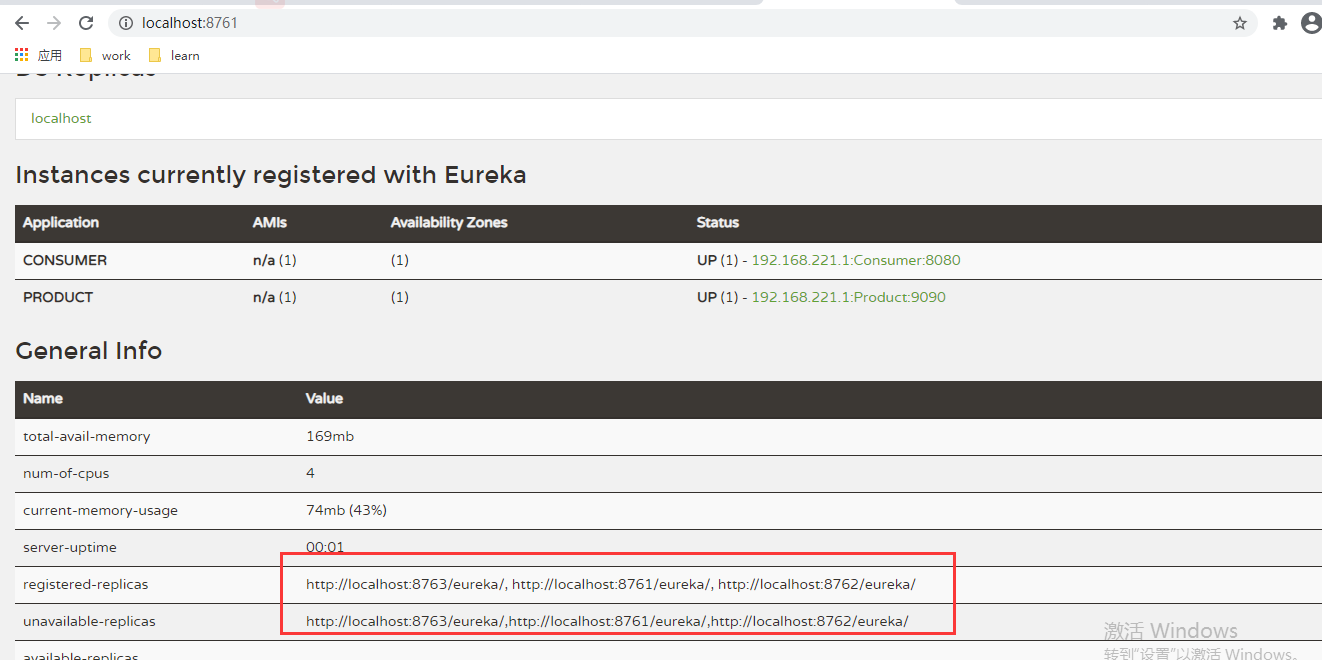
第二台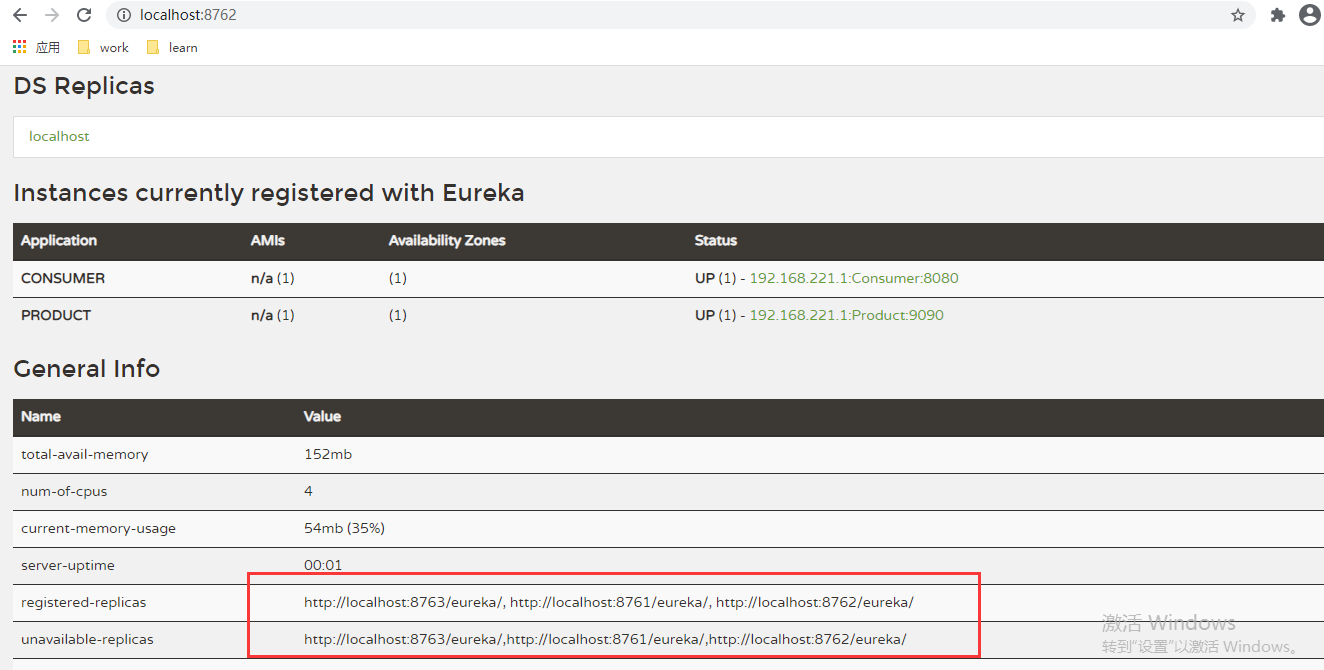
第三台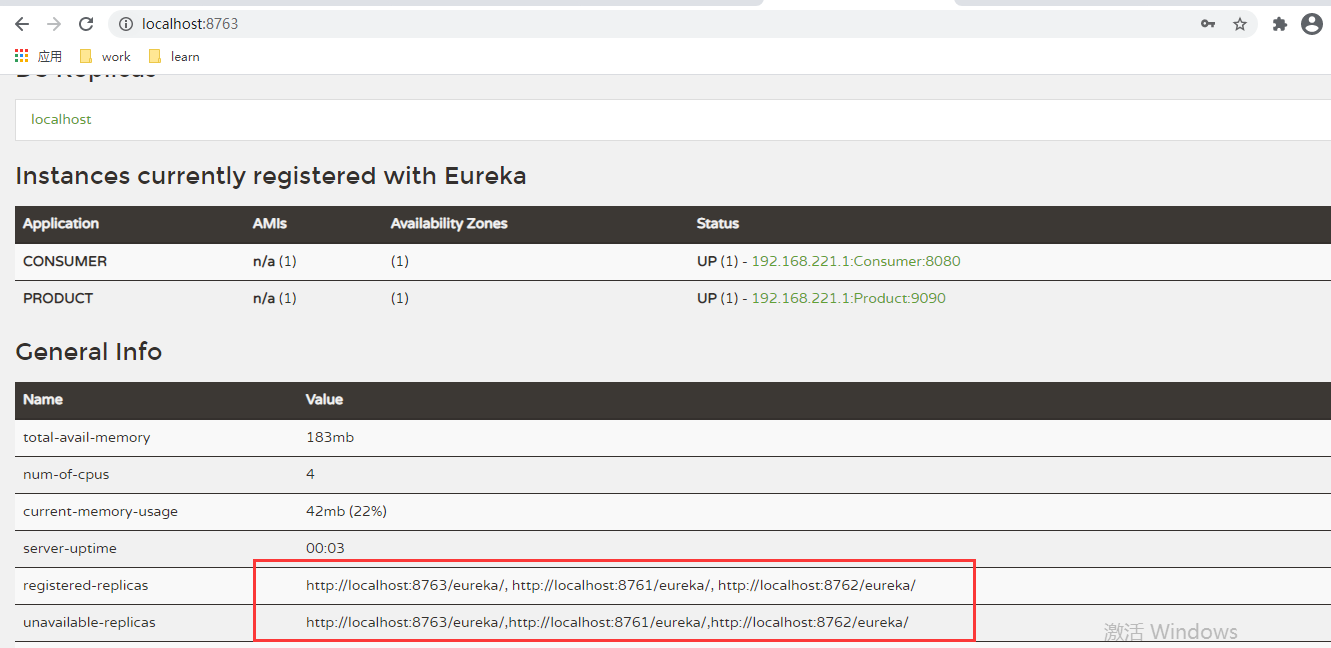
可以看到,三台上面都注册了服务,是之前第一台上面注册的,这种高可用方式,会将服务同步到每一台集群,所以只要服务注册到其中一台,其他服务就能通过集群中另一台注册中心获取到这个服务


")


还没有评论,来说两句吧...