Spring Boot整合Mybatis【超详细】
pring Boot整合Mybatis
- 配置文件形式
- pom.xml
- 配置数据源
- UserMapper.xml
- UserMapper
- 配置springboot整合mybatis
- 在运行类上添加@MapperScan注解
- 测试类
- 效果
配置文件形式
pom.xml
<?xml version="1.0" encoding="UTF-8"?><project xmlns="http://maven.apache.org/POM/4.0.0" xmlns:xsi="http://www.w3.org/2001/XMLSchema-instance" xsi:schemaLocation="http://maven.apache.org/POM/4.0.0 https://maven.apache.org/xsd/maven-4.0.0.xsd"><modelVersion>4.0.0</modelVersion><parent><groupId>org.springframework.boot</groupId><artifactId>spring-boot-starter-parent</artifactId><version>2.4.4</version><relativePath/> <!-- lookup parent from repository --></parent><groupId>com.keafmd</groupId><artifactId>spring-boot-09-mybatis</artifactId><version>0.0.1-SNAPSHOT</version><name>spring-boot-09-mybatis</name><description>Demo project for Spring Boot</description><properties><java.version>1.8</java.version></properties><dependencies><dependency><groupId>org.springframework.boot</groupId><artifactId>spring-boot-starter-jdbc</artifactId></dependency><dependency><groupId>org.springframework.boot</groupId><artifactId>spring-boot-starter-web</artifactId></dependency><dependency><groupId>org.mybatis.spring.boot</groupId><artifactId>mybatis-spring-boot-starter</artifactId><version>1.3.2</version></dependency><dependency><groupId>mysql</groupId><artifactId>mysql-connector-java</artifactId><scope>runtime</scope></dependency><dependency><groupId>org.springframework.boot</groupId><artifactId>spring-boot-starter-test</artifactId><scope>test</scope></dependency></dependencies><build><plugins><plugin><groupId>org.springframework.boot</groupId><artifactId>spring-boot-maven-plugin</artifactId></plugin></plugins></build></project>
配置数据源
在yml文件中配置数据源。
application.yml:
server:port: 80# 配置数据源spring:datasource:url: jdbc:mysql://127.0.0.1:3306/ssm-java1?useSSL=falsedriver-class-name: com.mysql.cj.jdbc.Driverusername: rootpassword: 18044229# 整合mybatismybatis:# typeAliasesPackage: com.neuedu.entitymapper-locations: classpath*:com/neuedu/boot/mapper/*.xml
UserMapper.xml
这里注意!!!:一定是和UserMapper相同的目录,是个三级目录,创建时仿照这样创建
com/keafm/mapper(正确的) 别这样com.keafam.mapper(错误的),这样错误的创建的话,是个一级目录,不是三级的,后面运行的时候可能会提示找不到Mapper。
<?xml version="1.0" encoding="UTF-8"?><!DOCTYPE mapper PUBLIC "-//mybatis.org//DTD Mapper 3.0//EN" "http://mybatis.org/dtd/mybatis-3-mapper.dtd"><mapper namespace="com.keafmd.mapper.UserMapper"><select id="list" resultType="map">select * from user</select></mapper>
UserMapper
package com.keafmd.mapper;import org.apache.ibatis.annotations.Mapper;import java.util.List;/** * Keafmd * * @ClassName: UserMapper * @Description: * @author: 牛哄哄的柯南 * @Date: 2021-04-08 16:09 * @Blog: https://keafmd.blog.csdn.net/ */public interface UserMapper {List list();}
配置springboot整合mybatis
在application.yml中配置:
# 整合mybatismybatis:# typeAliasesPackage: com.neuedu.entitymapper-locations: classpath*:com/neuedu/boot/mapper/*.xml
在运行类上添加@MapperScan注解
SpringBoot09MybatisApplication:
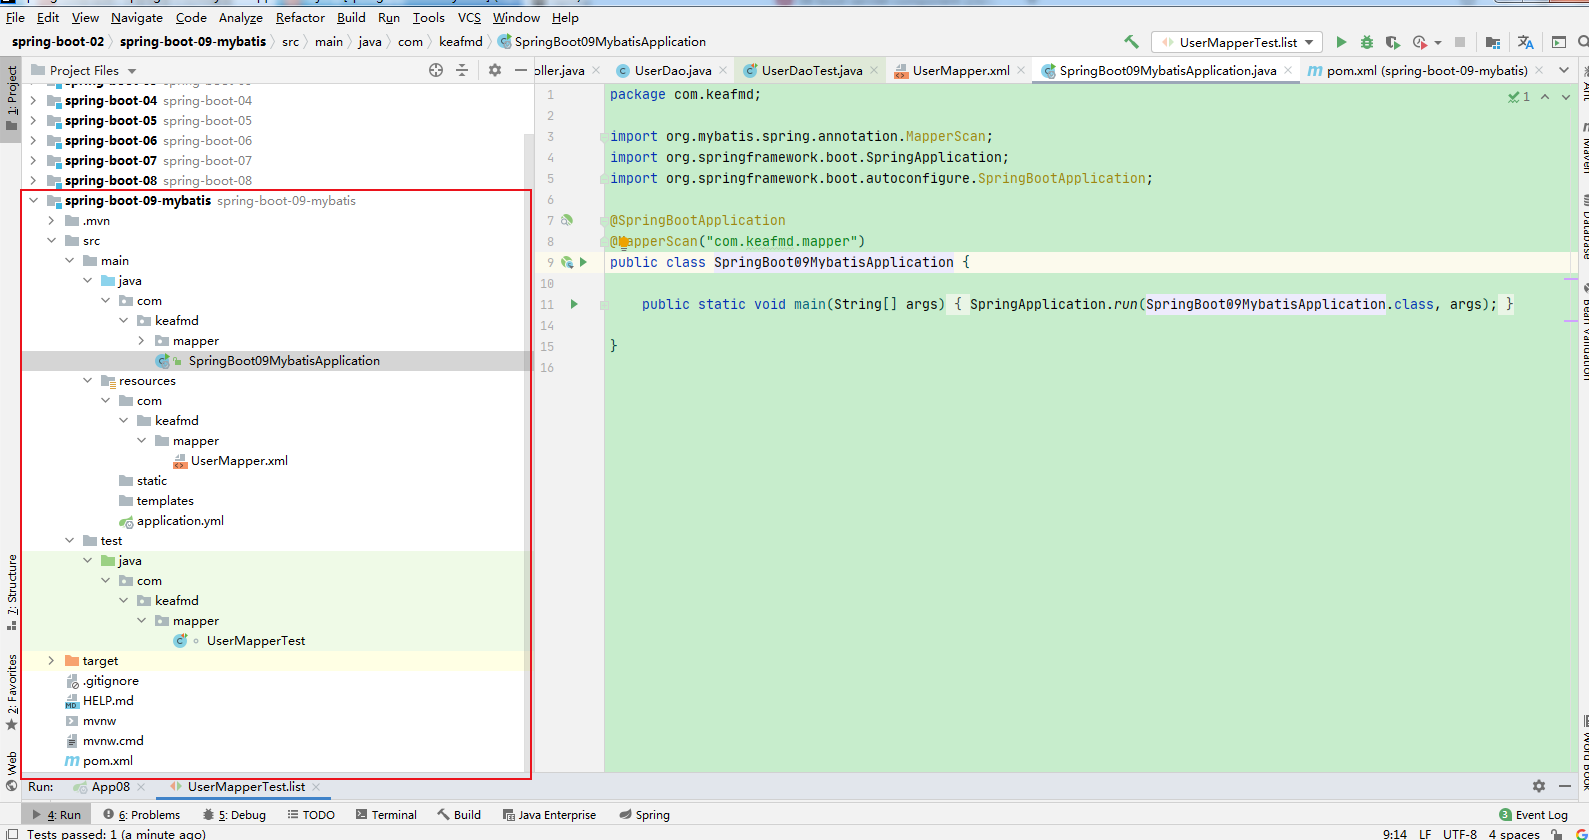
package com.keafmd;import org.mybatis.spring.annotation.MapperScan;import org.springframework.boot.SpringApplication;import org.springframework.boot.autoconfigure.SpringBootApplication;@SpringBootApplication@MapperScan("com.keafmd.mapper")public class SpringBoot09MybatisApplication {public static void main(String[] args) {SpringApplication.run(SpringBoot09MybatisApplication.class, args);}}
测试类
UserMapperTest :
package com.keafmd.mapper;import com.keafmd.SpringBoot09MybatisApplication;import org.junit.jupiter.api.Test;import org.springframework.beans.factory.annotation.Autowired;import org.springframework.boot.test.context.SpringBootTest;import java.util.List;import static org.junit.jupiter.api.Assertions.*;@SpringBootTest(classes = SpringBoot09MybatisApplication.class)class UserMapperTest {@AutowiredUserMapper userMapper;@Testvoid list(){List list = userMapper.list();for (Object o : list) {System.out.println(o);}}}
效果

以上就是Spring Boot整合Mybatis【超详细】的全部内容。
看完如果对你有帮助,感谢点赞支持!
如果你是电脑端的话,看到右下角的 “一键三连” 了吗,没错点它[哈哈]
加油!
共同努力!
Keafmd


还没有评论,来说两句吧...