CentOS7安装Gitlab详细教程
近期在使用宝塔面板的过程中,出现了安装Gitlab的时候提示配置文件已损坏之类的说明,下面是我手动安装Gitlab最新版本的教程。
1、准备好CentOS7系统

2、配置好yum源,这里选择清华源,地址为:
https://mirrors.tuna.tsinghua.edu.cn/help/gitlab-ce/
[gitlab-ce]name=Gitlab CE Repositorybaseurl=https://mirrors.tuna.tsinghua.edu.cn/gitlab-ce/yum/el$releasever/gpgcheck=0enabled=1
3、安装
yum makecacheyum install gitlab-ce -y
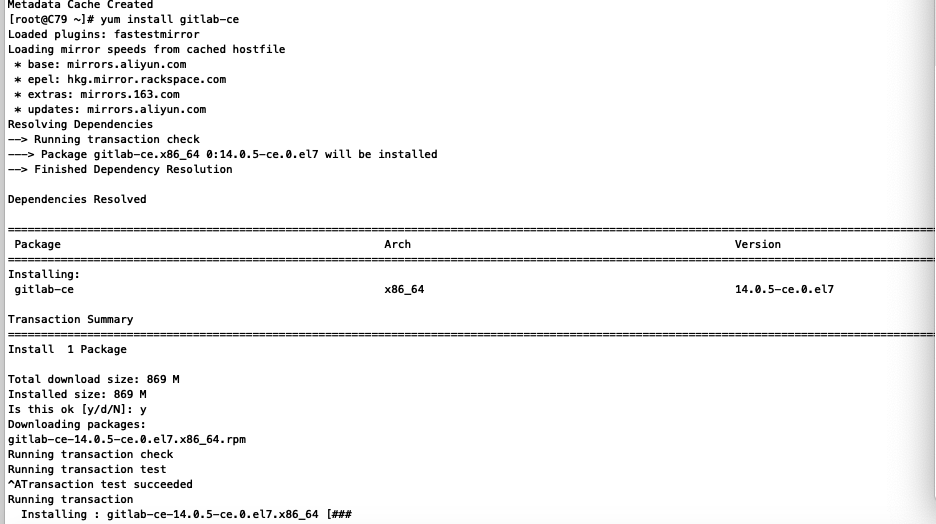
安装过程需要点时间,gitlab这个版本大概 870MB
安装好后,有个小狐狸的标识,成功了
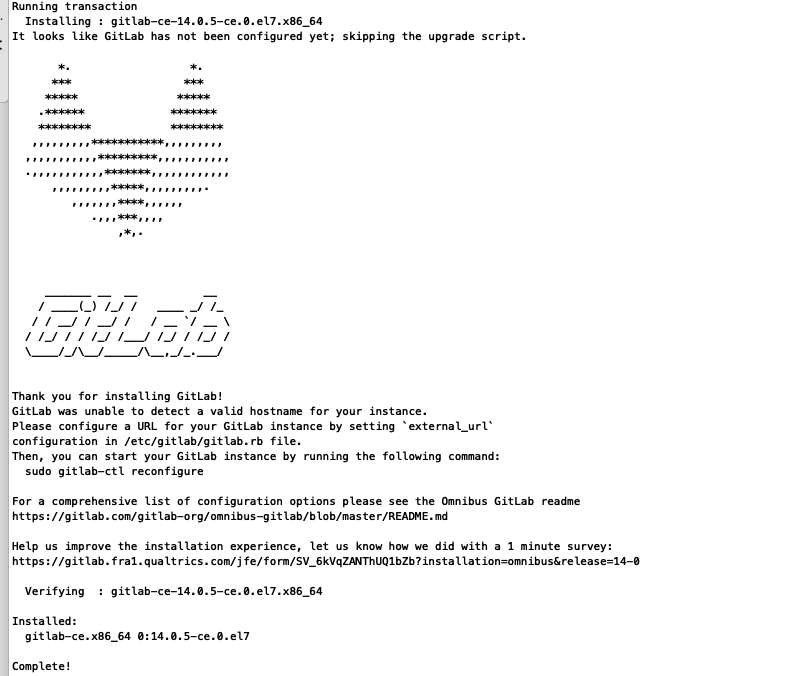
到这里安装完毕
4.1、安装好的gitlab需要配置才能使用,配置方法,打开
/etc/gitlab/gitlab.rb
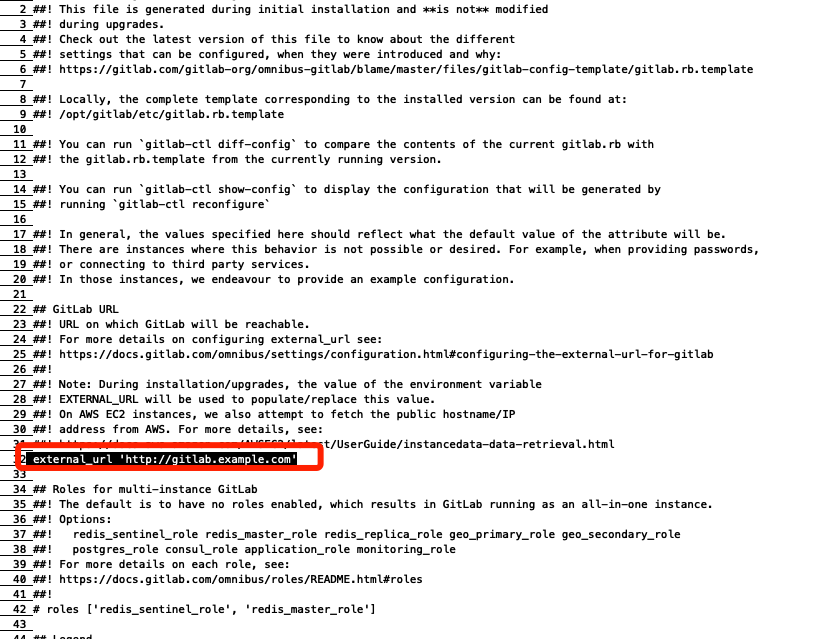
改成:external_url ‘http://182.168.1.222:8099‘
该地址可以依照自己的喜好进行修改,我这里是使用8099 端口访问gitlab
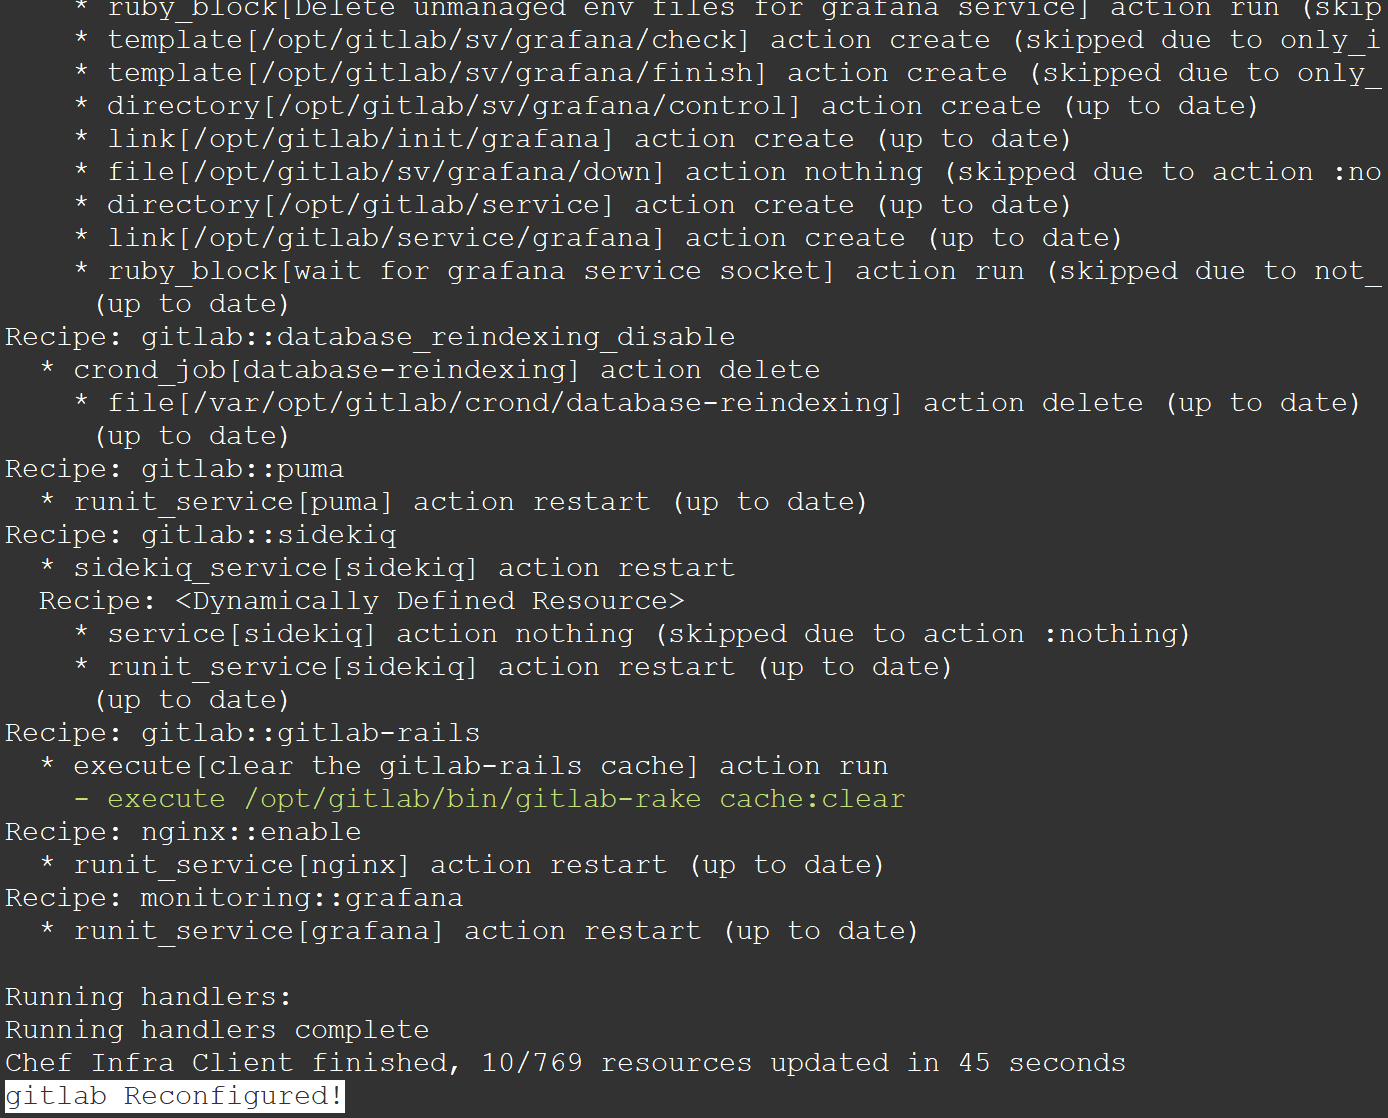
修改之后,执行:
gitlab-ctl reconfigure
进行初始化
初始化后的界面:
4.2、修改root帐号的密码:
gitlab-rails console -e production #进入到gitlab的shell界面user = User.where(id:1).first #选择root帐号user.password = '123456dapao' #密码需要大于8位数user.password_confirmation = '123456dapao' #重复下密码user.save #保存密码

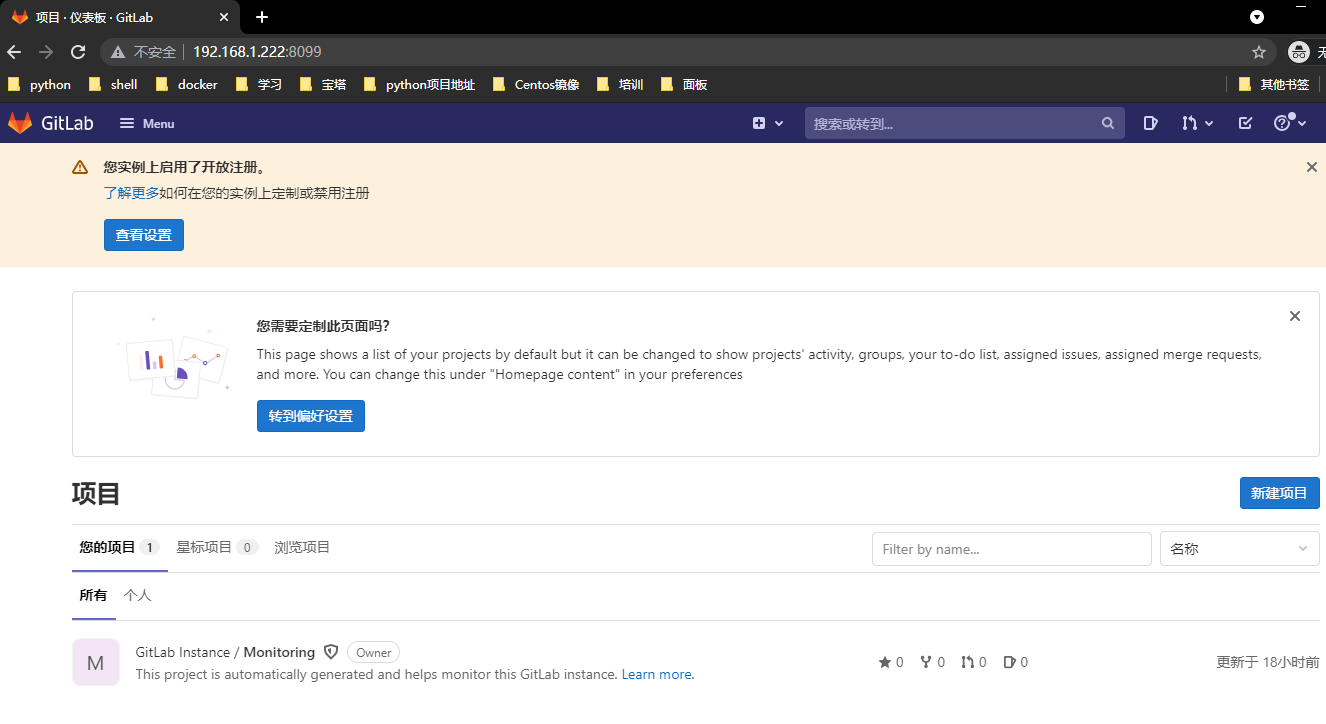
到浏览器上访问
http://192.168.1.222:8099
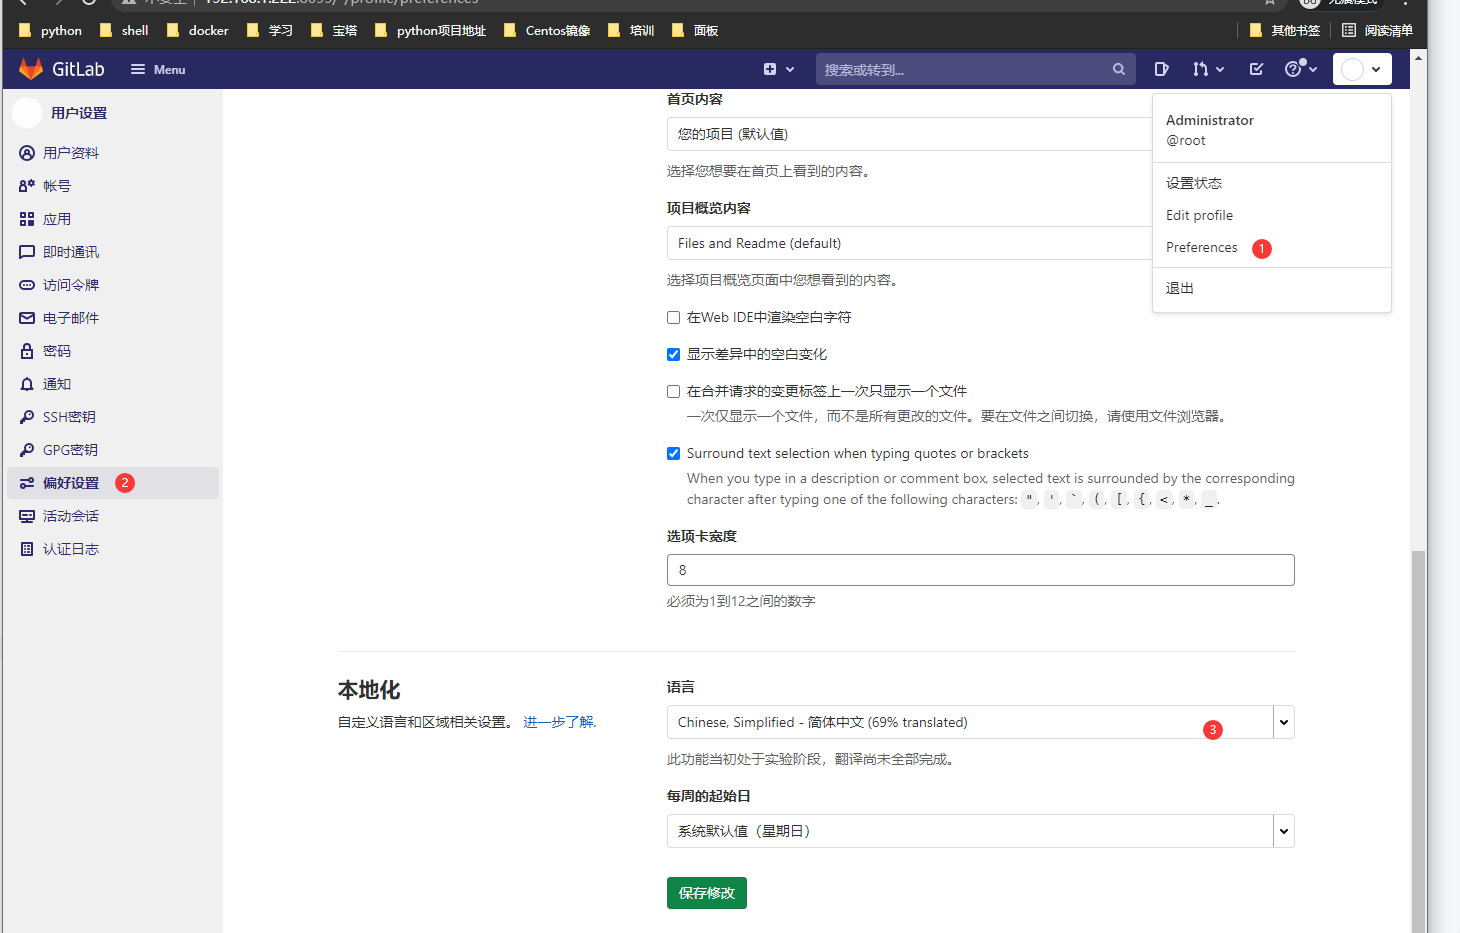
5、设置中文:


")


还没有评论,来说两句吧...