SpringBoot打包jar、war部署项目
我的项目是在IntelliJ里面做的,springboot框架做的web项目打包部署有2种方式,一种是jar包,一种是war文件。
第一种:
首先打包war文件形式:
pom.xml文件
<?xml version="1.0" encoding="UTF-8"?><project xmlns="http://maven.apache.org/POM/4.0.0"xmlns:xsi="http://www.w3.org/2001/XMLSchema-instance"xsi:schemaLocation="http://maven.apache.org/POM/4.0.0 http://maven.apache.org/xsd/maven-4.0.0.xsd"><modelVersion>4.0.0</modelVersion><groupId>SpringBootDemo</groupId><artifactId>SpringBootDemo</artifactId><version>1.0-SNAPSHOT</version><packaging>war</packaging><properties><project.build.sourceEncoding>UTF-8</project.build.sourceEncoding><!-- 这里一定要配置上java的版本,如果是1.7版本的可不用配置 --><java.version>1.7</java.version><servlet.version>3.0.1</servlet.version></properties><build><plugins><plugin><groupId>org.springframework.boot</groupId><artifactId>spring-boot-maven-plugin</artifactId></plugin></plugins></build><!-- 父依赖 --><parent><groupId>org.springframework.boot</groupId><artifactId>spring-boot-starter-parent</artifactId><version>1.5.2.RELEASE</version></parent><dependencies><dependency><groupId>org.springframework.boot</groupId><artifactId>spring-boot-starter-web</artifactId></dependency><dependency><groupId>org.springframework.boot</groupId><artifactId>spring-boot-starter-test</artifactId><scope>test</scope></dependency><dependency><groupId>org.springframework.boot</groupId><artifactId>spring-boot-starter-thymeleaf</artifactId></dependency><!--打包war必须的依赖--><dependency><groupId>javax.servlet</groupId><artifactId>javax.servlet-api</artifactId><version>${servlet.version}</version></dependency><dependency><groupId>org.springframework.boot</groupId><artifactId>spring-boot-starter-tomcat</artifactId><!--<scope>provided</scope>--></dependency></dependencies></project>
Application.java启动文件:
package com;import org.springframework.boot.SpringApplication;import org.springframework.boot.autoconfigure.SpringBootApplication;import org.springframework.boot.builder.SpringApplicationBuilder;import org.springframework.boot.web.support.SpringBootServletInitializer;/*** Created by Administrator on 2017/6/2.*/@SpringBootApplicationpublic class Application extends SpringBootServletInitializer{protected SpringApplicationBuilder configure(SpringApplicationBuilder application) {return application.sources(Application.class);}public static void main(String[] args) {SpringApplication.run(Application.class, args);}}
然后
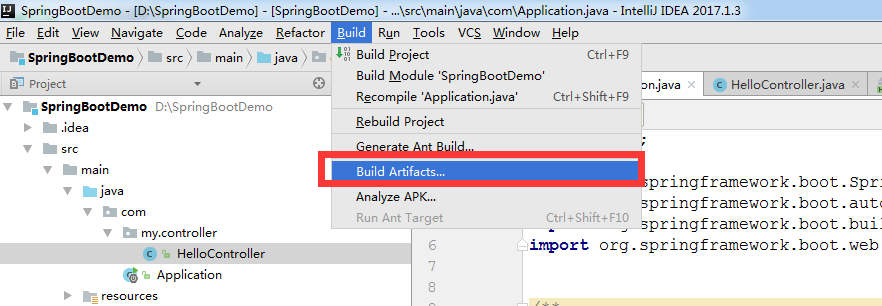

build之后在target文件夹下面就会看到SpringBootDemo-1.0-SNAPSHOT.war文件,丢到tomcat上面运行就可以了。
第二种打包jar部署:
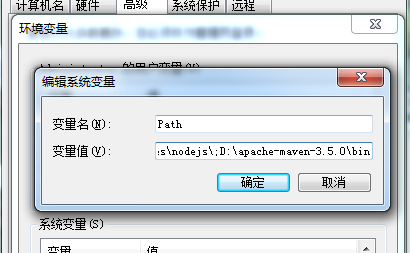
首先下载apache-maven-3.5.0(版本随意,我下的最新的)
配置环境环境变量自己看着来:
然后pom.xml配置
<?xml version="1.0" encoding="UTF-8"?><project xmlns="http://maven.apache.org/POM/4.0.0"xmlns:xsi="http://www.w3.org/2001/XMLSchema-instance"xsi:schemaLocation="http://maven.apache.org/POM/4.0.0 http://maven.apache.org/xsd/maven-4.0.0.xsd"><modelVersion>4.0.0</modelVersion><groupId>SpringBootDemo</groupId><artifactId>SpringBootDemo</artifactId><version>1.0-SNAPSHOT</version><packaging>jar</packaging><properties><project.build.sourceEncoding>UTF-8</project.build.sourceEncoding><!-- 这里一定要配置上java的版本,如果是1.7版本的可不用配置 --><java.version>1.7</java.version><servlet.version>3.0.1</servlet.version></properties><build><plugins><plugin><groupId>org.springframework.boot</groupId><artifactId>spring-boot-maven-plugin</artifactId><configuration><executable>true</executable></configuration><executions><execution><goals><goal>repackage</goal></goals></execution></executions></plugin></plugins></build><!-- 父依赖 --><parent><groupId>org.springframework.boot</groupId><artifactId>spring-boot-starter-parent</artifactId><version>1.5.2.RELEASE</version></parent><dependencies><dependency><groupId>org.springframework.boot</groupId><artifactId>spring-boot-starter-web</artifactId></dependency><dependency><groupId>org.springframework.boot</groupId><artifactId>spring-boot-starter-test</artifactId><scope>test</scope></dependency><dependency><groupId>org.springframework.boot</groupId><artifactId>spring-boot-starter-thymeleaf</artifactId></dependency></dependencies></project>
Application.java:
package com;import org.springframework.boot.SpringApplication;import org.springframework.boot.autoconfigure.SpringBootApplication;/*** Created by Administrator on 2017/6/2.*/@SpringBootApplicationpublic class Application {public static void main(String[] args) {// 启动Spring Boot项目的唯一入口SpringApplication.run(Application.class, args);}}
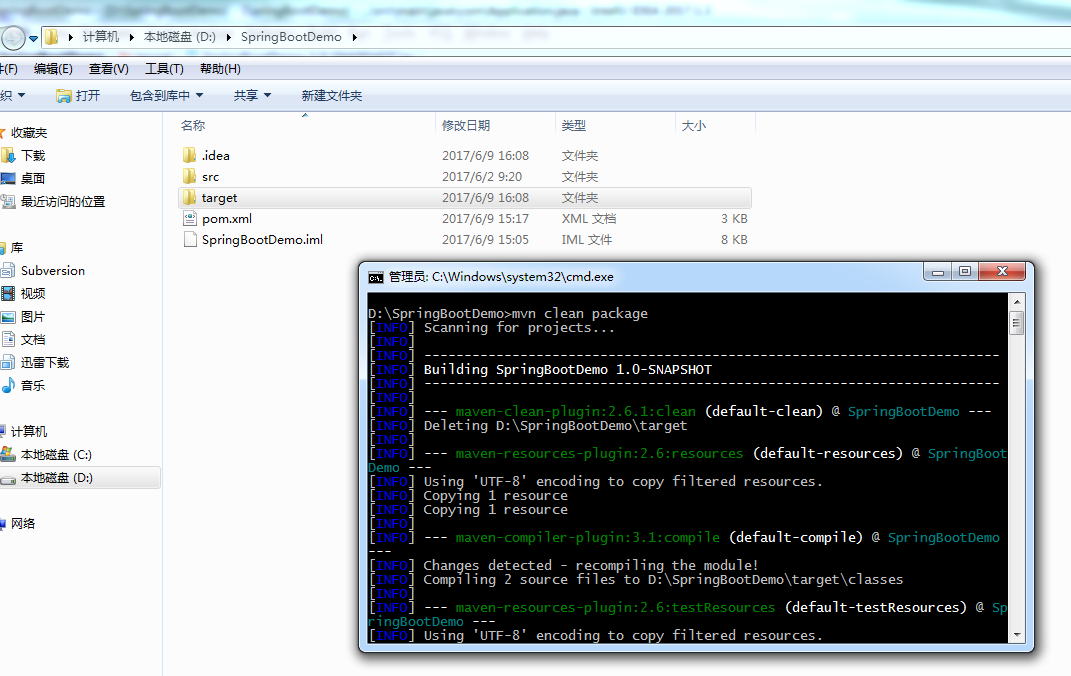
开始使用mvn打包,进到项目根目录下:执行mvn clean package如下图
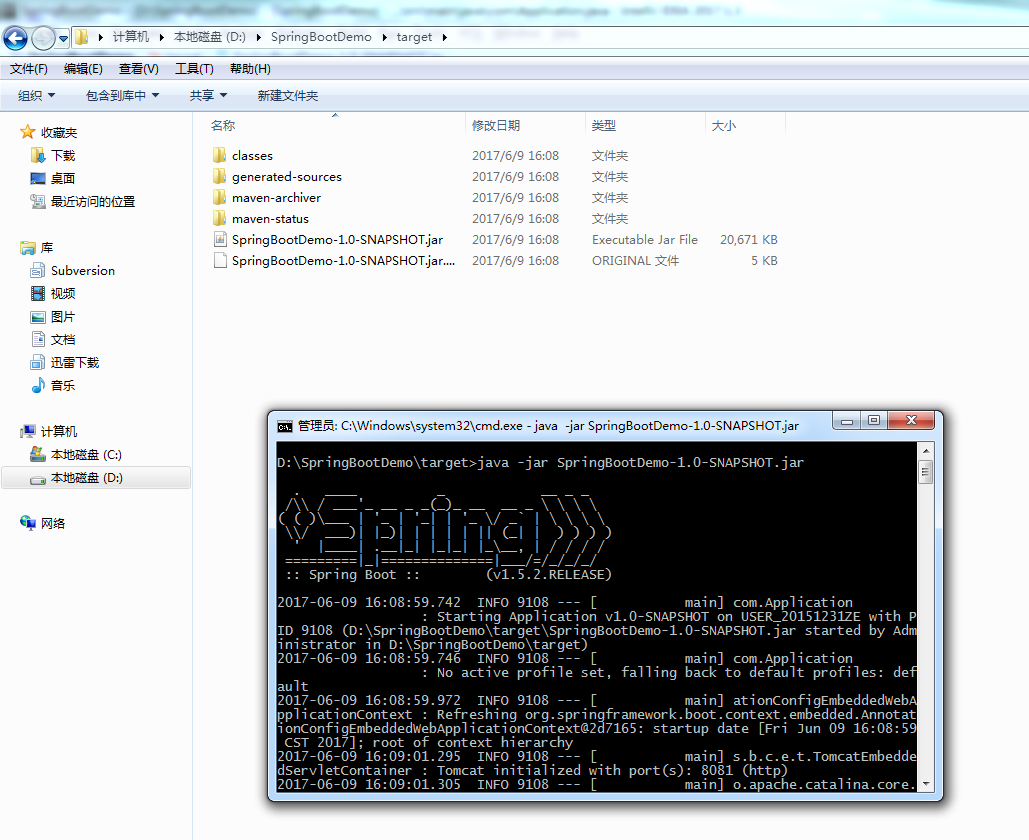
执行完毕之后找到target文件夹,使用java -jar 执行就可以了,如下图:
springboot的两种打包方式以及完毕。


还没有评论,来说两句吧...