spring注解入门之IOC,DI
注解开发
1. IOC注解入门
1.导入jar包(还需要导入核心jar包及日志jar包)
spring-aop-xxx.jar
2.导入xml约束,导入下面的约束即可
<?xml version="1.0" encoding="UTF-8"?><beans xmlns="http://www.springframework.org/schema/beans" xmlns:xsi="http://www.w3.org/2001/XMLSchema-instance" xmlns:aop="http://www.springframework.org/schema/aop" xmlns:context="http://www.springframework.org/schema/context" xmlns:tx="http://www.springframework.org/schema/tx" xsi:schemaLocation=" http://www.springframework.org/schema/context http://www.springframework.org/schema/context/spring-context.xsd http://www.springframework.org/schema/beans http://www.springframework.org/schema/beans/spring-beans.xsd http://www.springframework.org/schema/tx http://www.springframework.org/schema/tx/spring-tx.xsd http://www.springframework.org/schema/aop http://www.springframework.org/schema/aop/spring-aop.xsd"> <!-- bean definitions here --></beans>
如果需要使用IOC跟DI的注解,那么必须在xml里声明使用注解,然后spring就会在你提供的路径里面查找注解
打开注解,告诉spring 在cn.itcast下查找注解,<context:component-scan base-package="cn.itcast"/>
3.在类上面添加注解
@Component("p")//相当于在xml里面写了一个bean,bean的id是"p"public class Product {public void allProduct(){System.out.println("假装显示了所有商品");}}
4.找工厂索取对象
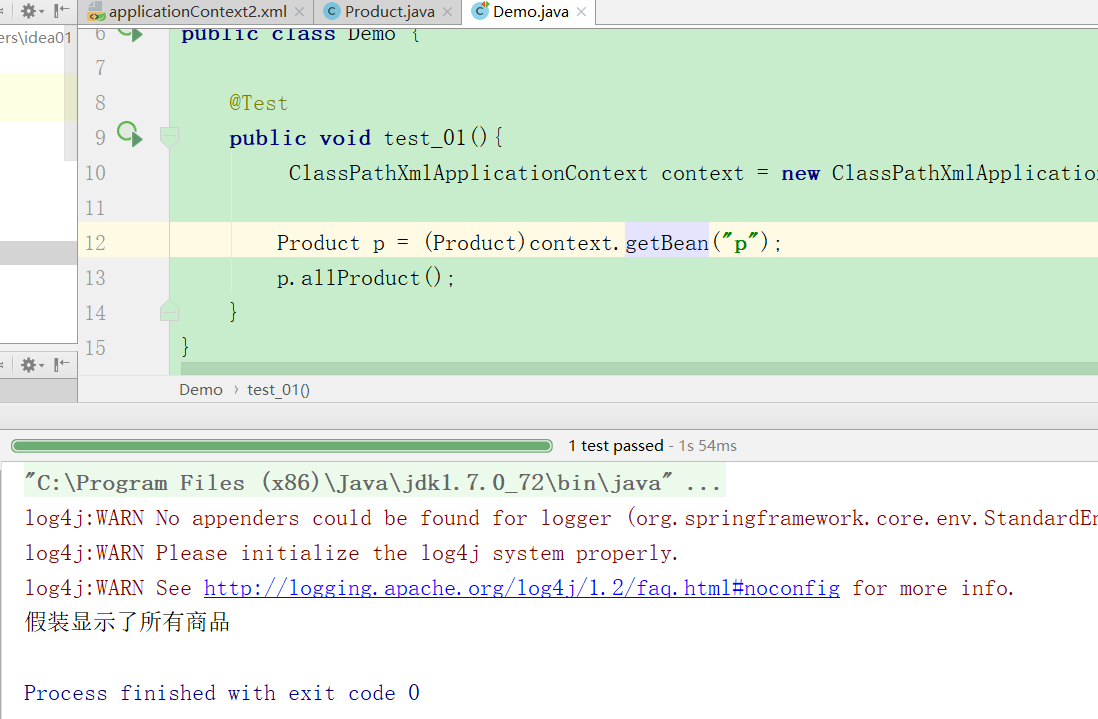
public class Demo {@Testpublic void test_01(){ClassPathXmlApplicationContext context = new ClassPathXmlApplicationContext("applicationContext2.xml");Product p = (Product)context.getBean("p");p.allProduct();}}
运行结果如下
代码分析
1.扫描开关,如果需要扫描多个包,那么只需要加上包的前缀即可,
<context:component-scan base-package="cn.itcast.annotation_ioc"/>
2.需要在类上加上@Component的标签,
3.工厂默认是单列的,如果想做成多列的,需要在类上加上@Scope注解
4.如果想指定初始化方法和销毁方法,可以使用@PostConstruct & @PreDestroy
@PostConstructpublic void init(){System.out.println("调用init~!~~!");}//销毁对象的时候调用@PreDestroypublic void destroy(){System.out.println("调用destroy~!~~!");}
5.spring针对三层结构的写法, 也细化了每一层的注解。 @Component是通用的注解,分别为WEB层的@Controller,服务层的@Service和持久层的@Repository,建议大家不用使用@Component注解,因为以后有可能会被取消掉,
DI注解
依赖注入使用注解来实现 , DI的注解一般使用两个 @Resource | @Autowired
DI注入需要的jar包及xml约束都跟IOC一样,所以使用IOC的配置就行了
1.在xml里打开扫描开关,
<!--如果IOC开过了,那么就不需要再开了--><context:component-scan base-package="com.itcast"/>
2.创建一个商品信息类
@Component("info")public class ProductInfo {//其实value注解不常用,因为我们这样写,还不如直接 String pname = "海鲜";@Value(value="海鲜")private String pname;@Value(value="15")private Double money;@Override //为了方便演示,加上toString方法public String toString() {return "ProductInfo{" +"pname='" + pname + '\'' +", money=" + money +'}';}}
创建一个Demo类
public class Demo {@Testpublic void test_01(){ClassPathXmlApplicationContext context = new ClassPathXmlApplicationContext("applicationContext2.xml");ProductInfo p = (ProductInfo)context.getBean("info");System.out.println("info="+p);}}
运行结果如下
看运行结果可以发现,我们赋值String类型的字符串成功了,那么我们赋值对象类型的呢?
运行结果如下
由此可见,value不能赋值对象类型的属性
对象类型的属性需要@Resource | @Autowire
1.创建一个信息类
@Component("info")public class ProductInfo {@Value(value="海鲜")private String pname;@Value(value="15")private Double money;@Overridepublic String toString() {return "ProductInfo{" +"pname='" + pname + '\'' +", money=" + money +'}';}}
2.创建一个Product类
@Component("p")//相当与在xml里面写了一个bean,bean的id是"p"public class Product {@Resource(name="info")private ProductInfo p;public void allProduct(){System.out.println("假装显示了所有商品");}@Override //为了方便演示,也提供一个toStringpublic String toString() {return "Product{" +"p=" + p +'}';}}
创建一个测试类
public class Demo {@Testpublic void test_01(){ClassPathXmlApplicationContext context = new ClassPathXmlApplicationContext("applicationContext2.xml");Product p = (Product)context.getBean("p");p.allProduct();System.out.println("Product="+p);}}
运行结果如下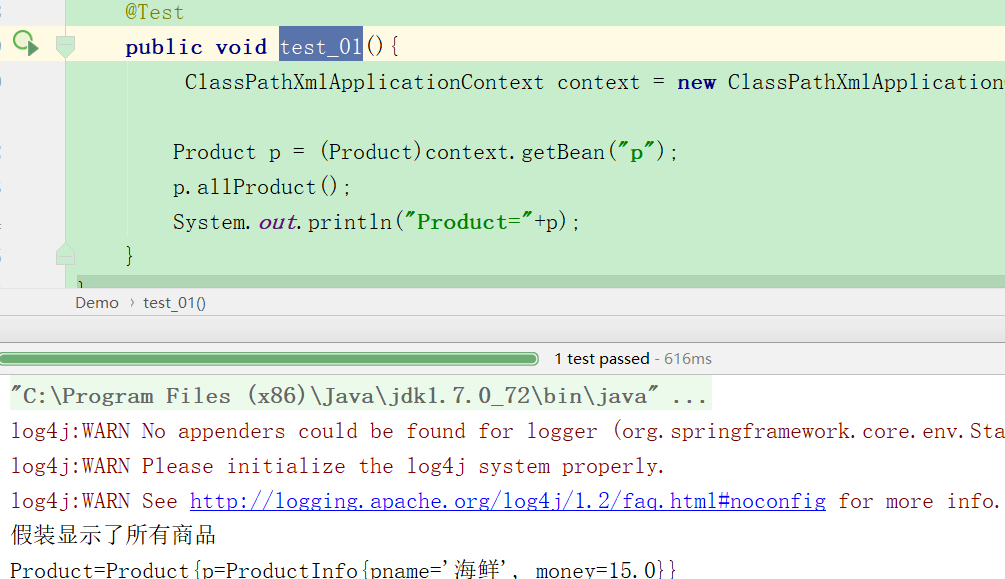
赋值成功,
然后我们再使用@Autowire来注入值
@Autowired不用写参数,
@Component("p")//相当与在xml里面写了一个bean,bean的id是"p"public class Product {@Autowiredprivate ProductInfo p;public void allProduct(){System.out.println("假装显示了所有商品");}@Overridepublic String toString() {return "Product{" +"p=" + p +'}';}}
测试类运行结果如下
@Autowired也赋值成功了,那么肯定也就会有疑问,它们的区别是什么?
我先来将它们的运作原理把
@Resource 注解会拿着提供的name值去xml里找id = name值的Bean,如果没找到就会去找注解,找到了就创建实例,赋值
@Autowired 是拿着对象的类型去找,如果找到了就创建类型,也就是说,Autowired一遇到接口就不能使用了,因为它拿着接口的类型去找,并不能找到你所遇到的实例,
@Autowired 是自动注入,会找到注入接口类型的实现类,然后创建对象注入进来,如果存在多个实现类,那么会抛出异常
@Resource(name=”ud”) : 这个是直接根据给定的标识符,找到具体类,然后创建对象, 注入进来
本章就讲到这里,写代码的时候千万别忘记了打开开关
<context:component-scan base-package="com.itcast"/>
代码测试有效,有什么问题欢迎留言,


还没有评论,来说两句吧...