Solrj实现增删改查
一、准备
在 solrhome/collection1/conf/schema.xml 配置文件中定义相关的字段。
<!-- name:该字段的名称。 type:fieldType 字段对应的名称。 "text_ik" 是我自定义的一个字段类型,并配置了中文分词器。 --><field name="product_name" type="text_ik" indexed="true" stored="true"/><field name="product_price" type="float" indexed="true" stored="true"/><field name="product_description" type="text_ik" indexed="true" stored="false" /><field name="product_catalog_name" type="string" indexed="true" stored="true" /><!-- 当从 "product_keywords" 字段搜索时,会搜索 "product_name" 和 "product_description"字段。 --><field name="product_keywords" type="text_ik" indexed="true" stored="false" multiValued="true"/><copyField source="product_name" dest="product_keywords"/><copyField source="product_description" dest="product_keywords"/>
这里通过新建 Maven 项目完成测试,在pom.xml中添加对应的依赖:
<!-- 这里使用 7.2.1 的版本 --><dependency><groupId>org.apache.solr</groupId><artifactId>solr-solrj</artifactId><version>7.2.1</version></dependency><!-- 添加 Junit 测试的依赖 --><dependency><groupId>junit</groupId><artifactId>junit</artifactId><version>4.11</version><scope>test</scope></dependency>
二、测试增删改
增删改相对来说比较简单,这里放在一起进行测试,Solr 中没有提供专门的修改方法,会根据 id 在文档中查找,如果没有找到就是添加,找到了就会覆盖原来的数据,即修改。
2.1新增与修改
编写 Java 代码:
@Testpublic void indexCreateTest() throws Exception {// 创建和Solr 服务端的连接,并指定 Solr 实例是 "collection1"SolrClient client = new HttpSolrClient.Builder("http://192.168.248.136:8080/solr/collection1").build();// 创建 Solr 文档对象SolrInputDocument document = new SolrInputDocument();// 向文档对象中添加指定字段对应的字段值,字段必须先定义后使用,且必须要有 id 字段// 如果是修改,只需要固定 id 字段的值,修改其他的字段即可document.addField("id", "a1");document.addField("product_catalog_name", "幽默杂货");document.addField("product_price", "20");document.addField("product_name", "小王子");// 将文档添加到 client 对象中client.add(document);// 提交client.commit();}
在浏览器端进行验证: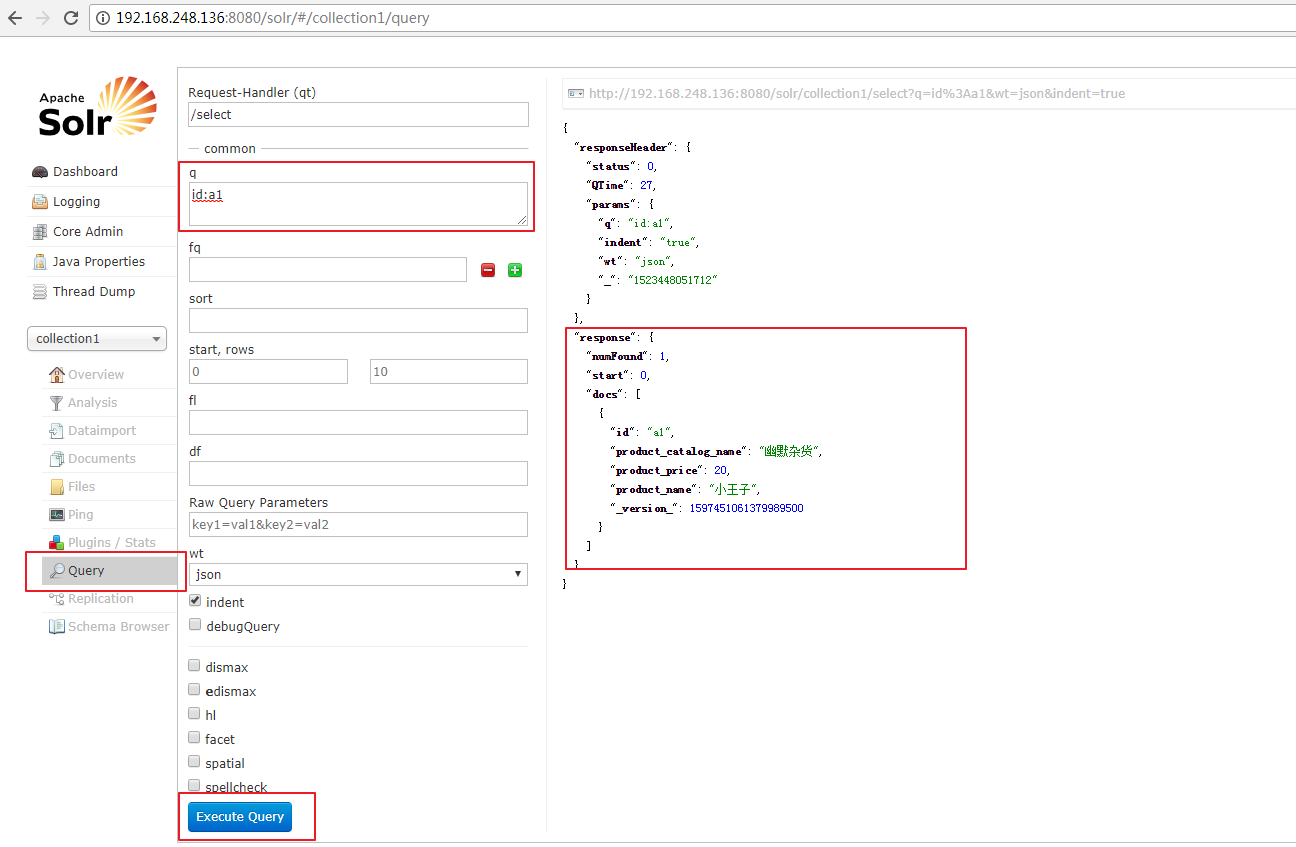
2.2删除
编写 Java 代码:
@Testpublic void indexDelTest() throws Exception {SolrClient client = new HttpSolrClient.Builder("http://192.168.248.136:8080/solr/collection1").build();// 根据 id 删除// client.deleteById("a1");// 根据查询删除, *:* 表示删除所有client.deleteByQuery("product_name:小王子");client.commit();}
这里就不在浏览器验证了。
三、测试查询
相对于增删改操作,往往需要我们做的是查询操作。查询操作也相对比较复杂,有关查询的设置,可以在浏览器端查看,只要在代码中设置即可。
查询高亮的结果比较麻烦,这里将浏览器端的查询结果贴出来,希望能帮助大家更好理解高亮数据的获取方式。需要高亮显示的字段是:product_name,查询关键字是:小王子。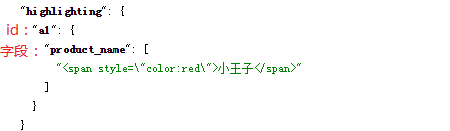
编写 Java 代码:
@Testpublic void indexSearchTest() throws Exception {SolrClient client = new HttpSolrClient.Builder("http://192.168.248.136:8080/solr/collection1").build();// 创建查询对象SolrQuery query = new SolrQuery();// 设置默认搜索字段,如果不指定搜索的字段,则从默认字段中搜索query.set("df", "product_keywords");// 指定搜索域与搜索的关键字query.setQuery("product_name:小王子");// 如果不定搜索域,则从默认搜索域中搜索,如下//query.setQuery("手机");// 设置搜索的过滤器,只搜索"product_price" 在 10-20 之间的query.addFilterQuery("product_price:[15 TO 30]");// 设置起始的条数,默认是 0query.setStart(0);// 设置查询的条数,默认是 10query.setRows(5);// 设置高亮query.setHighlight(true);// 设置显示高亮的字段query.addHighlightField("product_name");// 设置高亮字段值的前缀query.setHighlightSimplePre("<span style=\"color:red\">");// 设置高亮字段值的后缀query.setHighlightSimplePost("</span>");// 获得查询结果的响应对象QueryResponse response = client.query(query);// 从响应对象中获得结果集对象SolrDocumentList list = response.getResults();System.out.println("查询到的总记录数:" + list.getNumFound());// 遍历结果集for (SolrDocument document : list){System.out.println("product_price : " + document.get("product_price"));System.out.println("product_name : " + document.get("product_name"));// 从响应对象中获得高亮,并处理Map<String, Map<String, List<String>>> map = response.getHighlighting();List<String> lightList = map.get(document.get("id")).get("product_name");if(lightList != null && lightList.size() > 0) {System.out.println("high lighting product_name : " + lightList.get(0));}System.out.println("==================================");}}
查询结果输出:
(完)


Deep Multi-instance Networks with Sparse Label Assignment for Whole Mammogram Classific")


")


还没有评论,来说两句吧...