淘淘商城——搭建商品详情页面展示工程
从淘淘商城的系统架构上来说,其实商品详情展示与搜索系统都是独立的表现层工程。我们以京东为例,当我们搜索到某商品后,点击那个商品链接,进入商品详情页面时,可以在浏览器地址栏看到”item.jd.com”,很明显不是搜索系统工程了,这是专门用来展示商品详情的工程。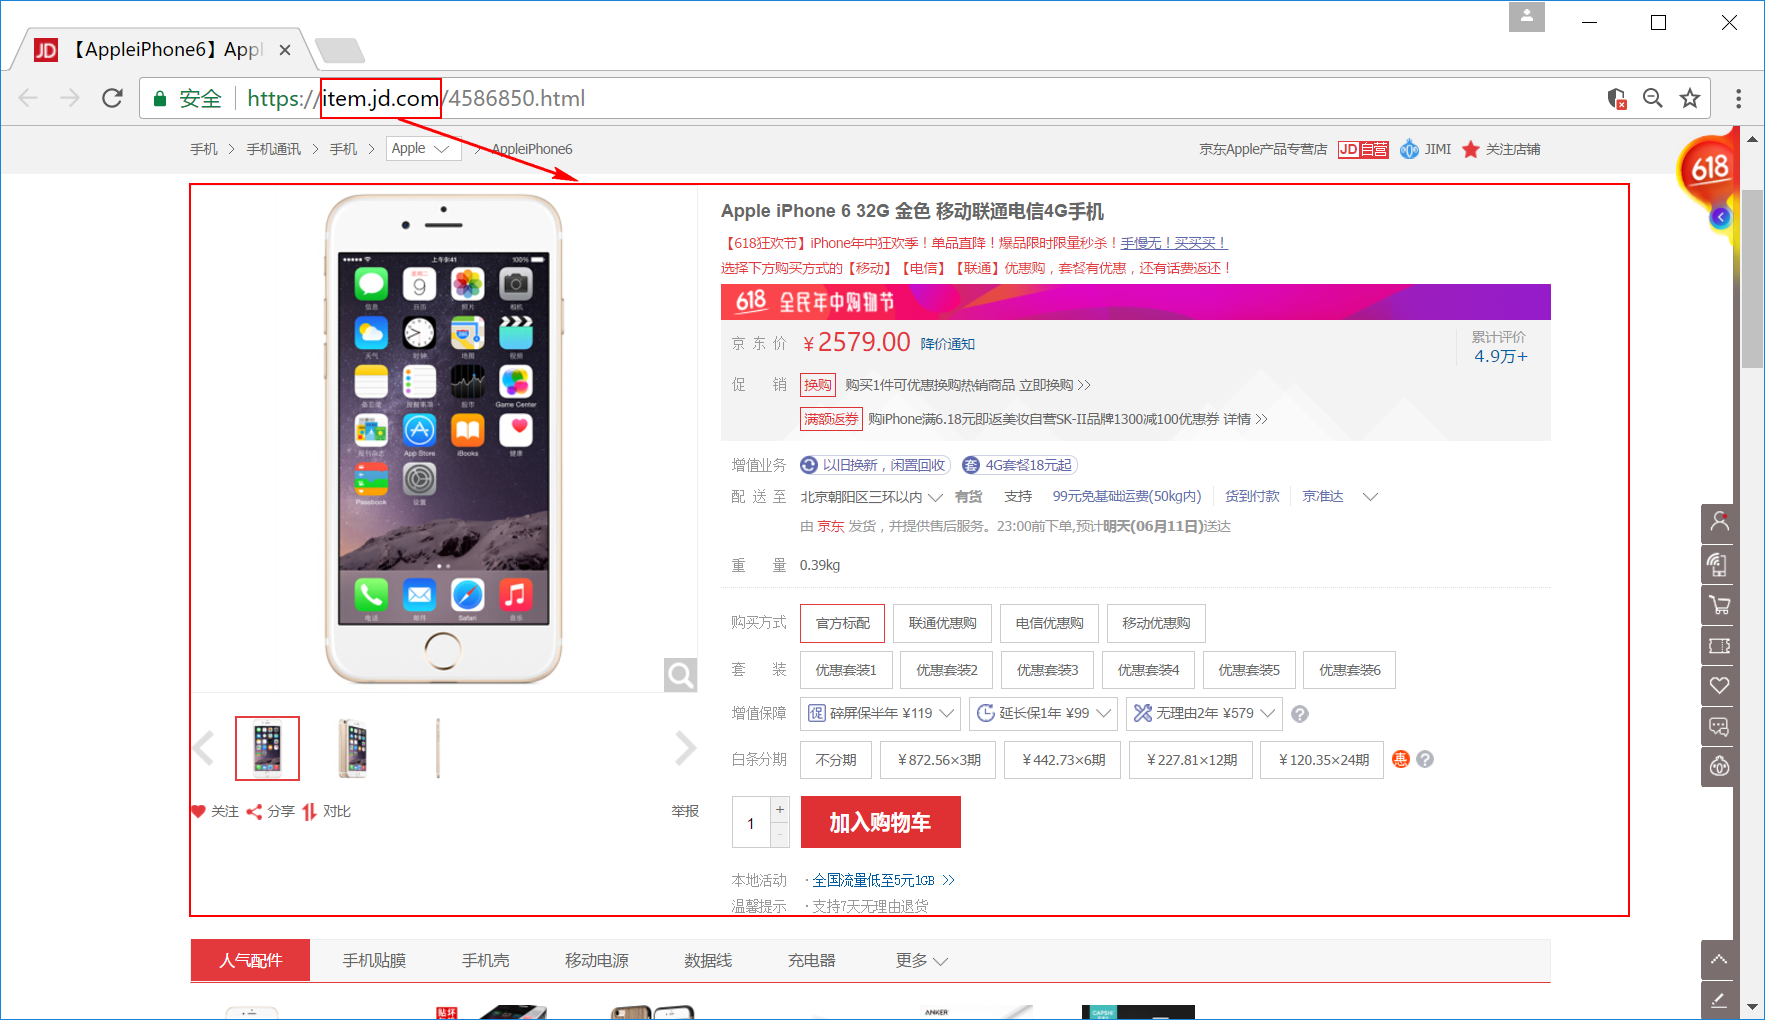
我们同样也需要这么一个展示商品详情的工程,现在我们就新建一个taotao-item-web工程,该工程可参考taotao-search-web工程来搭建哟!
首先点击【File】菜单选项,并在下拉框中选中【New】,接着点击【Other】,如下: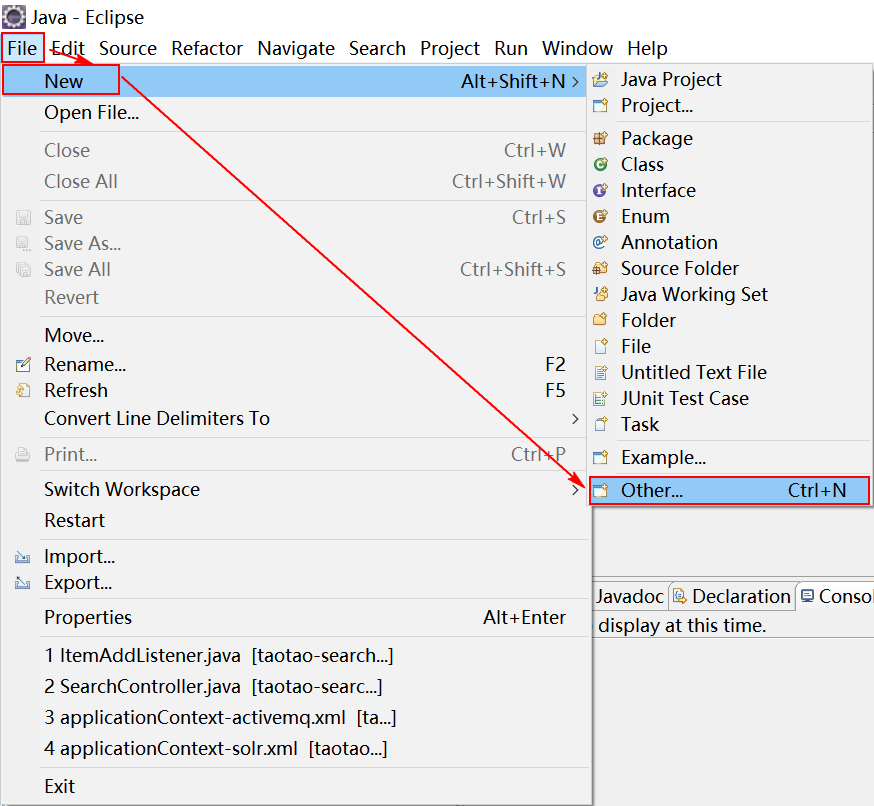
在输入框中输入maven,并选择Maven Project,如下: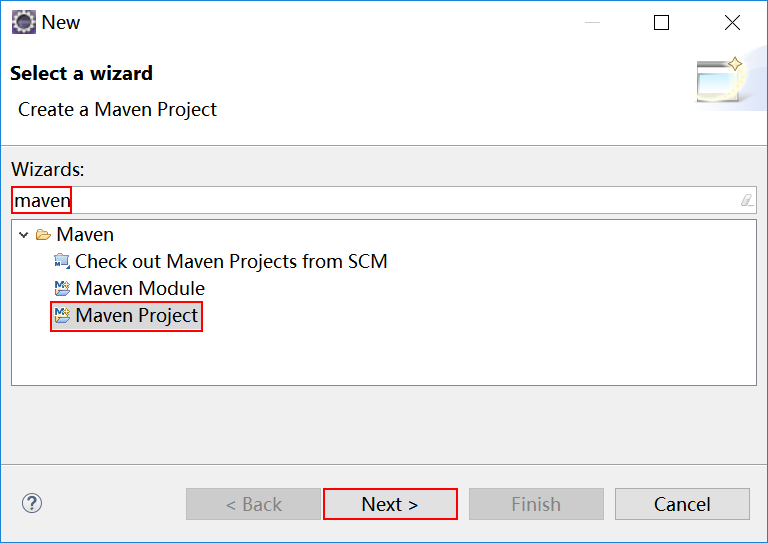
点击【Next】,勾选Create a simple project复选框,如果你不打上这个勾,它会让你选择一个骨架,但骨架里面是没有pom这个模板的。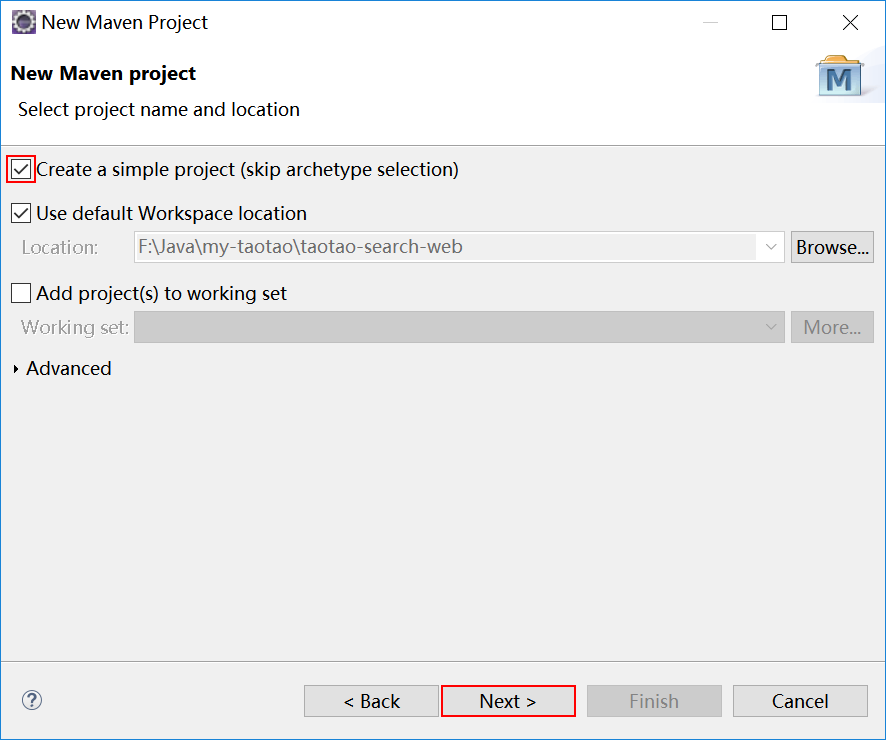
点击【Next】,出现如下对话框,在该对话框中定义maven工程的坐标,如下: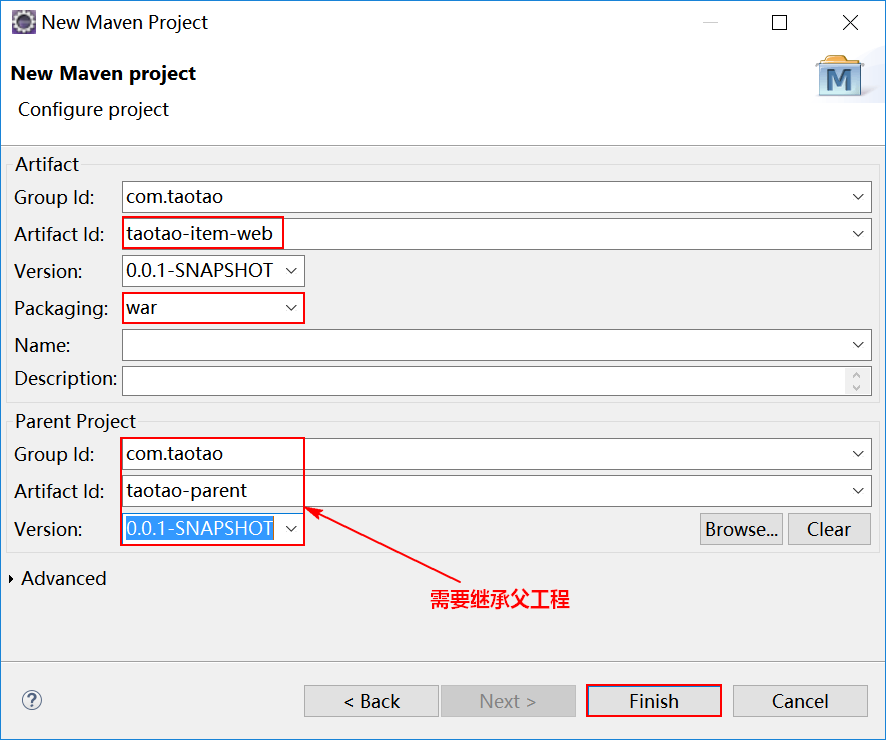
注意:taotao-item-web工程的打包方式是war,且须依赖父工程。
最后点击【Finish】,taotao-item-web工程就创建好了,但是新建的web工程由于缺少web.xml文件而报错,解决方法是在webapp目录下新建一个WEB-INF目录,并在该目录下新建web.xml文件,至于该文件的内容具体是什么,后面会具体给出,这里我们并不着急。
既然taotao-item-web与taotao-search-web都是web工程,我们可以参考taotao-search-web工程进行配置。首先是配置taotao-item-web工程的pom.xml文件,我们把taotao-search-web工程的pom.xml文件的依赖拷贝过来,然后稍作修改,修改后pom.xml文件的内容如下,其中依赖的接口工程由原来的taotao-search-interface修改为taotao-manager-interface,因为商品详情肯定是要查询商品服务的。还有就是最后配置的tomcat启动端口改为8086,因为8080到8085都已经被占用了。
<project xmlns="http://maven.apache.org/POM/4.0.0" xmlns:xsi="http://www.w3.org/2001/XMLSchema-instance"xsi:schemaLocation="http://maven.apache.org/POM/4.0.0 http://maven.apache.org/xsd/maven-4.0.0.xsd"><modelVersion>4.0.0</modelVersion><parent><groupId>com.taotao</groupId><artifactId>taotao-parent</artifactId><version>0.0.1-SNAPSHOT</version></parent><groupId>com.taotao</groupId><artifactId>taotao-item-web</artifactId><version>0.0.1-SNAPSHOT</version><packaging>war</packaging><dependencies><!-- 依赖taotao-common --><dependency><groupId>com.taotao</groupId><artifactId>taotao-common</artifactId><version>0.0.1-SNAPSHOT</version></dependency><!-- 依赖taotao-manager-interface --><dependency><groupId>com.taotao</groupId><artifactId>taotao-manager-interface</artifactId><version>0.0.1-SNAPSHOT</version></dependency><!-- Spring --><dependency><groupId>org.springframework</groupId><artifactId>spring-context</artifactId></dependency><dependency><groupId>org.springframework</groupId><artifactId>spring-beans</artifactId></dependency><dependency><groupId>org.springframework</groupId><artifactId>spring-webmvc</artifactId></dependency><dependency><groupId>org.springframework</groupId><artifactId>spring-jdbc</artifactId></dependency><dependency><groupId>org.springframework</groupId><artifactId>spring-aspects</artifactId></dependency><dependency><groupId>org.springframework</groupId><artifactId>spring-jms</artifactId></dependency><dependency><groupId>org.springframework</groupId><artifactId>spring-context-support</artifactId></dependency><!-- JSP相关 --><dependency><groupId>jstl</groupId><artifactId>jstl</artifactId></dependency><dependency><groupId>javax.servlet</groupId><artifactId>servlet-api</artifactId><scope>provided</scope></dependency><dependency><groupId>javax.servlet</groupId><artifactId>jsp-api</artifactId><scope>provided</scope></dependency><!-- dubbo相关 --><dependency><groupId>com.alibaba</groupId><artifactId>dubbo</artifactId><!-- 排除依赖 --><exclusions><exclusion><groupId>org.springframework</groupId><artifactId>spring</artifactId></exclusion><exclusion><groupId>org.jboss.netty</groupId><artifactId>netty</artifactId></exclusion></exclusions></dependency><!-- zookeeper的客户端,你要连接zookeeper,需要把以下两个jar包加进来 --><dependency><groupId>org.apache.zookeeper</groupId><artifactId>zookeeper</artifactId></dependency><dependency><groupId>com.github.sgroschupf</groupId><artifactId>zkclient</artifactId></dependency><dependency><groupId>junit</groupId><artifactId>junit</artifactId></dependency></dependencies><!-- 配置tomcat插件 --><build><plugins><plugin><groupId>org.apache.tomcat.maven</groupId><artifactId>tomcat7-maven-plugin</artifactId><configuration><port>8086</port><path>/</path></configuration></plugin></plugins></build></project>
紧接着来配置资源文件,我们把taotao-search-web工程的src/main/resources目录下的resource和spring目录拷贝到taotao-item-web工程的src/main/resources目录下,其中resource目录下的resource.properties文件内容删光,以备以后使用该文件,如下图所示。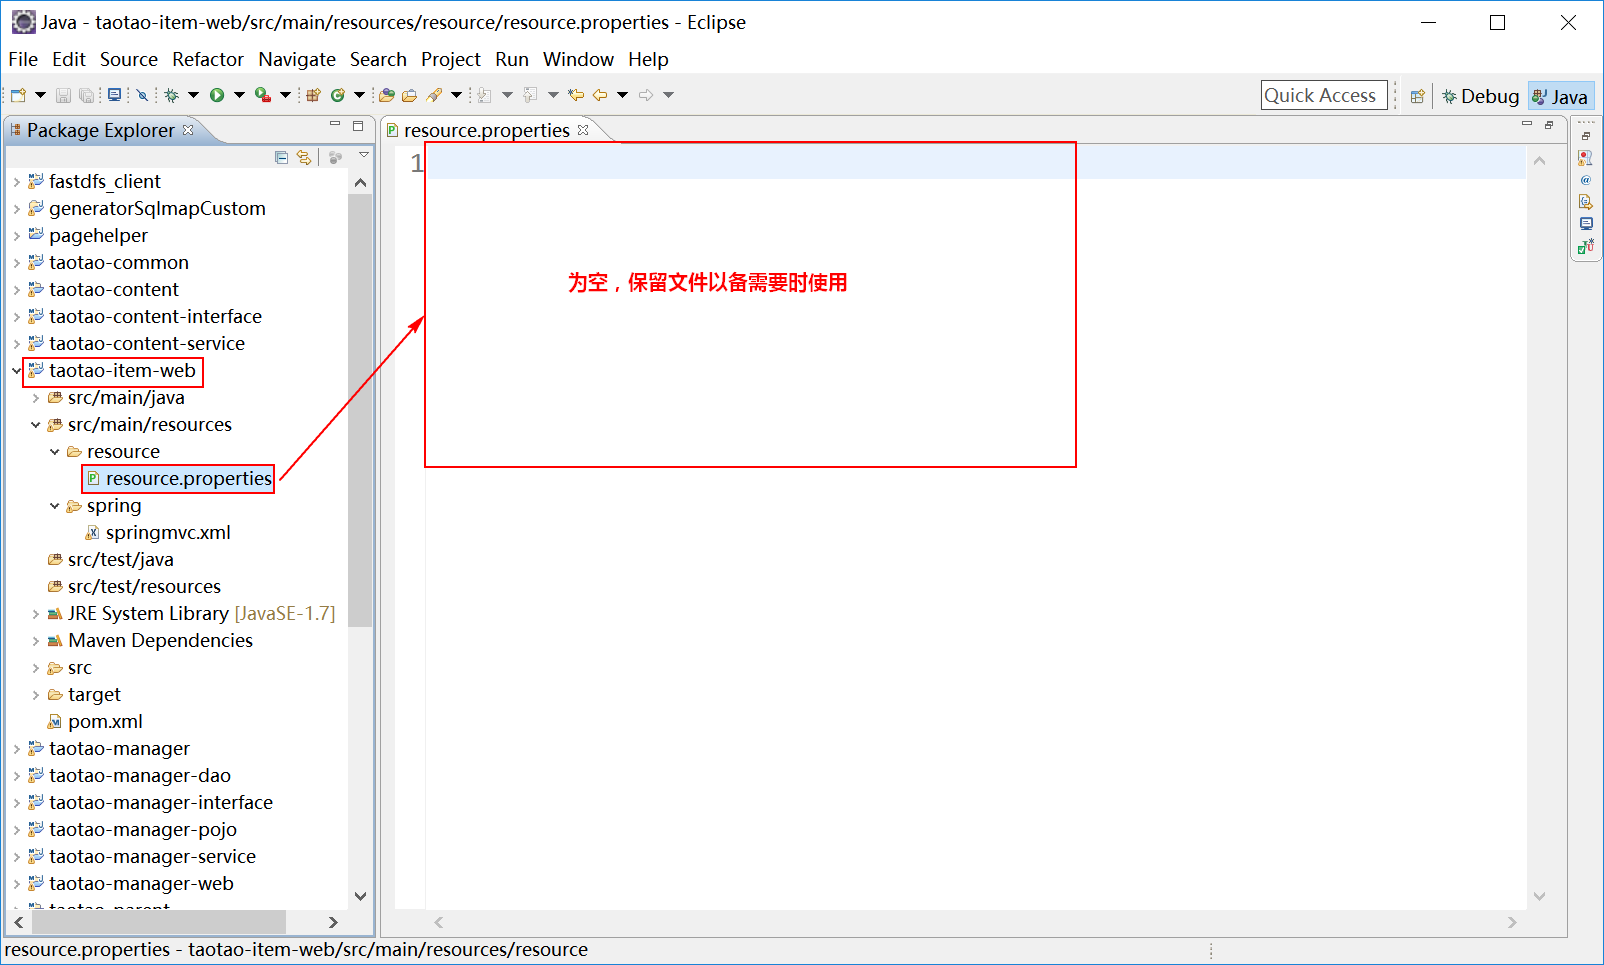
下面打开spring目录下的springmvc.xml,修改下要扫描的包,修改为com.taotao.item.controller(这个包我们要在taotao-item-web工程中新建),引用的dubbo服务名称要改为”taotao-item-web”,如下图所示。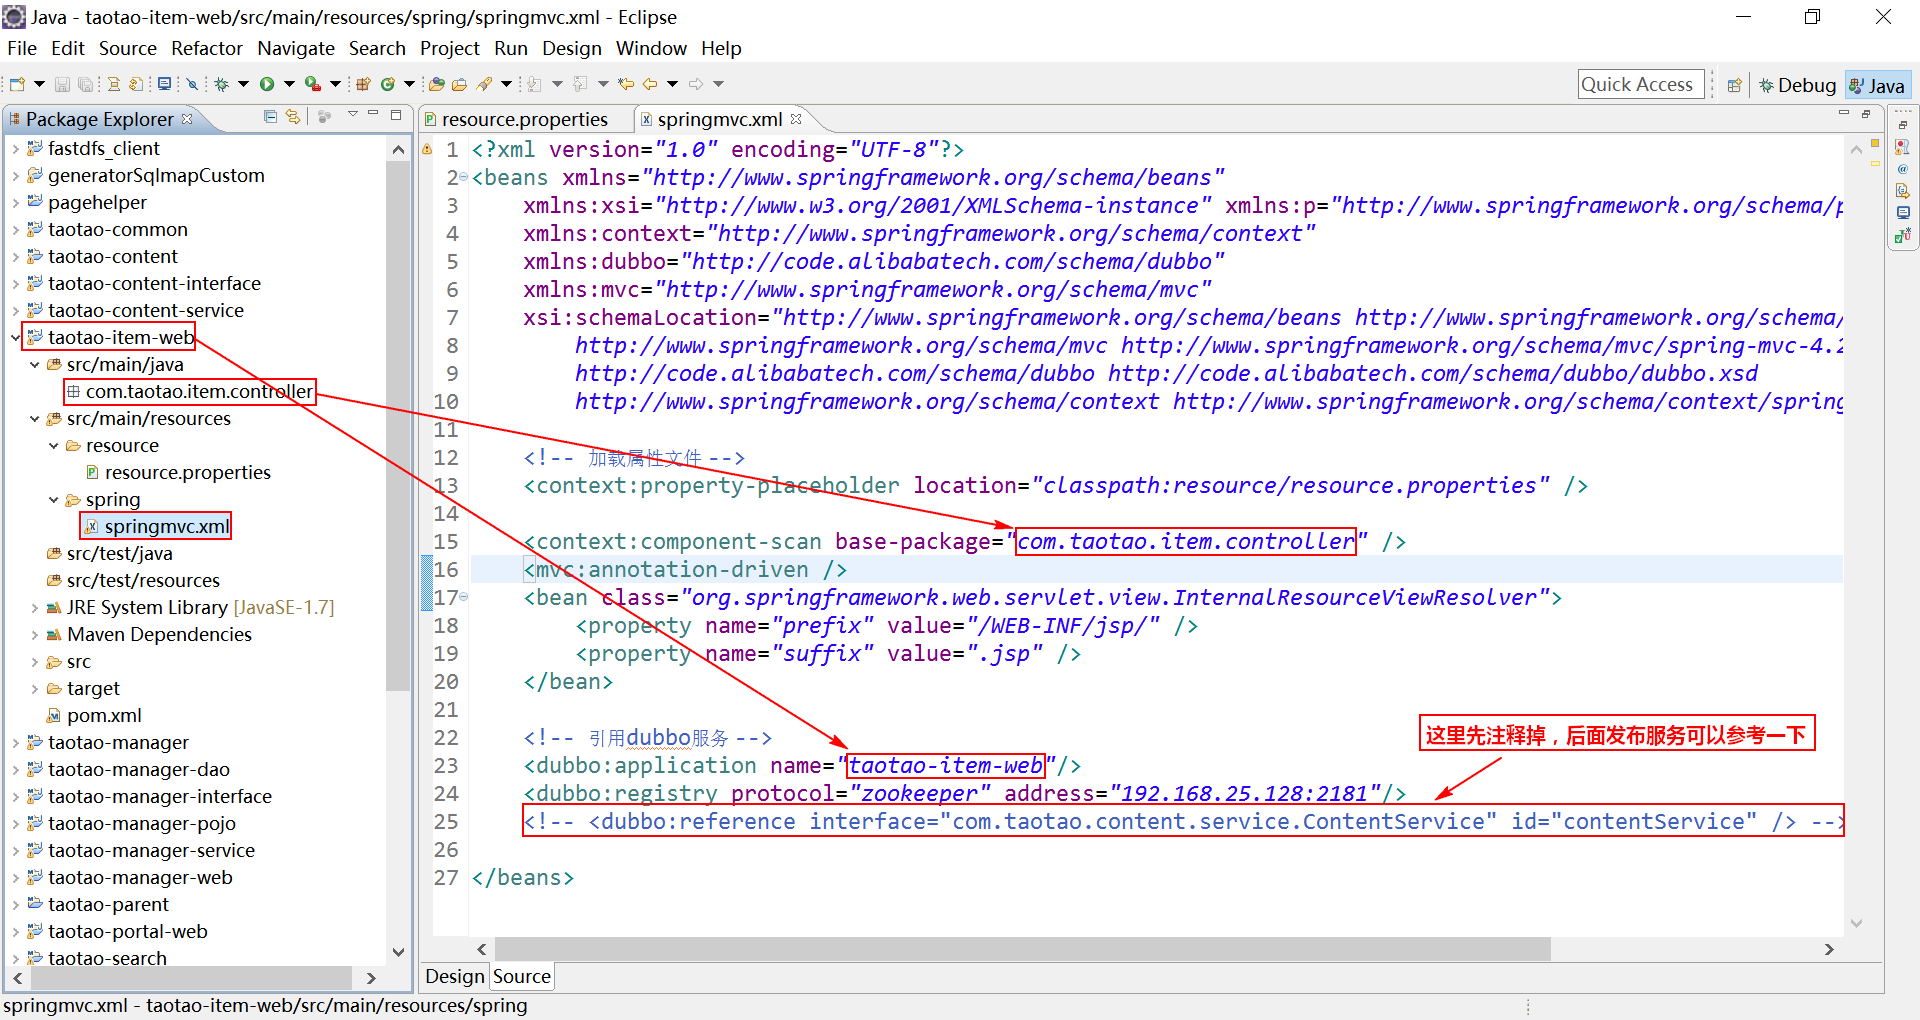
为了大家方便复制,现将springmvc.xml文件的内容贴出。
<?xml version="1.0" encoding="UTF-8"?><beans xmlns="http://www.springframework.org/schema/beans"xmlns:xsi="http://www.w3.org/2001/XMLSchema-instance" xmlns:p="http://www.springframework.org/schema/p"xmlns:context="http://www.springframework.org/schema/context"xmlns:dubbo="http://code.alibabatech.com/schema/dubbo"xmlns:mvc="http://www.springframework.org/schema/mvc"xsi:schemaLocation="http://www.springframework.org/schema/beans http://www.springframework.org/schema/beans/spring-beans-4.2.xsdhttp://www.springframework.org/schema/mvc http://www.springframework.org/schema/mvc/spring-mvc-4.2.xsdhttp://code.alibabatech.com/schema/dubbo http://code.alibabatech.com/schema/dubbo/dubbo.xsdhttp://www.springframework.org/schema/context http://www.springframework.org/schema/context/spring-context-4.2.xsd"><!-- 加载属性文件 --><context:property-placeholder location="classpath:resource/resource.properties" /><context:component-scan base-package="com.taotao.item.controller" /><mvc:annotation-driven /><bean class="org.springframework.web.servlet.view.InternalResourceViewResolver"><property name="prefix" value="/WEB-INF/jsp/" /><property name="suffix" value=".jsp" /></bean><!-- 引用dubbo服务 --><dubbo:application name="taotao-item-web"/><dubbo:registry protocol="zookeeper" address="192.168.25.128:2181"/><!-- <dubbo:reference interface="com.taotao.content.service.ContentService" id="contentService" /> --></beans>
下面我们需要把taotao-search-web工程的web.xml拷贝到taotao-item-web工程下(当然,我们需要先建一个WEB-INF目录),拷贝过来后需要修改的地方如下图所示。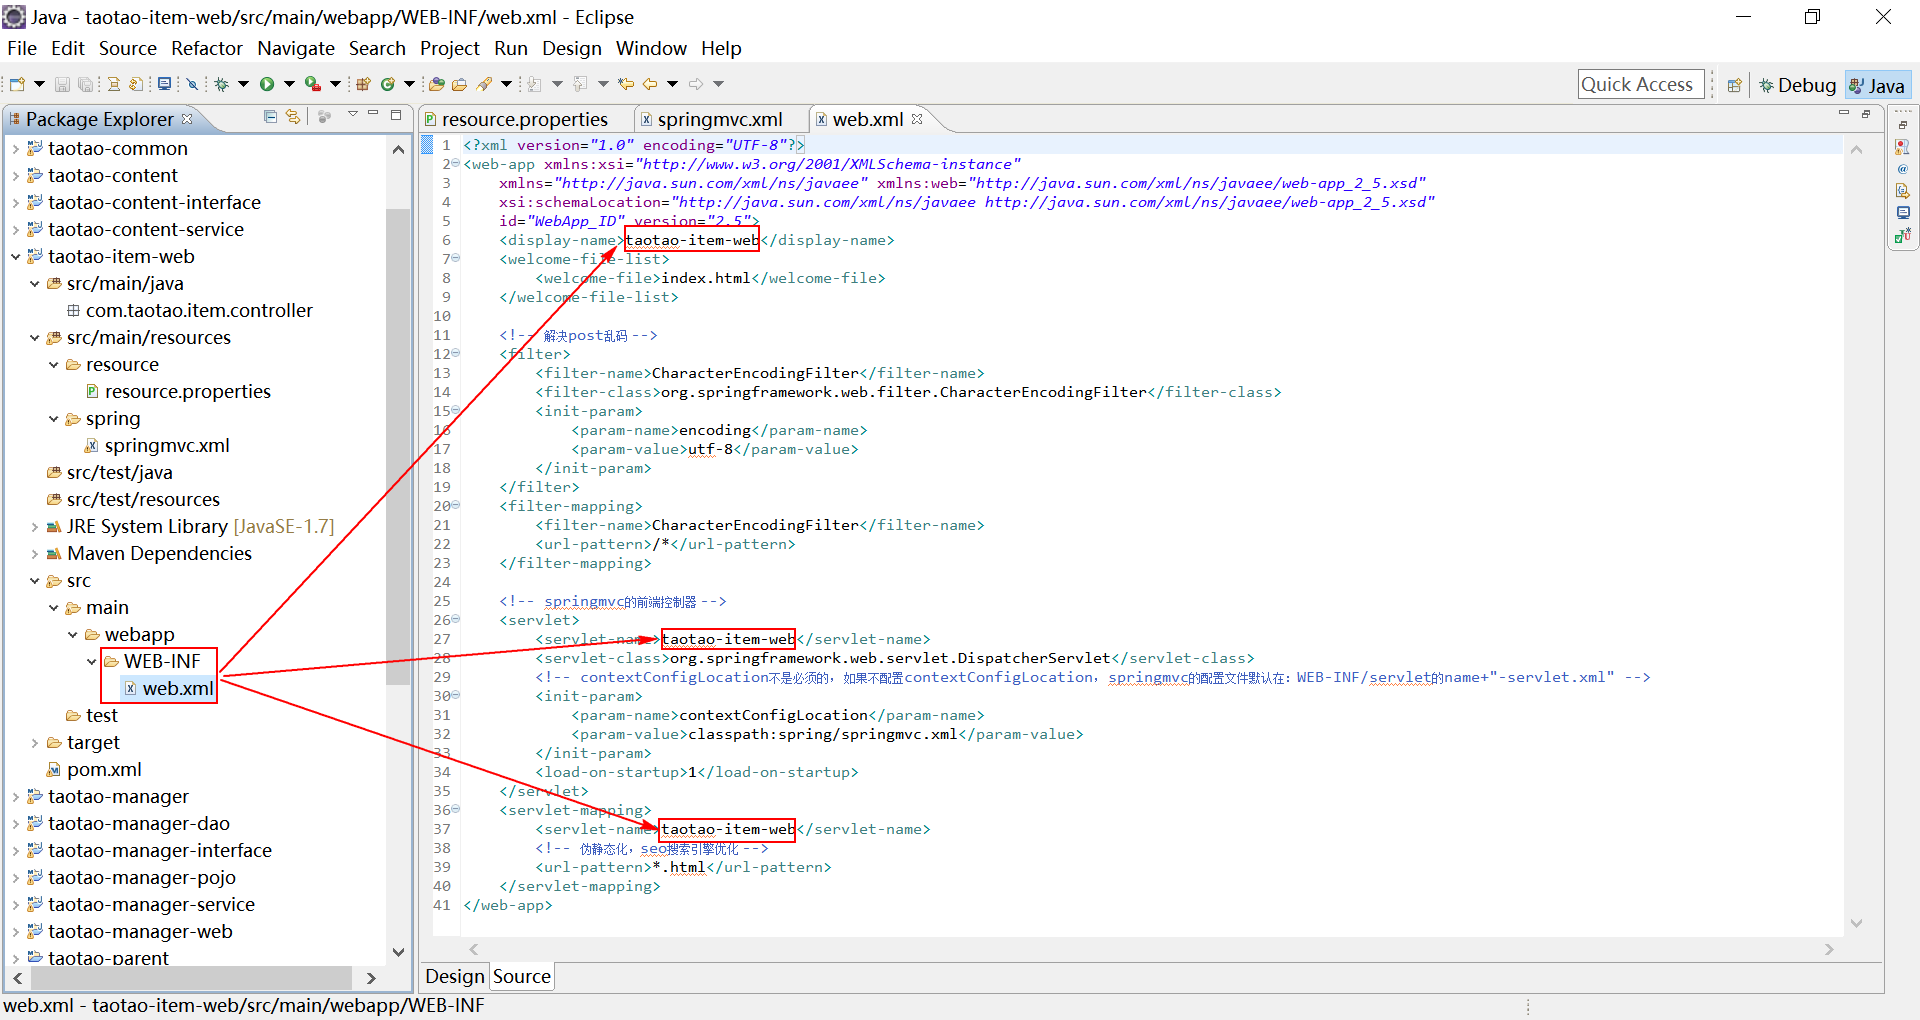
同样为了大家方便复制,现将web.xml文件的内容贴出。
<?xml version="1.0" encoding="UTF-8"?><web-app xmlns:xsi="http://www.w3.org/2001/XMLSchema-instance"xmlns="http://java.sun.com/xml/ns/javaee" xmlns:web="http://java.sun.com/xml/ns/javaee/web-app_2_5.xsd"xsi:schemaLocation="http://java.sun.com/xml/ns/javaee http://java.sun.com/xml/ns/javaee/web-app_2_5.xsd"id="WebApp_ID" version="2.5"><display-name>taotao-item-web</display-name><welcome-file-list><welcome-file>index.html</welcome-file></welcome-file-list><!-- 解决post乱码 --><filter><filter-name>CharacterEncodingFilter</filter-name><filter-class>org.springframework.web.filter.CharacterEncodingFilter</filter-class><init-param><param-name>encoding</param-name><param-value>utf-8</param-value></init-param></filter><filter-mapping><filter-name>CharacterEncodingFilter</filter-name><url-pattern>/*</url-pattern></filter-mapping><!-- springmvc的前端控制器 --><servlet><servlet-name>taotao-item-web</servlet-name><servlet-class>org.springframework.web.servlet.DispatcherServlet</servlet-class><!-- contextConfigLocation不是必须的, 如果不配置contextConfigLocation, springmvc的配置文件默认在:WEB-INF/servlet的name+"-servlet.xml" --><init-param><param-name>contextConfigLocation</param-name><param-value>classpath:spring/springmvc.xml</param-value></init-param><load-on-startup>1</load-on-startup></servlet><servlet-mapping><servlet-name>taotao-item-web</servlet-name><!-- 伪静态化,seo搜索引擎优化 --><url-pattern>*.html</url-pattern></servlet-mapping></web-app>
接着我们把下图所示的商品详情静态页面放到商品详情展示工程当中。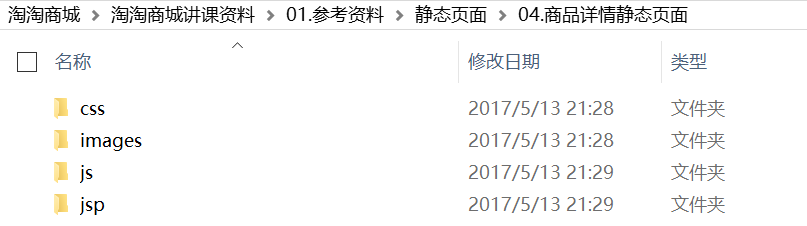
记得将css、js、images放到webapp目录下,将jsp目录放到WEB-INF目录下,如下图所示。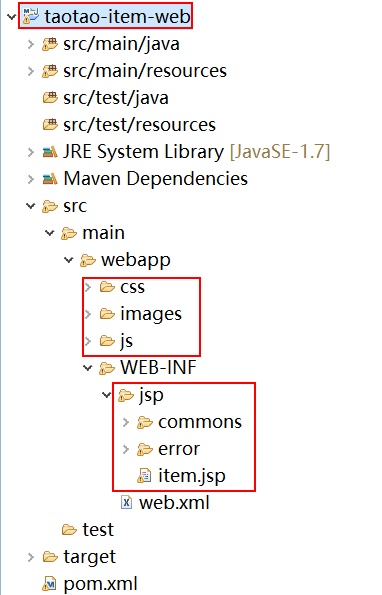
下面我们依次启动taotao-manager、taotao-content、taotao-search、taotao-portal-web、taotao-search-web这5个工程,前提是要保证zookeeper、Redis(我这里用的是单机版)、image、Solr(我这里用的是集群版)、ActiveMQ服务都开启。启动好之后,我们访问淘淘商城首页,搜索我们上文所添加的锤子手机,然后点击它进入详情页面,会发现如下图所示的错误,这是由于访问的工程不正确造成的。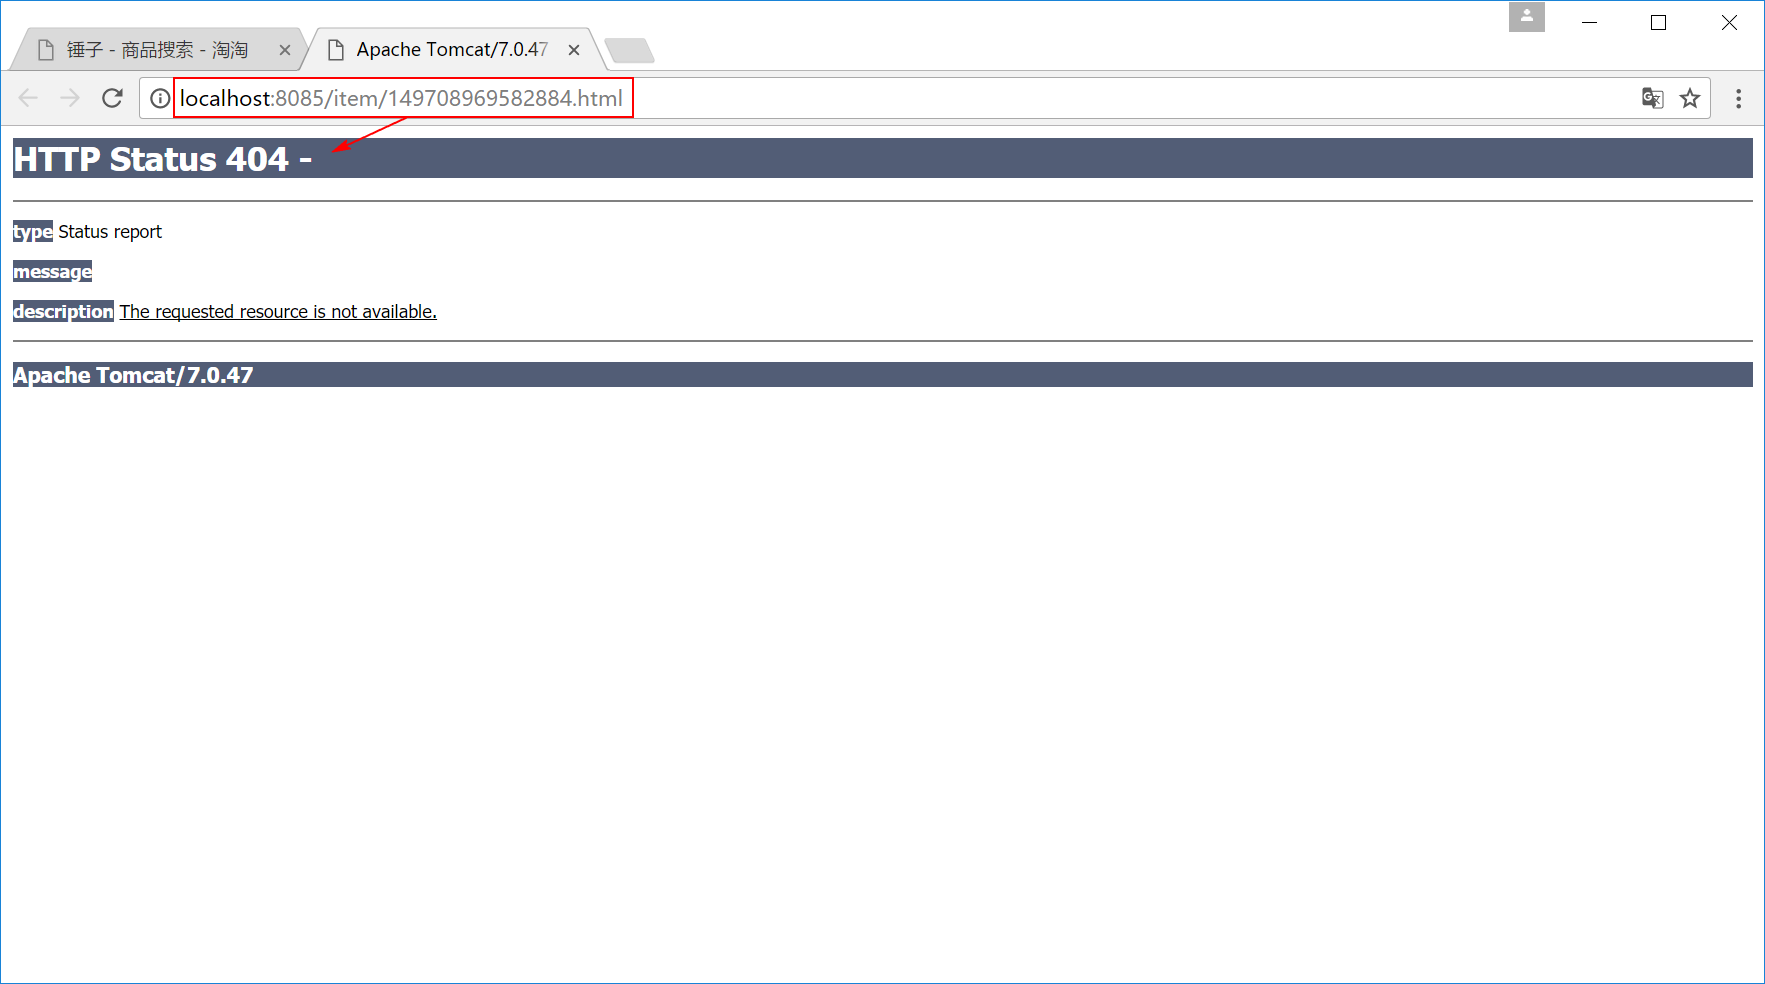
我们找到taotao-search-web工程下的search.jsp页面,在下图标示的地方将原来的相对路径改为绝对路径,就是在前面加上http://localhost:8086,如下图所示。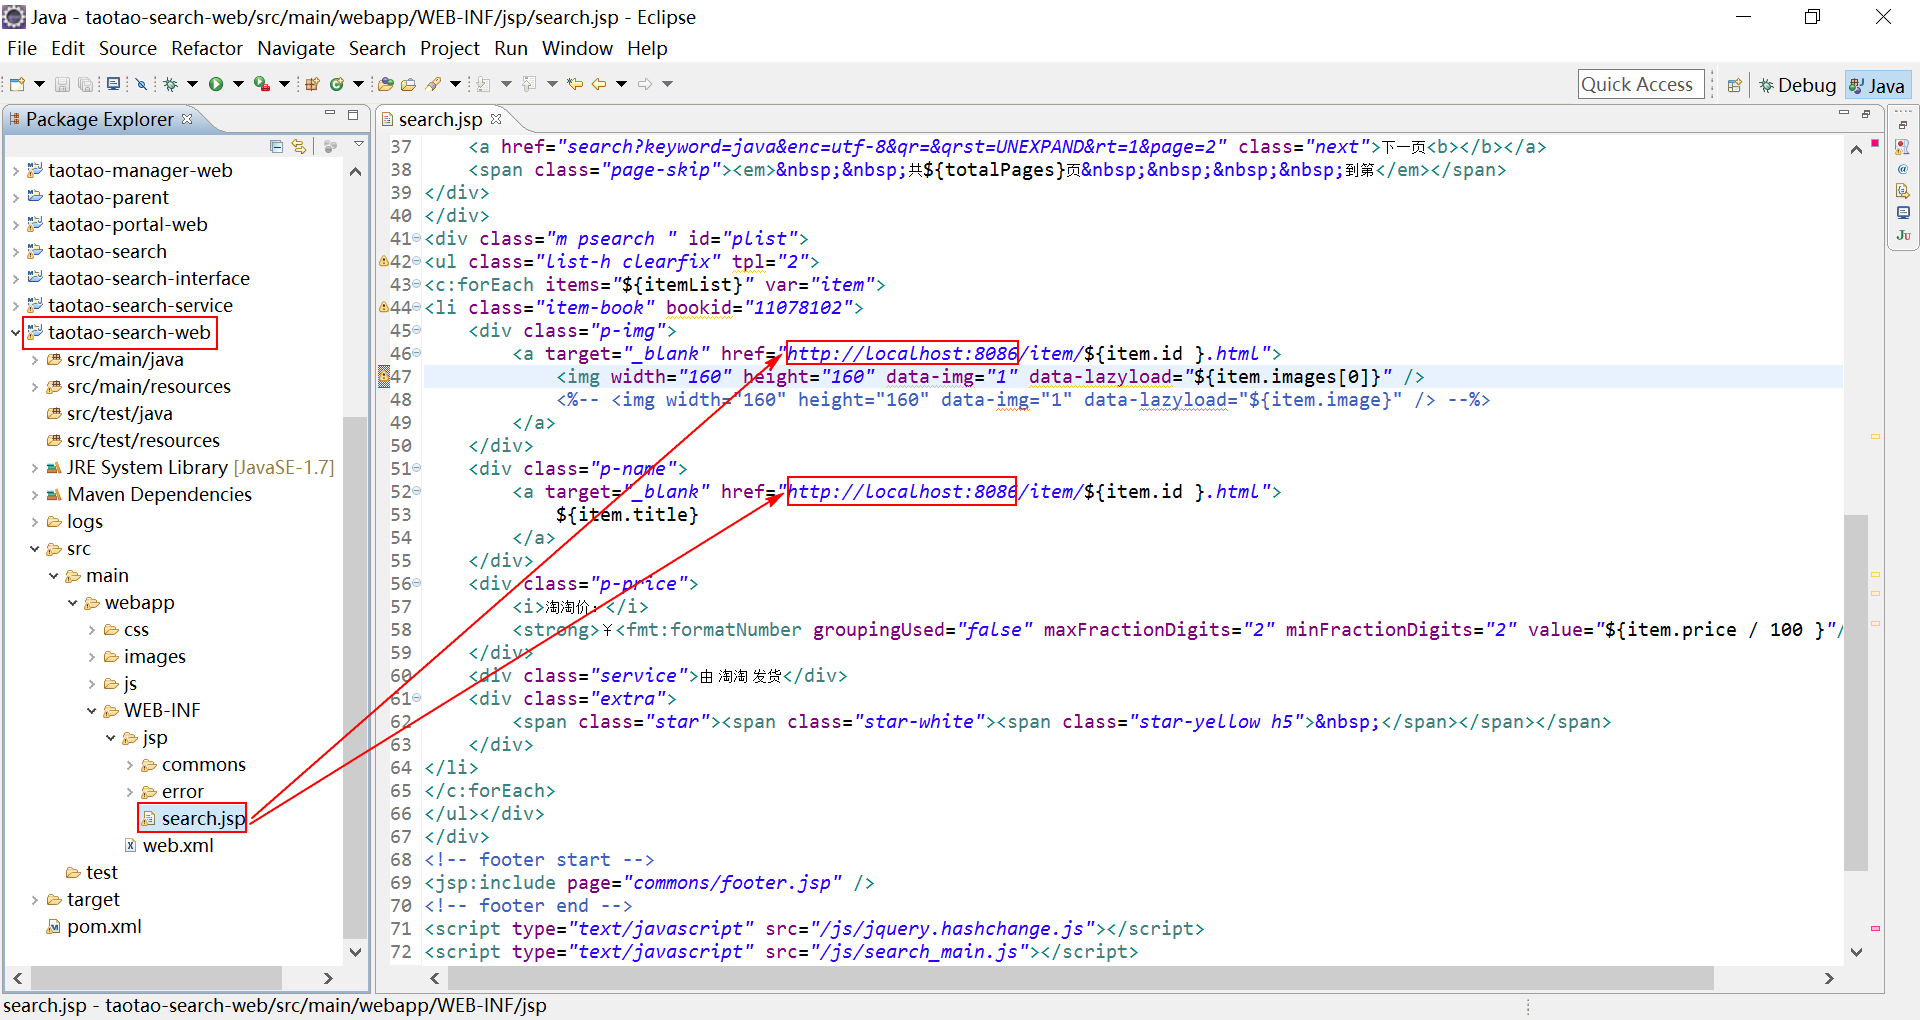
修改完后保存,刷新搜索工程页面,然后再点击手机进入详情页面,可以看到端口号已经变为8086了。只是由于商品详情工程还没有开发完也没有启动,因此现在还无法访问。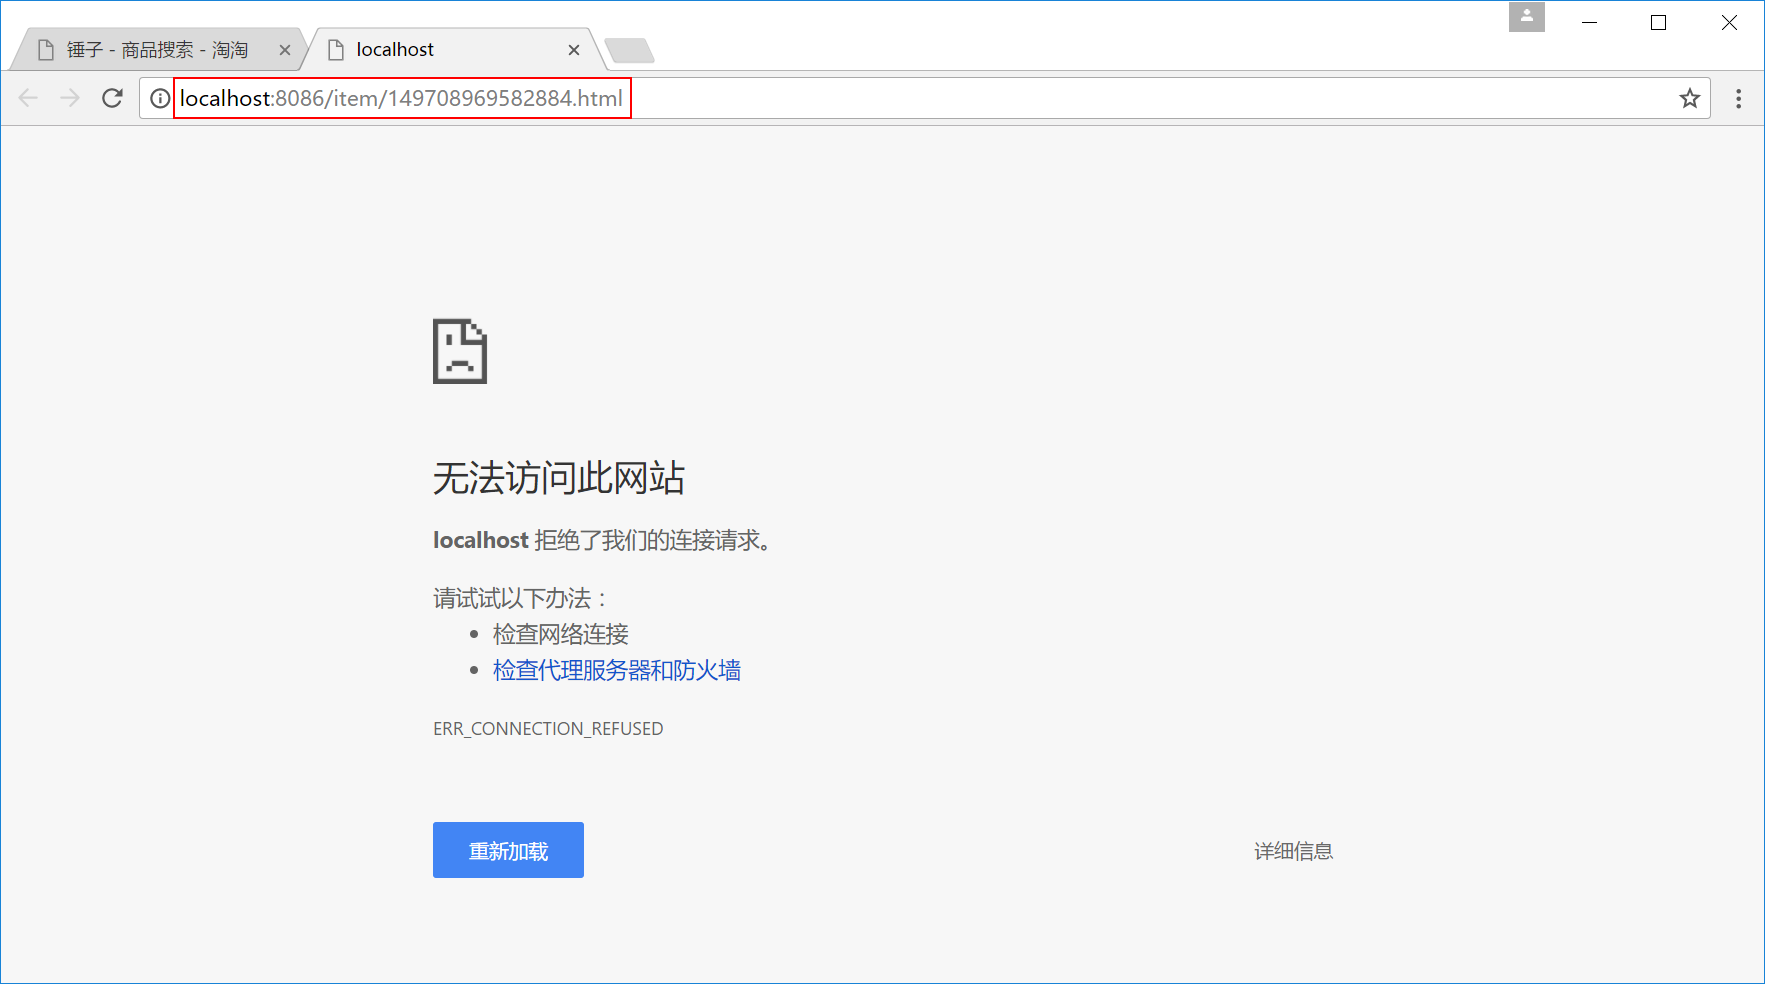
这样,商品详情展示工程我们便搭建好了。


还没有评论,来说两句吧...