docker搭建本地仓库:harbor
文章目录
- 1,离线安装 harbor
- 启用ssl (安装前准备:证书文件)
- 2,配置docker 仓库地址,登录harbor
- 3,pull/push 镜像
1,离线安装 harbor
| 依赖的服务 | 版本 |
|---|---|
| docker | 17.06.0-ce+ |
| docker-compose | 1.18.0 |
| openssl | Latest |
| 离线安装包 | harbor-offline-installer-v1.7.0.tgz |
- doc: https://goharbor.io/docs/2.3.0/install-config/
github安装包镜像下载: https://github.com/goharbor/harbor/tags
解压后的目录
[root@c72 harbor]# ls
common docker-compose.clair.yml docker-compose.yml harbor.v1.7.0.tar.gz LICENSE prepare
docker-compose.chartmuseum.yml docker-compose.notary.yml harbor.cfg install.sh open_source_license修改hostname( 为harbor主机名)
[root@c72 harbor]# grep harbor.io /etc/hosts
192.168.56.72 c72 harbor.io
[root@c72 harbor]# grep ‘hostname =’ harbor.cfg
hostname = harbor.io安装: 下载镜像, docker-compose启动所有依赖服务 (先准备好docker, docker-compose环境)
./prepare
./install.sh验证
[root@c72 harbor]# docker-compose ps
Name Command State Ports
harbor-adminserver /harbor/start.sh Up (healthy)
harbor-core /harbor/start.sh Up (healthy)
harbor-db /entrypoint.sh postgres Up (healthy) 5432/tcp
harbor-jobservice /harbor/start.sh Up
harbor-log /bin/sh -c /usr/local/bin/ … Up (healthy) 127.0.0.1:1514->10514/tcp
harbor-portal nginx -g daemon off; Up (healthy) 80/tcp
nginx nginx -g daemon off; Up (healthy) 0.0.0.0:443->443/tcp, 0.0.0.0:4443->4443/tcp, 0.0.0.0:80->80/tcp
redis docker-entrypoint.sh redis … Up 6379/tcp
registry /entrypoint.sh /etc/regist … Up (healthy) 5000/tcp
registryctl /harbor/start.sh Up (healthy)
访问80 ui端口: admin/Harbor12345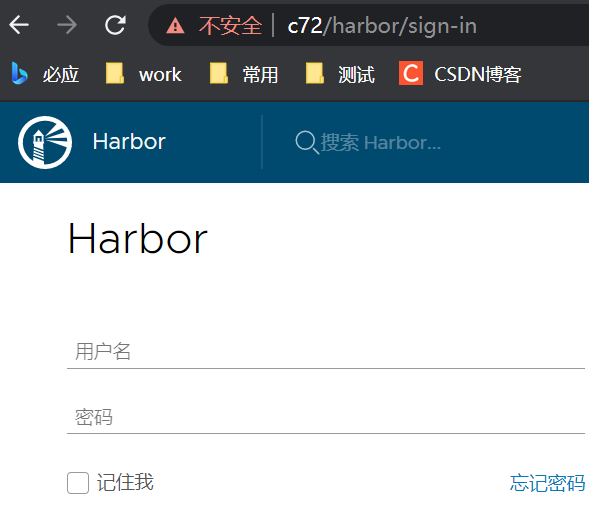
启用ssl (安装前准备:证书文件)
https://goharbor.io/docs/2.3.0/install-config/configure-https/
#1,Generate a CA certificate private key.openssl genrsa -out ca.key 4096#2,Generate the CA certificate.openssl req -x509 -new -nodes -sha512 -days 3650 \-subj "/C=CN/ST=Beijing/L=Beijing/O=example/OU=Personal/CN=yourdomain.com" \-key ca.key \-out ca.crt#3,Generate a Server Certificateopenssl genrsa -out yourdomain.com.key 4096#Generate a certificate signing request (CSR).openssl req -sha512 -new \-subj "/C=CN/ST=Beijing/L=Beijing/O=example/OU=Personal/CN=yourdomain.com" \-key yourdomain.com.key \-out yourdomain.com.csr#Generate an x509 v3 extension file.cat > v3.ext <<-EOF authorityKeyIdentifier=keyid,issuer basicConstraints=CA:FALSE keyUsage = digitalSignature, nonRepudiation, keyEncipherment, dataEncipherment extendedKeyUsage = serverAuth subjectAltName = @alt_names [alt_names] DNS.1=yourdomain.com DNS.2=yourdomain DNS.3=hostname EOF#4,generate a certificate for your Harbor hostopenssl x509 -req -sha512 -days 3650 \-extfile v3.ext \-CA ca.crt -CAkey ca.key -CAcreateserial \-in yourdomain.com.csr \-out yourdomain.com.crt#5,Copy the server certificate and keymkdir -p /data/certcp yourdomain.com.crt /data/cert/cp yourdomain.com.key /data/cert/#[root@c72 harbor]# grep /data/cert harbor.cfg#ssl_cert = /data/cert/server.crt#ssl_cert_key = /data/cert/server.key#6, 使得docker信任证书:The Docker daemon interprets .crt files as CA certificates and .cert files as client certificates.#证书存放路径:/etc/docker/certs.d/[yourdomain.com, yourdomain.com:port, harbor_IP:port]openssl x509 -inform PEM -in yourdomain.com.crt -out yourdomain.com.certcp yourdomain.com.cert /etc/docker/certs.d/yourdomain.com/cp yourdomain.com.key /etc/docker/certs.d/yourdomain.com/cp ca.crt /etc/docker/certs.d/yourdomain.com/[root@c72 crts]# lsca.crt ca.key ca.srl v3.ext yourdomain.com.cert yourdomain.com.crt yourdomain.com.csr yourdomain.com.key[root@c72 crts]# ls /etc/docker/certs.d/harbor.io/ca.crt secretkey yourdomain.com.cert yourdomain.com.key#7,重启docker服务#8,主机信任证书cp yourdomain.com.crt /etc/pki/ca-trust/source/anchors/yourdomain.com.crtupdate-ca-trust
2,配置docker 仓库地址,登录harbor
[root@c72 harbor]# cat /etc/docker/daemon.json{"insecure-registries":["harbor.io"],"registry-mirrors": ["https://harbor.io"],"data-root":"/export/lib/docker/"}[root@c72 harbor]# cat /etc/hosts |grep harbor192.168.56.72 c72 harbor.io[root@c72 harbor]# docker login harbor.io -u admin -p Harbor12345WARNING! Using --password via the CLI is insecure. Use --password-stdin.WARNING! Your password will be stored unencrypted in /root/.docker/config.json.Configure a credential helper to remove this warning. Seehttps://docs.docker.com/engine/reference/commandline/login/#credentials-storeLogin Succeeded#登录成功后生成的密码文件[root@c72 harbor]# cat ~/.docker/config.json{"auths": {"harbor.io": {"auth": "YWRtaW46SGFyYm9yMTIzNDU="}},"HttpHeaders": {"User-Agent": "Docker-Client/18.09.6 (linux)"}}[root@c72 harbor]#
3,pull/push 镜像
登录harbor ui 创建一个测试项目:vmware
[root@c72 harbor]# docker images |grep ^vmware/ |head -2vmware/harbor-jobservice v1.1.2 ac332f9bd31c 4 years ago 163MBvmware/harbor-ui v1.1.2 803897be484a 4 years ago 183MB[root@c72 harbor]# docker images |grep ^vmware/ |head -2 |awk '{print $1":"$2}' |awk ' {print "docker tag", $0, "harbor.io/"$0}'docker tag vmware/harbor-jobservice:v1.1.2 harbor.io/vmware/harbor-jobservice:v1.1.2docker tag vmware/harbor-ui:v1.1.2 harbor.io/vmware/harbor-ui:v1.1.2[root@c72 harbor]# docker images |grep ^harbor.io/vmware/ |head -2 |awk '{print "docker push "$1":"$2}'docker push harbor.io/vmware/harbor-jobservice:v1.1.2docker push harbor.io/vmware/harbor-ui:v1.1.2


——界面美化")


还没有评论,来说两句吧...