springcloud 入门系列(一) 高可用注册中心-eureka
最近公司小组内部做springcloud主题分享,后续这边会同步更新springcloud 系列分享,这个系列的主旨是带大家入门springcloud,当然会穿插一些自己踩的坑做单独讲解。本系列主题默认大家已经熟知springboot.下面简单介绍下什么是springcloud:“Spring Cloud为开发人员提供了快速构建分布式系统中一些常见模式的工具(例如配置管理,服务发现,断路器,智能路由,微代理,控制总线,一次性令牌,全局锁,领导选举,分布式会话,集群状态)。分布式系统的协调导致了样板模式, 使用Spring Cloud开发人员可以快速地支持实现这些模式的服务和应用程序。他们将在任何分布式环境中运行良好,包括开发人员自己的笔记本电脑,裸机数据中心,以及Cloud Foundry等托管平台”
以上其实是 spring 官方文档的中文翻译,说白了就是一个分布式开发框架,他能够组装我们所需要的常见分布式服务组件功能,比如服务自动发现,服务注册,服务调用,服务的负载,路由,熔断等等。
本节主要讲springcloud的服务自动注册于发现组件实现:springcoud eureka,这里再简单说明下为什么需要注册中心,其实没有注册中心,我们依然可以搭建分布式服务,我们可以把服务列表做成配置形式,或者直接存储db一样可以实现,如果服务比较少靠这种方式进行维护服务列表还算勉强接受,但是想想下如果有几千个应用并且每个服务都有至少有3个节点,可以想象下运维同事的肯定会崩溃,服务的上线和下线也成了致命的问题,可能会导致这个服务崩溃,所以这里服务的自动注册于发现的需求就是必然了,他屏蔽了应用对服务的发现与注册的底层实现,只关心自身需要调用什么服务即可。下面我们开始搭建注册中心,交代下springboot 的版本以及springboot 版本:springcloud(Greenwich.SR1),springboot (2.1.3.RELEASE). 笔者发现各个版本之间的差异还是很大的(比如个版本之间的配置差异),因此踩的坑也是不少,希望大家注意,不要因此引发血案。这里搭建借助于intel ideal ,如图:

这个相信大部分同学比较熟悉了,这里不再累述。这里直接贴出pom文件依赖:
<parent><groupId>org.springframework.boot</groupId><artifactId>spring-boot-starter-parent</artifactId><version>2.1.3.RELEASE</version><relativePath/> <!-- lookup parent from repository --></parent><groupId>com.ethan.springcloud</groupId><artifactId>eureka-server</artifactId><version>0.0.1-SNAPSHOT</version><name>eureka-server</name><description>Demo project for Spring Boot</description><properties><java.version>1.8</java.version><spring-cloud.version>Greenwich.SR1</spring-cloud.version></properties><dependencies><dependency><groupId>org.springframework.boot</groupId><artifactId>spring-boot-starter-web</artifactId></dependency><dependency><groupId>org.springframework.cloud</groupId><artifactId>spring-cloud-starter-netflix-eureka-server</artifactId></dependency>
引导类:
@EnableEurekaServer@SpringBootApplicationpublic class EurekaServerApplication {public static void main(String[] args) {SpringApplication.run(EurekaServerApplication.class, args);}}
使用 @EnableEurekaServer 注解开启 eureka Server 服务功能。
配置文件,application.properties:
spring.application.name=eurekaServerserver.port=8070eureka.instance.appname=eurekaServer# 禁止自己注册为eureka 服务eureka.client.register-with-eureka=false## 检索服务eureka.client.fetch-registry=false
默认情况下,该服务注册中心也会将自己作为客户端来尝试注册它自己,所以我们需要禁用它的客户端注册行为,配置文件中已经有注释。
我们启动应用之后,访问http://localhost:8070/查看界面:
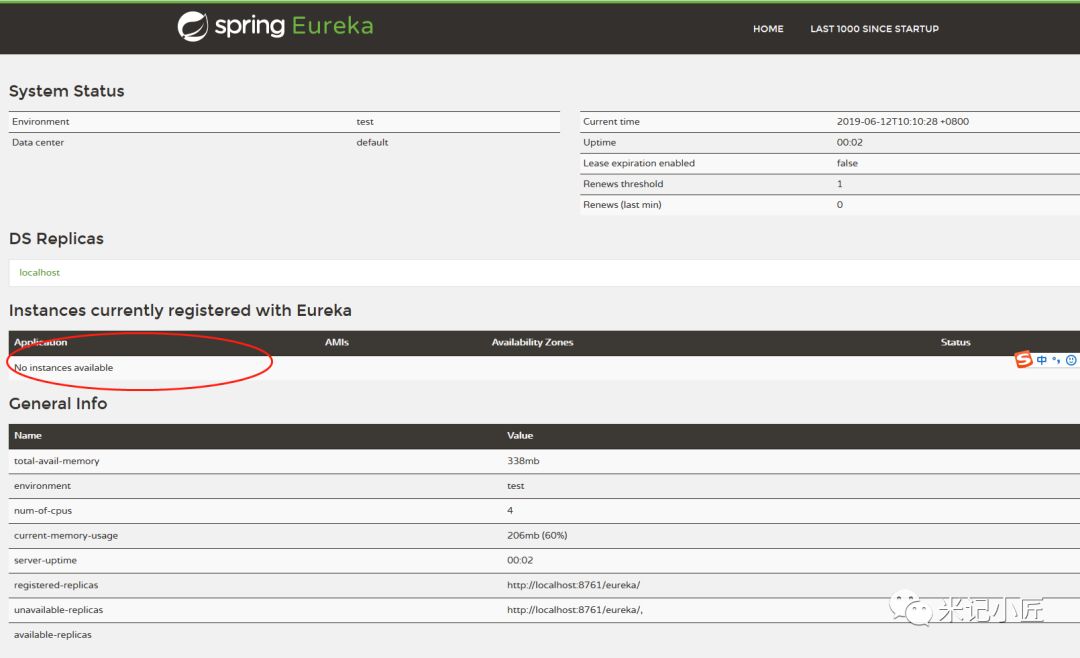
可以看到注册中心启动成功,并且当前还没有服务进行注册,至此但单节点的注册中心启动成功。
那么如何搭建高可用注册中心呢,很简单,我们把eurekaServer 自己也注册成服务,并且注册到其他的注册中心即可。我们复制一份刚才的配置文件进行修改:
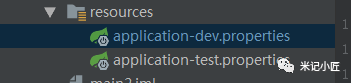
application-dev.properties:
spring.application.name=eurekaServerserver.port=8070#eureka.instance.hostname=node1eureka.instance.appname=eurekaServer# 禁止自己注册为eureka 服务eureka.client.register-with-eureka=true## 检索服务eureka.client.fetch-registry=trueeureka.client.service-url.defaultZone=http://localhost:8080/eureka
application-test.properties:
spring.application.name=eurekaServerserver.port=8080eureka.instance.hostname=localhosteureka.client.register-with-eureka=true# 检索服务eureka.client.fetch-registry=trueeureka.server.enable-self-preservation=falseeureka.client.service-url.defaultZone=http://localhost:8070/eurekaeureka.instance.prefer-ip-address=true
然后我们再分别启动dev 和 test 配置,然后访问http://localhost:8070/,结果如图:
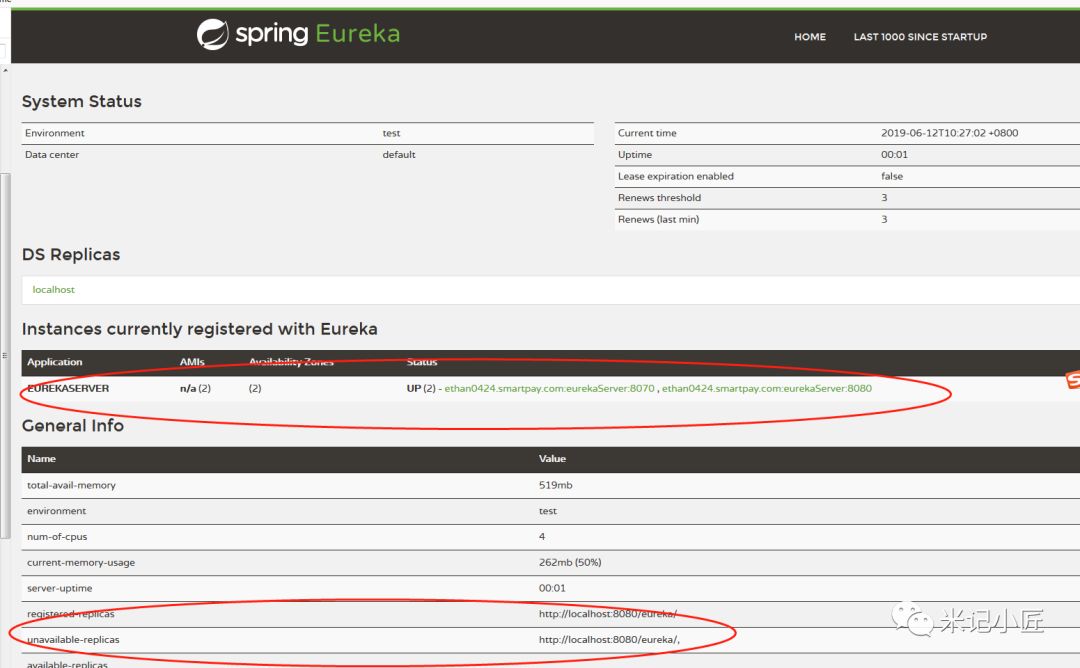
访问:http://localhost:8080/,如图:
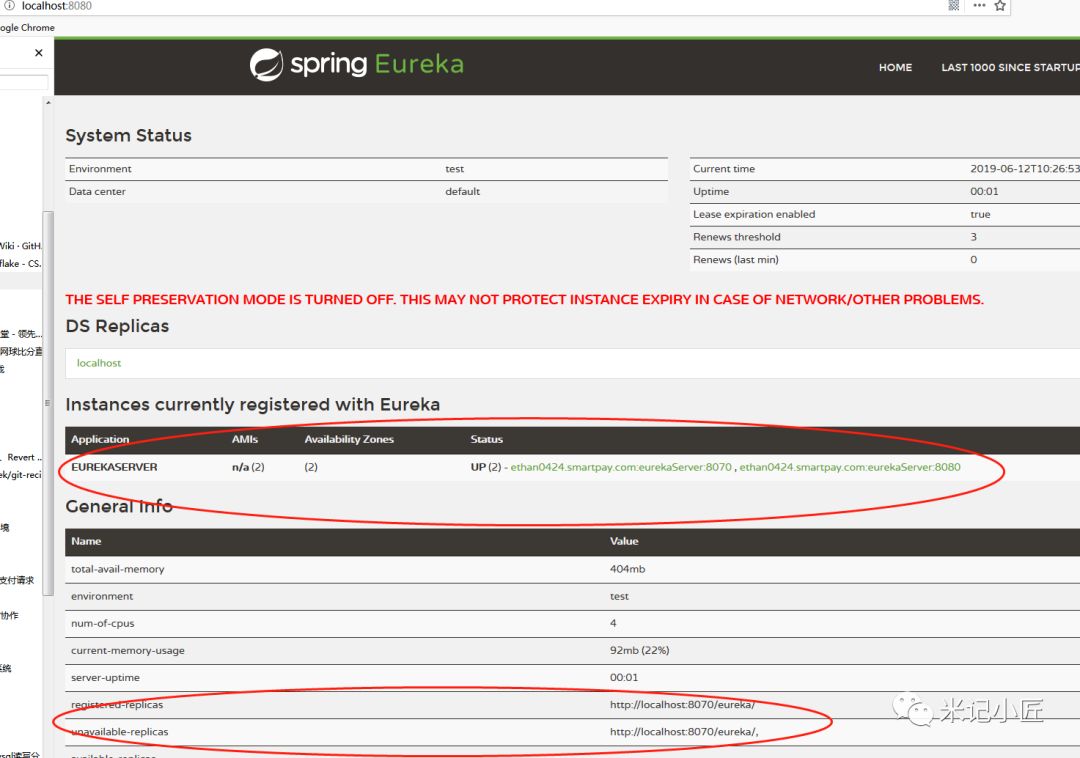
我们看到两个注册中心节点都注册 成了eureka 节点了,
EUREKASERVER 是服务名,注册中心默认会全部大写显示,至此高可用注册中心搭建完成,实际应用中,我们可以根据需要进行水平扩展注册中心。
下面再看下如何注册eureka 客户端,先看 pom文件:<parent><groupId>org.springframework.boot</groupId><artifactId>spring-boot-starter-parent</artifactId><version>2.1.3.RELEASE</version><relativePath/> <!-- lookup parent from repository --></parent><groupId>com.ethan.springcloud</groupId><artifactId>hello-service</artifactId><version>0.0.1-SNAPSHOT</version><name>hello-service</name><description>Demo project for Spring Boot</description><properties><java.version>1.8</java.version><spring-cloud.version>Greenwich.SR1</spring-cloud.version></properties><dependencies><dependency><groupId>org.springframework.boot</groupId><artifactId>spring-boot-starter-web</artifactId></dependency><dependency><groupId>org.springframework.cloud</groupId><artifactId>spring-cloud-starter-netflix-eureka-client</artifactId></dependency>
引导类:
@EnableDiscoveryClient@SpringBootApplicationpublic class HelloServiceApplication {public static void main(String[] args) {SpringApplication.run(HelloServiceApplication.class, args);}}
配置文件:
spring:application:name: helloServiceeureka:client:service-url:defaultZone: http://localhost:8080/eurekaserver:port: 8081
然后启动应用,访问注册中心:
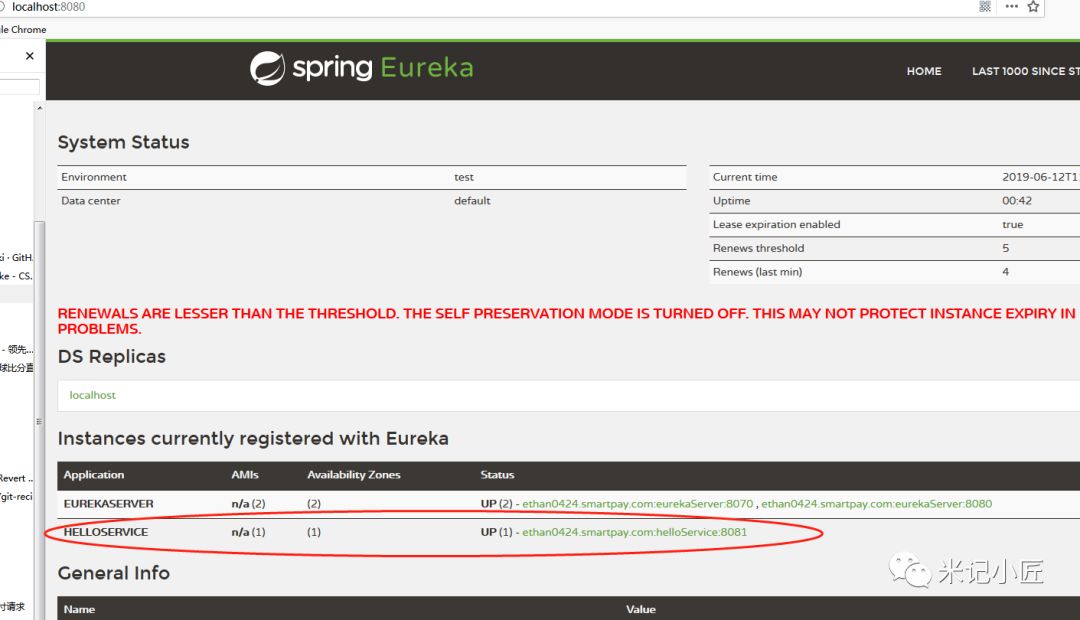
发现服务已经注册到注册中了,这里提一句,eureka 服务名默认为
spring.application.name
本节分享到此结束,如有不对或者疑问之处,欢迎各位指正!


")


还没有评论,来说两句吧...