SpringCloud配置中心--svn(二)
上章我们讲完server端,现在我们来client端
client 端
主要展示如何在业务项目中去获取server端的配置信息
1、添加依赖
<dependencies><dependency><groupId>org.springframework.cloud</groupId><artifactId>spring-cloud-starter-config</artifactId></dependency><dependency><groupId>org.springframework.boot</groupId><artifactId>spring-boot-starter-web</artifactId></dependency><dependency><groupId>org.springframework.boot</groupId><artifactId>spring-boot-starter-test</artifactId><scope>test</scope></dependency>
引入spring-boot-starter-web包方便web测试
2、配置文件
需要配置两个配置文件,application.properties 和 bootstrap.properties
application.properties如下:
spring.application.name=spring-cloud-config-client //项目名称server.port=8002bootstrap.properties如下:spring.cloud.config.name=server-configspring.cloud.config.profile=devspring.cloud.config.uri=http://localhost:8001/ //server端地址spring.cloud.config.label=trunk
特别注意:上面这些与spring-cloud相关的属性必须配置在bootstrap.properties中,config部分内容才能被正确加载。因为config的相关配置会先于application.properties,而bootstrap.properties的加载也是先于application.properties。
3、启动类
启动类只需要@SpringBootApplication注解就可以
import org.springframework.boot.SpringApplication;import org.springframework.boot.autoconfigure.SpringBootApplication;@SpringBootApplicationpublic class ConfigClientApplication {public static void main(String[] args) {SpringApplication.run(ConfigClientApplication.class, args);}}
4、web测试
使用@Value注解来获取server端参数的值
import org.springframework.beans.factory.annotation.Value;import org.springframework.web.bind.annotation.RequestMapping;import org.springframework.web.bind.annotation.RestController;@RestControllerclass HelloController {@Value("${hello}")private String hello;@RequestMapping("/hello")public String from() {return this.hello;}}
启动项目后访问:http://localhost:8002/hello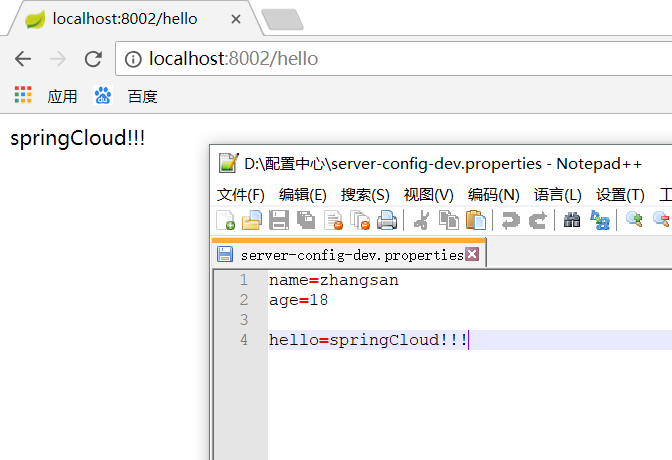
说明已经正确的从server端获取到了参数。到此一个完整的服务端提供配置服务,客户端获取配置参数的例子就完成了。
我们在进行一些小实验,手动修改server-config-dev.properties中配置信息为:hello=springCloud!!! update 提交到svn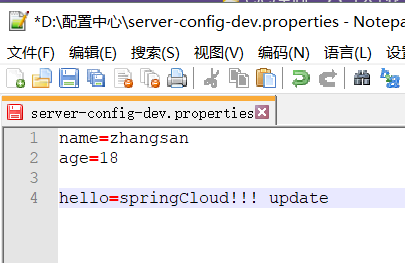
再次在浏览器访问http://localhost:8002/hello
返回:springCloud!!! 说明获取的信息还是旧的参数,这是为什么呢?因为springboot项目只有在启动的时候才会获取配置文件的值,修改svn信息后,client端并没有在次去获取,所以导致这个问题。如何去解决这个问题呢?留到下一章我们在介绍。


还没有评论,来说两句吧...