Scrapy源码解读01之命令行(Command line tool)
源码网址:https://doc.scrapy.org/en/latest/topics/commands.html
创建项目:
scrapy startproject 项目名称 [项目目录]如果不写项目目录,则会在命令运行的目录下创建一个和项目名称一样的文件夹,存放项目文件
创建爬虫文件
scrapy genspider 爬虫名字 爬虫网址例如scrapy genspider zhihu www.zhihu.com
工具命令
列出所有可用命令
scrapy -h
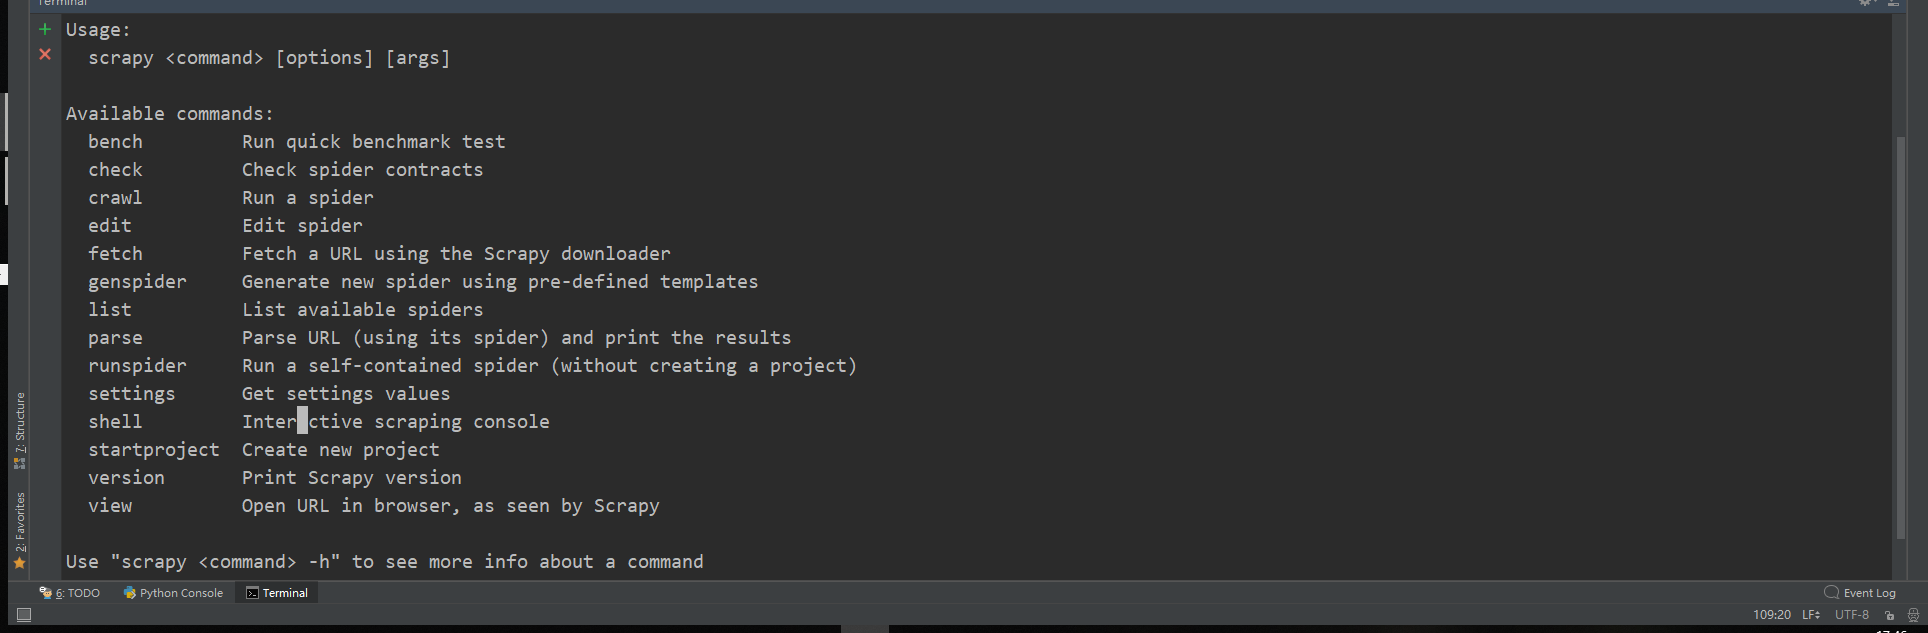
返回结果告诉我们如果想看关于命令的详细信息可以用
scrapy <command> -h
好,我们继续介绍其他命令
根据官方文档,scrapy -h列出的所有命令分为全局命令和局部命令,能在任何文件夹运行的是全局命令,局部命令要在scrapy项目内才能使用。官方文档中没有分开讲解,我们来分类讲一下,我先讲全局命令。
全局命令:
⚪startproject
⚪genspider
⚪settings
⚪runspider
⚪shell
⚪fetch
⚪view
⚪version
第一个刚才讲的比较透彻了,从第二个开始讲。
2.genspider
scrapy genspider [-t template] <name> <domain>
刚才并没有讲到-t template这一部分,其实genspider能创建很多类型的爬虫,如果不加这一部分,则会创建最基本的爬虫,如果引用模板,就可以创建一些专门用途的爬虫,下面还会专门讲这些爬虫,所以这里不做深入探究。共有三种特殊类型的爬虫。

默认的是basic,也就是最基础的爬虫。
3. settings
scrapy settings [options]
这个命令很简单,将获取settings.py文件里定义的一些配置信息,如果在项目中使用,它将显示项目设置值,否则它将显示该设置的默认Scrapy值。
$ scrapy settings --get BOT_NAMEscrapybot$ scrapy settings --get DOWNLOAD_DELAY0
4.runspider
scrapy runspider <spider_file.py>
运行Python文件中自包含的蜘蛛,而不必创建项目。
5.shell
scrapy shell [url]
抓取url的相关信息,并可以在shell模式下做一些操作,比如解析这个页面等,它有一些功能功法:
--spider=SPIDER*绕过蜘蛛自动检测和强制使用特定蜘蛛-c code计算shell中的代码,打印结果并退出--no-redirect:不要遵循HTTP3xx重定向(默认为跟随它们);这只会影响您在命令行上作为参数传递的URL;一旦您在shell中,fetch(url)默认情况下仍将遵循HTTP重定向。
用法实例:
$ scrapy shell http://www.example.com/some/page.html[ ... scrapy shell starts ... ]$ scrapy shell --nolog http://www.example.com/ -c '(response.status, response.url)'(200, 'http://www.example.com/')# shell follows HTTP redirects by default$ scrapy shell --nolog http://httpbin.org/redirect-to?url=http%3A%2F%2Fexample.com%2F -c '(response.status, response.url)'(200, 'http://example.com/')# you can disable this with --no-redirect# (only for the URL passed as command line argument)$ scrapy shell --no-redirect --nolog http://httpbin.org/redirect-to?url=http%3A%2F%2Fexample.com%2F -c '(response.status, response.url)'(302, 'http://httpbin.org/redirect-to?url=http%3A%2F%2Fexample.com%2F')
scrapy shell —nolog xxx 加nolog就不用输出那些过程记录,非常实用。
6.fetch
scrapy fetch <url>
简单的来说,就是打印url的html代码。如果在项目之外使用,则不会应用特定的每只蜘蛛行为,它只会使用默认的Scrapy下载器设置。
一些功能用法:
--spider=SPIDER*绕过蜘蛛自动检测和强制使用特定蜘蛛--headers:打印响应的HTTP头而不是响应的正文--no-redirect:不要遵循HTTP3xx重定向(默认情况下是遵循它们)
用法实例
$ scrapy fetch --nolog http://www.example.com/some/page.html[ ... html content here ... ]$ scrapy fetch --nolog --headers http://www.example.com/{'Accept-Ranges': ['bytes'],'Age': ['1263 '],'Connection': ['close '],'Content-Length': ['596'],'Content-Type': ['text/html; charset=UTF-8'],'Date': ['Wed, 18 Aug 2010 23:59:46 GMT'],'Etag': ['"573c1-254-48c9c87349680"'],'Last-Modified': ['Fri, 30 Jul 2010 15:30:18 GMT'],'Server': ['Apache/2.2.3 (CentOS)']}
7.view
scrapy view <url>
在浏览器中打开给定的URL,就像您的Scrapy爬虫会“看到”它一样。有时候爬虫对页面的看法与普通用户不同,所以这可以用来检查爬虫“看到”了什么,并确认它是您所期望的。
他会在浏览器帮你打开那个网页哦
一些功能用法:
--spider=SPIDER*绕过蜘蛛自动检测和强制使用特定蜘蛛--no-redirect:不要遵循HTTP3xx重定向(默认情况下是遵循它们)
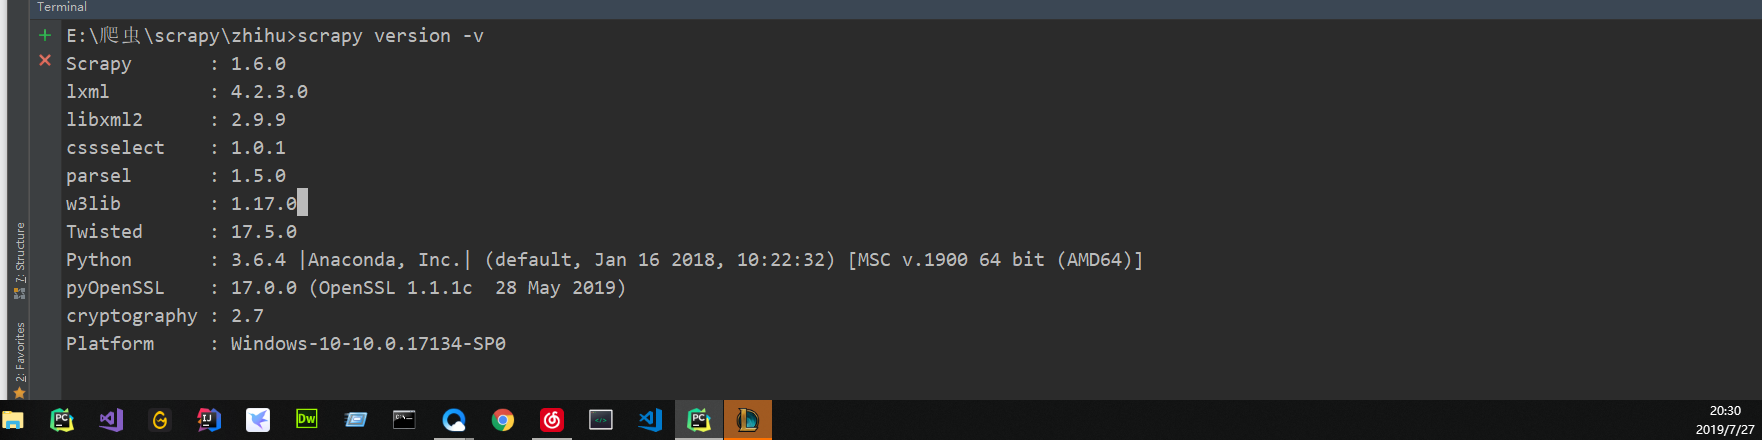
8.version
scrapy version [-v]
打印scrapy版本。如果有-v它还打印Python、Twisted和Platform信息,这对于bug报告非常有用。
局部命令:
⚪crawl
⚪check
⚪list
⚪parse
⚪bench
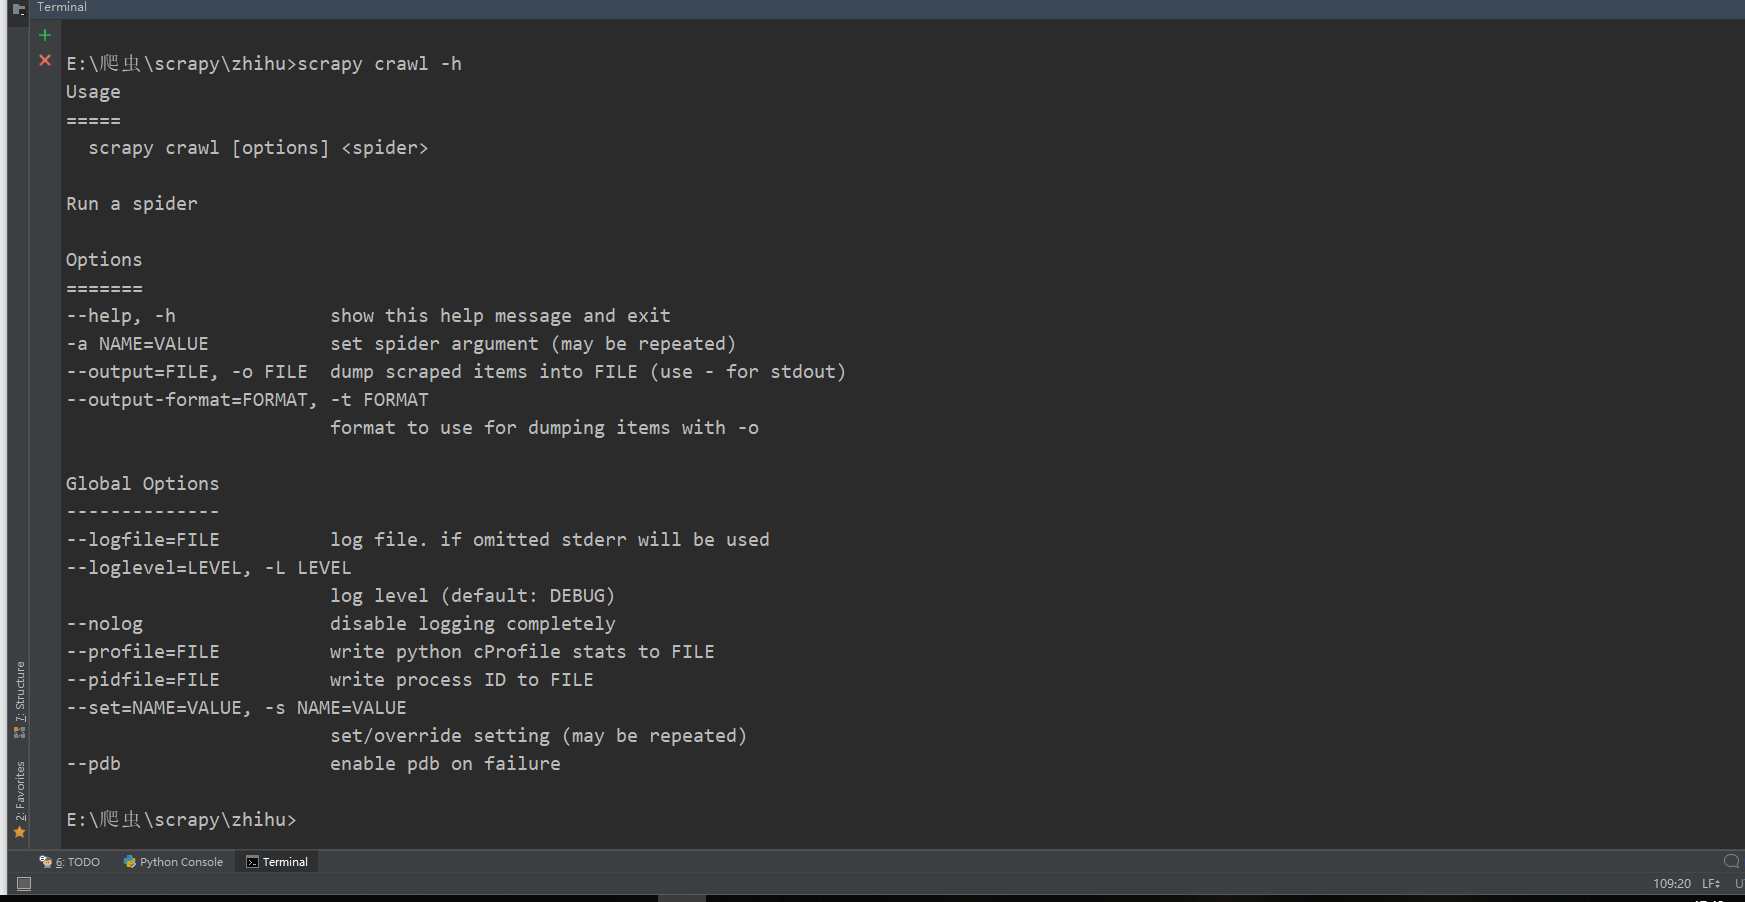
1.crawl
scrapy crawl <spider>
最常用的了吧,开始爬虫。不想看过程就—nolog
2.check
scrapy check [-l] <spider>
check就是用来检查代码错误的,注意只是语法错误,感觉这个命令比较鸡肋。。
3.list
scrapy list
列出所有可用的爬虫
4.parse
scrapy parse <url> [options]
一些功能方法
--spider=SPIDER*绕过蜘蛛自动检测和强制使用特定蜘蛛--a NAME=VALUE设置蜘蛛参数(可以重复)--callback或-c:用作解析响应的回调的Spider方法--meta或-m:将传递给回调请求的其他请求元。这必须是一个有效的json字符串。示例:-meta=‘{“foo:”bar“}’--cbkwargs:将传递给回调的其他关键字参数。这必须是一个有效的json字符串。示例:-cbkwargs=‘{“foo:”bar“}’--pipelines*通过管道处理项目--rules或-r*使用CrawlSpider用于解析响应的回调规则(即蜘蛛方法)--noitems:不要显示擦伤的物品--nolinks*不要显示提取的链接--nocolour*避免使用配色器对输出进行着色。--depth或-d*应该递归跟踪请求的深度级别(缺省值:1)--verbose或-v*显示每个水深级别的信息
使用的时候记得加上解析的回调函数,不然这个功能也没用了。
5.bench
scrapy bench
测试当前爬取速度性能


还没有评论,来说两句吧...