微服务基础框架搭建详解(一)—— 注册服务中心Eureka的基础搭建
最近笔者开始学习微服务基础框架的搭建,并且跟大家分享一下学习笔记,希望能够给一些初学者提供帮忙,下面开始讲解:
(一)实验工具及环境
本文使用的开发工具是:Spring Tool Suite 4(STS4)
JDK版本为:1.8
(二)创建注册服务中心服务端(服务注册中心)
(1)在STS工具上新建一个项目叫“eureka-server-01”,具体信息如下所示:
SpringBoot版本信息暂时选择默认,等创建完任务时再来选择。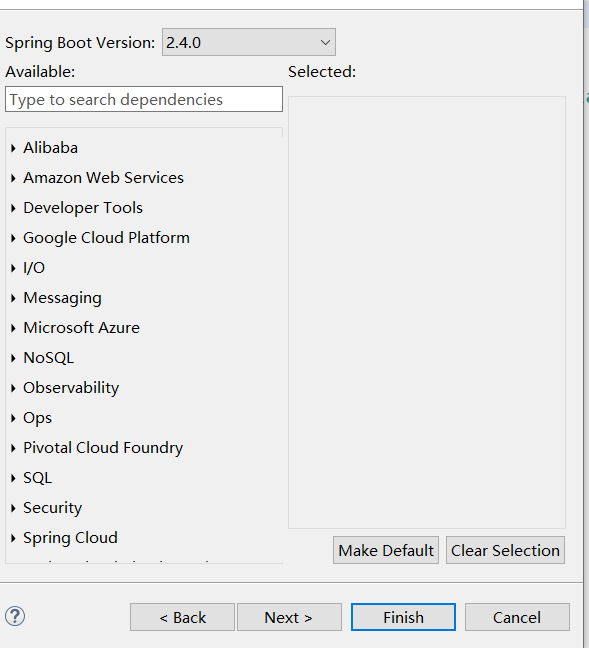
(2)项目创建完成时,修改pom.xml文件的配置信息,包括以下:
①修改SpringBoot的版本信息为2.1.8.RELEASE:
<parent><groupId>org.springframework.boot</groupId><artifactId>spring-boot-starter-parent</artifactId><version>2.1.8.RELEASE</version><relativePath/> <!-- lookup parent from repository --></parent>
②添加依赖
<dependency><groupId>org.springframework.cloud</groupId><artifactId>spring-cloud-starter-netflix-eureka-server</artifactId></dependency>
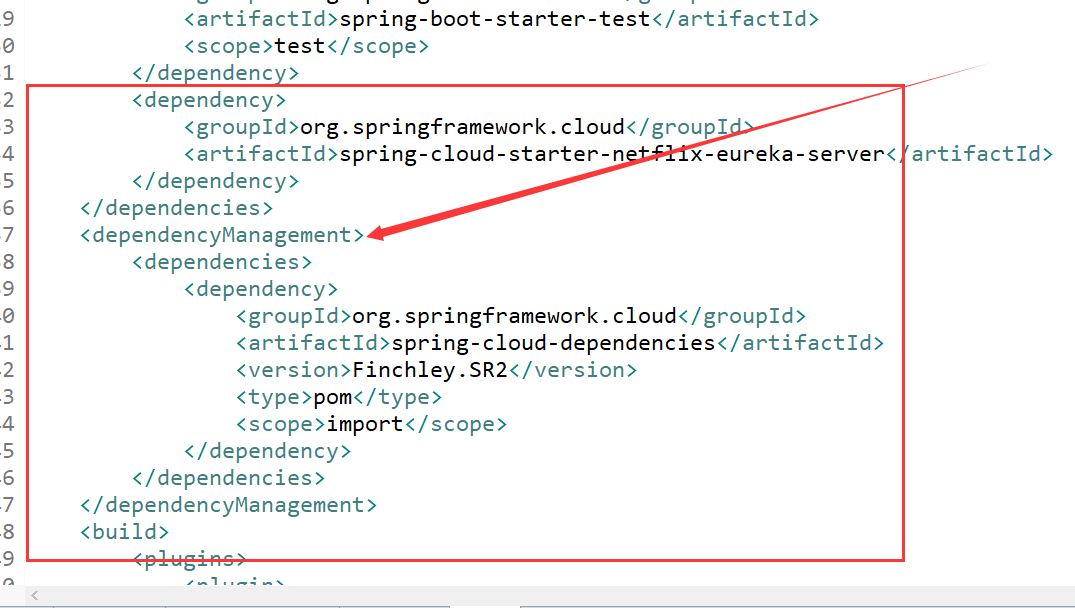
③添加依赖的版本信息
<dependencyManagement><dependencies><dependency><groupId>org.springframework.cloud</groupId><artifactId>spring-cloud-dependencies</artifactId><version>Finchley.SR2</version><type>pom</type><scope>import</scope></dependency></dependencies></dependencyManagement>具体添加位置在如下图所示:
此时如果测试类报错的时,只需要把原来的@Test导入路径去掉,重新导入即可: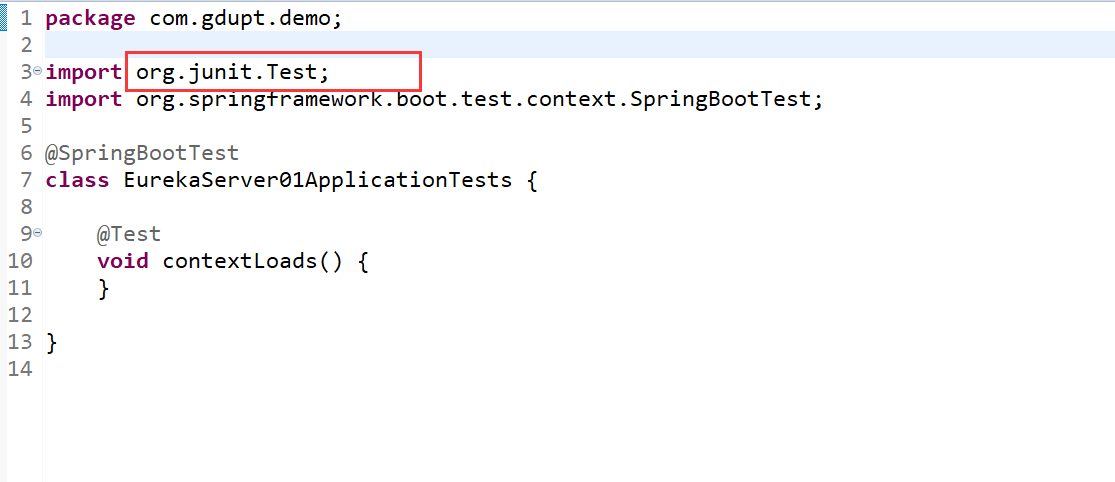
同是,如果项目图标出现一个大红叉,只需要重新“Update Project”一次项目就可以解决问题。
(3)修改application.properties文件的配置信息
#项目端口值server.port=2222#eureka服务主机名称(该名称不为项目应用访问名称)eureka.instance.hostname=eurekaServer#禁止本身注册eureka.client.register-with-eureka=false#注册中心的职责是维护服务实例,不需要检索服务,此处禁止检索服务eureka.client.fetch-registry=false#服务中心地址eureka.client.service-url.defaultZone=http://${eureka.instance.hostname}:${server.port}/eureka/#可关闭自我保护eureka.server.enableSelfPreservation= false
(4)接着在EurekaServer01Application.java类中添加@EnableEurekaServer注解,即可: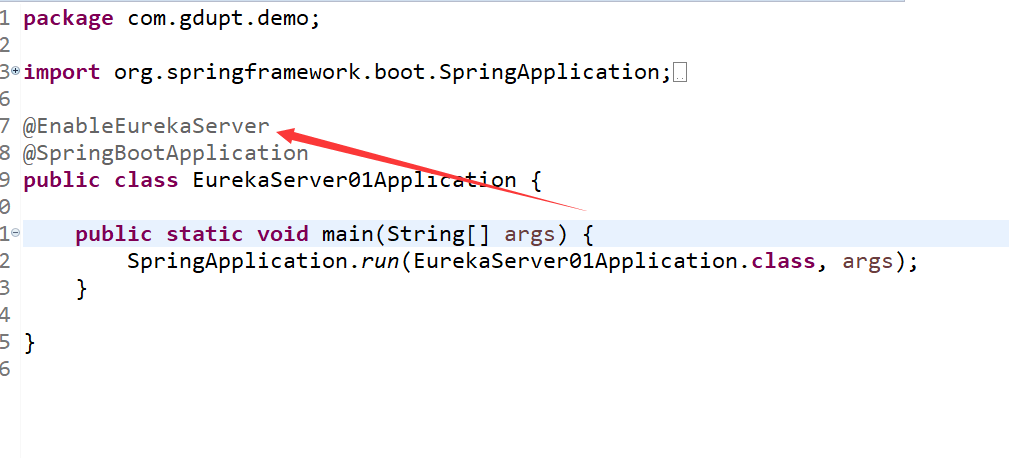
(5)最后右键该Application类,点击“Debug As”->“Spring Boot App”,启动项目,然后访问http://localhost:2222/,出现以下页面则说明eureka注册中心服务端搭建成功。
此时我们可以看到eureka面板中的Instances currently registered with Eureka栏是空的,说明该注册中心还没有注册任何服务。
(三)创建注册服务中心客服端(注册服务提供者)
(1)在STS工具上新建一个项目叫“eureka-client”,创建信息与服务端保持一致即可。
(2)修改pom.xml文件的配置信息
①修改SpringBoot的版本信息为2.1.8.RELEASE:
<parent><groupId>org.springframework.boot</groupId><artifactId>spring-boot-starter-parent</artifactId><version>2.1.8.RELEASE</version><relativePath/> <!-- lookup parent from repository --></parent>
②添加依赖
<dependency><groupId>org.springframework.boot</groupId><artifactId>spring-boot-starter-web</artifactId></dependency><dependency><groupId>org.springframework.cloud</groupId><artifactId>spring-cloud-starter-netflix-eureka-client</artifactId></dependency>
③添加依赖的版本信息
<dependencyManagement><dependencies><dependency><groupId>org.springframework.cloud</groupId><artifactId>spring-cloud-dependencies</artifactId><version>Finchley.SR2</version><type>pom</type><scope>import</scope></dependency></dependencies></dependencyManagement>
(3)修改application.properties文件的配置信息
#端口值server.port=2001#项目访问名称spring.application.name=eureka-client#指定eureka注册中心地址eureka.client.service-url.defaultZone=http://localhost:2222/eureka/
(4)接着在EurekaClientApplication.java类中添加@EnableEurekaClient注解: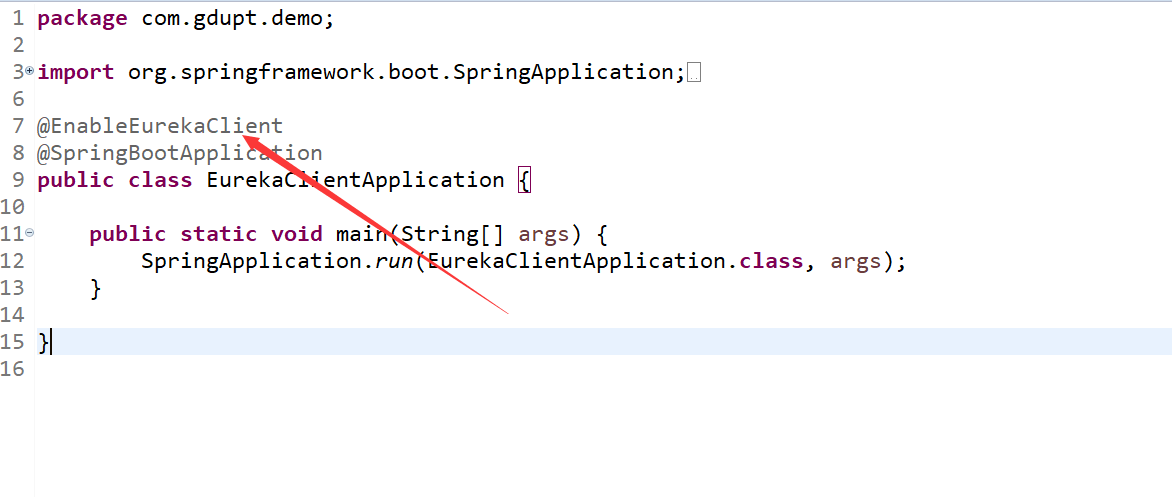
(5)创建一个Rest接口的控制器,用于在日志中打印出服务的相关内容:
import java.util.List;import org.jboss.logging.Logger;import org.springframework.beans.factory.annotation.Autowired;import org.springframework.cloud.client.ServiceInstance;import org.springframework.cloud.client.discovery.DiscoveryClient;import org.springframework.cloud.client.serviceregistry.Registration;import org.springframework.web.bind.annotation.RequestMapping;import org.springframework.web.bind.annotation.RequestMethod;import org.springframework.web.bind.annotation.ResponseBody;import org.springframework.web.bind.annotation.RestController;@RestControllerpublic class helloController {private final Logger logger = Logger.getLogger(getClass());@Autowiredprivate DiscoveryClient client;//服务发现客户端@Autowiredprivate Registration registration; // 服务注册@RequestMapping(value = "/hello",method = RequestMethod.GET)public String hello(){//getLocalServiceInstance()方法已经过期,无法使用List<ServiceInstance> list = client.getInstances(registration.getServiceId());if (list != null && list.size() > 0) {for(ServiceInstance itm : list){String result = "TestResult:{host:port=" + itm.getUri() + ", "+ "service_id:" + itm.getServiceId()+"}";logger.info(result);}}String tempStr = "";//可以通过debug模式查看该数据并且遍历出来进行查看List<String> instance = client.getServices();for (String str : instance) {tempStr += str;}logger.info(tempStr);return "Hello World!";}}
(6)启动项目成功时,我们可以在服务端或者客户端控制台中看到类似以下的信息,说明当前的服务客户端(服务提供者)注册成功: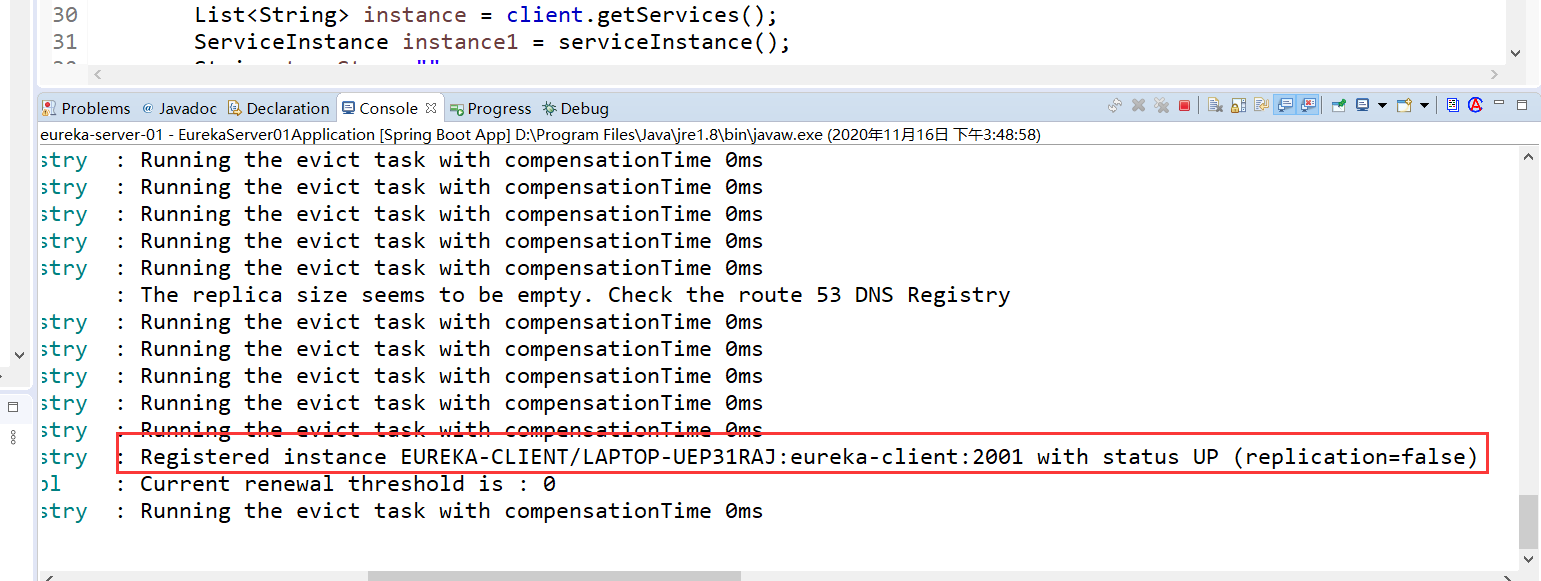
(7)此时我们再刷新http://localhost:2222/,就可以发现在eureka面板中看到新注册的服务信息: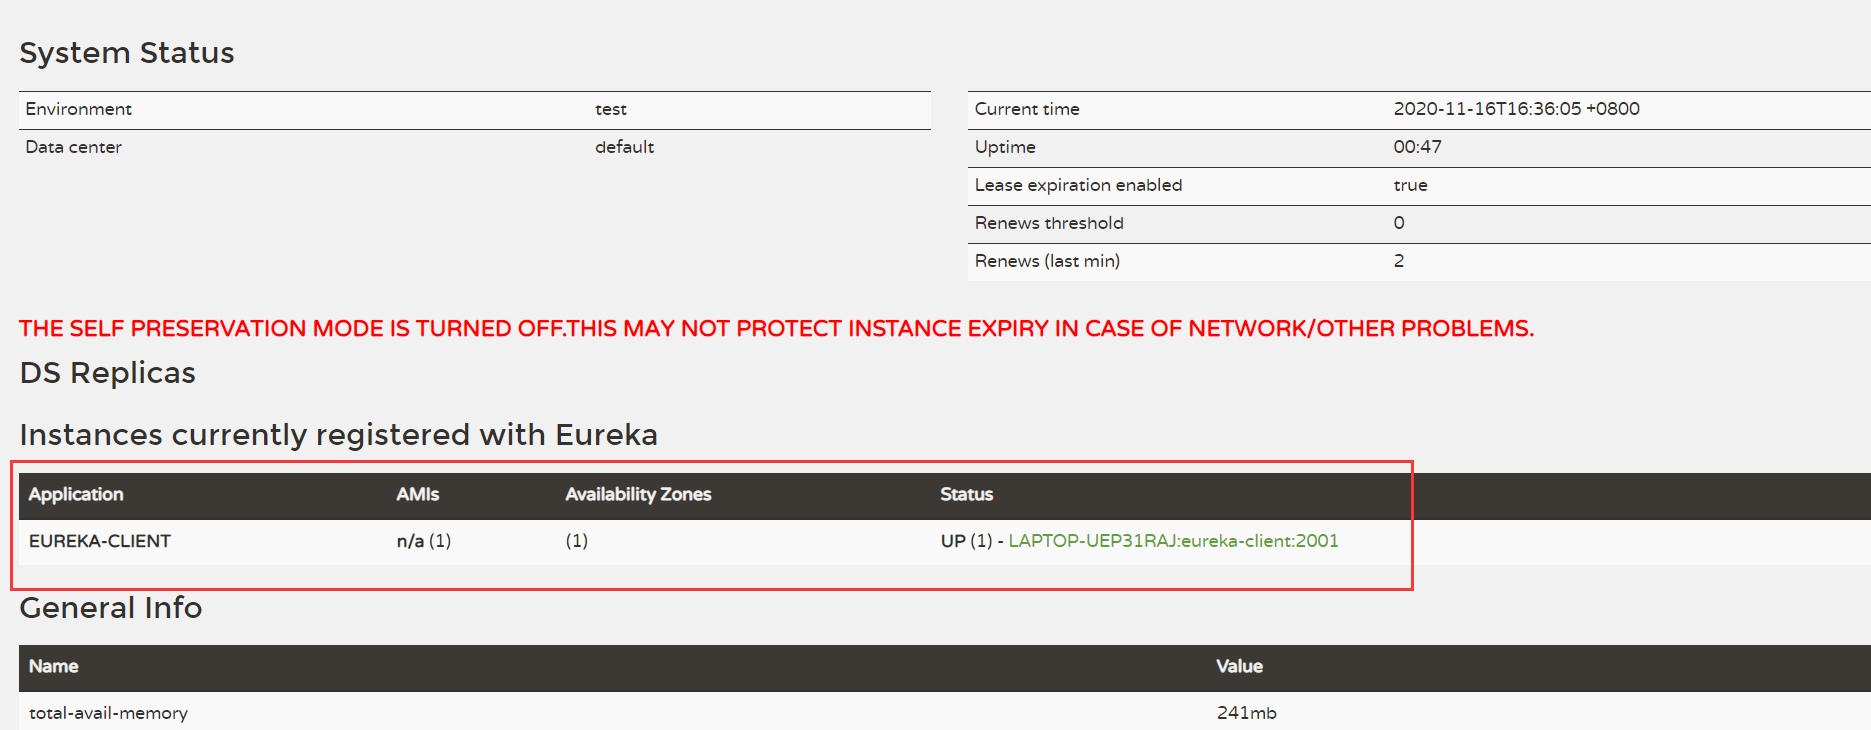
(8)最后,我们可以通过访问http://localhost:2001/hello,直接向该服务发起请求,在客户端控制台中可以看到以下输入信息: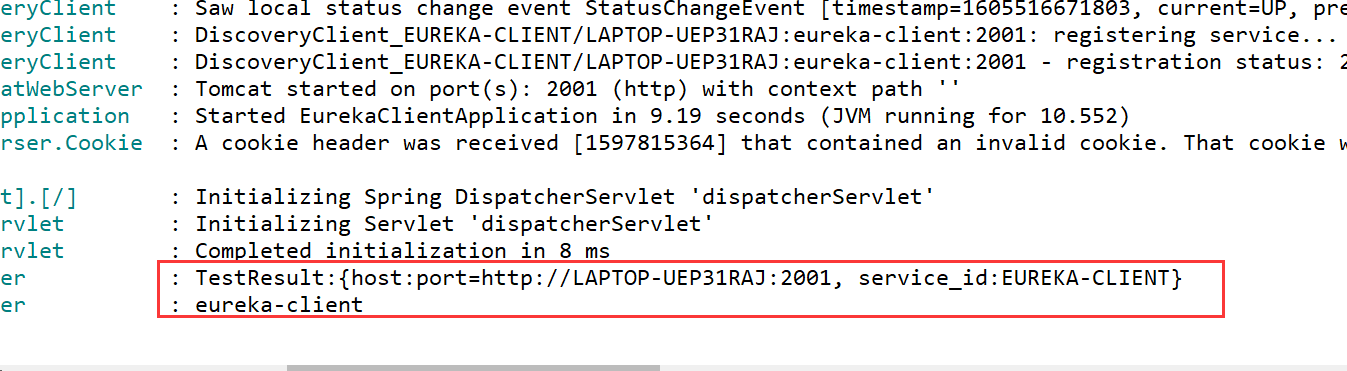
至此,本章就完成了微服务框架中注册服务中心的搭建的第一部分,可以初步了解注册服务中心的搭建过程及注意事项。
如果有读者在阅读时发现什么问题,可以在评论区进行留言,笔者会加以改正。最后,也希望本文能给初学者提供一些帮助和思路,下期接着更新。


")


还没有评论,来说两句吧...