SpringBoot--配置Redis单机缓存
Redis单机缓存
如果在classpath下存在Redis并且Redis已经配置好了,此时默认就会使用RedisCacheManager作为缓存提供者。
创建项目,添加缓存依赖:
org.springframework.boot
spring-boot-starter-data-redis
lettuce-core
io.lettuce
redis.clients
jedis
org.springframework.boot
spring-boot-starter-cache
org.springframework.boot
spring-boot-starter-web
org.mybatis.spring.boot
mybatis-spring-boot-starter
2.1.1
mysql
mysql-connector-java
runtime
org.springframework.boot
spring-boot-starter-test
test
缓存配置:
过期时间
spring.cache.redis.time-to-live=1800s
Redis数据库索引(默认为0)
spring.redis.database=0
Redis服务器地址
spring.redis.host=localhost
Redis服务器连接端口
spring.redis.port=6379
Redis服务器连接密码(默认为空)
连接池最大连接数(使用负值表示没有限制)
spring.redis.jedis.pool.max-active=8
连接池最大阻塞等待时间(使用负值表示没有限制)
spring.redis.jedis.pool.max-wait=-1
连接池中的最大空闲连接
spring.redis.jedis.pool.max-idle=8
连接池中的最小空闲连接
spring.redis.jedis.pool.min-idle=0
项目入口开启缓存:
@EnableCaching
@MapperScan(“pers.zhang.sb_cache.mapper”)
@SpringBootApplication
public class SbCacheApplication {public static void main(String[] args) {SpringApplication.run(SbCacheApplication.class, args);}
}
Mapper:
@Mapper
public interface EmployeeMapper {@Select("select * from employee where id = #{id}")Employee getEmpById(Integer id);
}
Service:
@Service
public class EmployeeService {@AutowiredEmployeeMapper employeeMapper;@Cacheable(cacheNames = "emp", key = "#id")public Employee getEmp(Integer id){System.out.println("查询" + id + "号员工");Employee emp = employeeMapper.getEmpById(id);return emp;}
}
Controller:
@RestController
public class EmployeeController {@AutowiredEmployeeService employeeService;@GetMapping("/emp/{id}")public Employee getEmployee(@PathVariable("id") Integer id){Employee emp = employeeService.getEmp(id);return emp;}
}
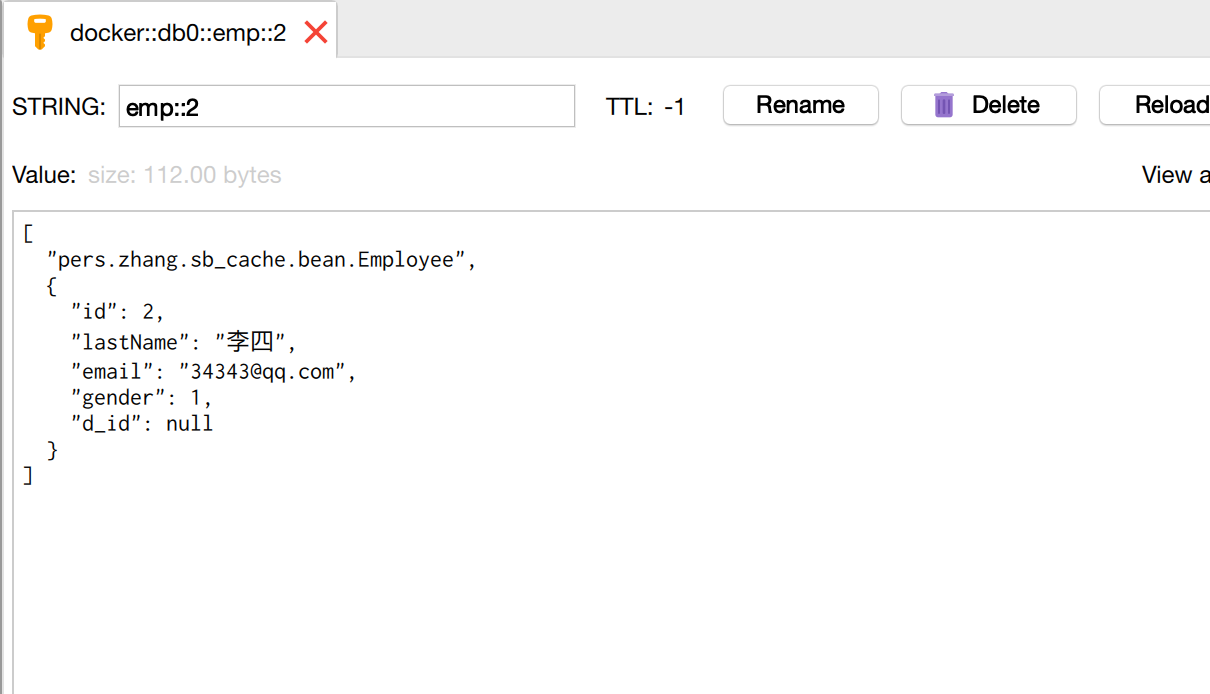
配置序列化方式为JSON:
@Configuration
public class MyRedisConfig {@Beanpublic CacheManager cacheManager(RedisConnectionFactory factory){RedisSerializer<String> redisSerializer = new StringRedisSerializer();Jackson2JsonRedisSerializer jackson2JsonRedisSerializer = new Jackson2JsonRedisSerializer(Object.class);//解决查询缓存异常的问题ObjectMapper om = new ObjectMapper();om.setVisibility(PropertyAccessor.ALL, JsonAutoDetect.Visibility.ANY);om.enableDefaultTyping(ObjectMapper.DefaultTyping.NON_FINAL);jackson2JsonRedisSerializer.setObjectMapper(om);//配置序列化RedisCacheConfiguration configuration = RedisCacheConfiguration.defaultCacheConfig().serializeKeysWith(RedisSerializationContext.SerializationPair.fromSerializer(redisSerializer)).serializeValuesWith(RedisSerializationContext.SerializationPair.fromSerializer(jackson2JsonRedisSerializer)).disableCachingNullValues();RedisCacheManager cacheManager = RedisCacheManager.builder(factory).cacheDefaults(configuration).build();return cacheManager;}
}
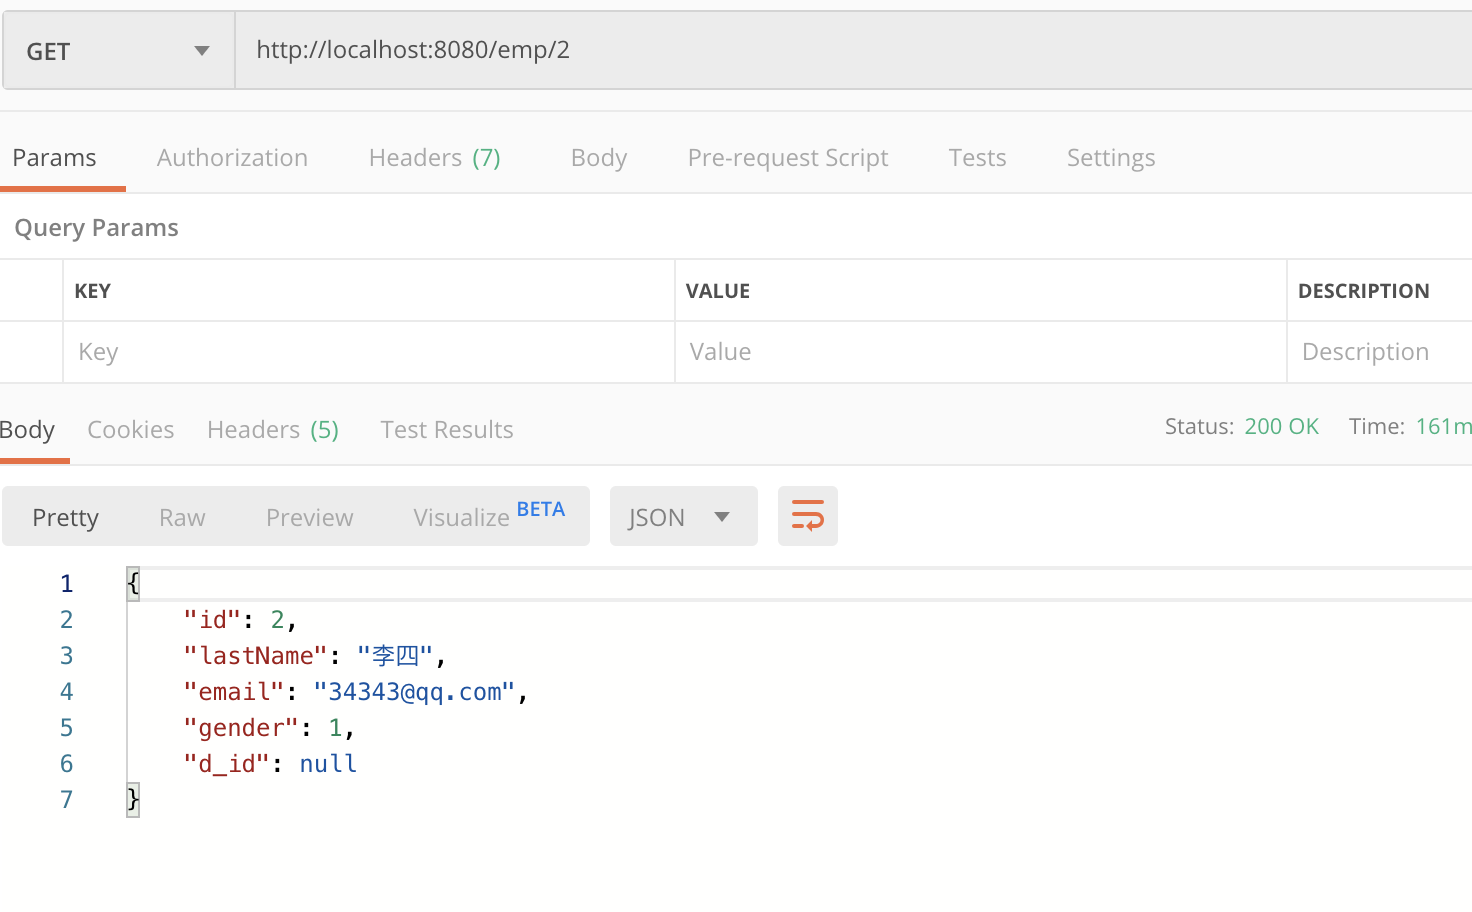
- 测试:


")
")

基础入门-webpack(1)")
")


还没有评论,来说两句吧...